
10 DIY Car Maintenance Tasks You Can do at Home
Save money and get your vehicle road-ready.

Grocery store runs may have replaced meandering road trips, but there’s hope that this is soon to change. If you drove less this past year, your vehicle will need some TLC to get it back in road-ready shape, address potential problems caused by infrequent use, and offset the additional wear and tear from shorter trips.
The good news is that most preventive maintenance is easy to do at home without special tools or skills. When performed regularly, these small chores can extend the life of your vehicle and help you avoid unnecessary expenses, says Adrian Talamantes of AAA Auto Repair Centers. Tackle these tasks to save money and keep your car running smoothly.
1. Check engine oil.
It takes less than five minutes to get a glimpse into your engine’s health and catch catastrophic problems before they develop. Most manufacturers recommend checking your oil level while the engine is cold (meaning you can comfortably touch the engine), but your owner’s manual will offer specific instructions for your model. With the vehicle parked on a level surface, grab a clean rag or paper towel, open your hood, and look for the oil dipstick, which generally has a yellow or orange top. Pull the dipstick out, wipe the oil off it with the rag, and reinsert. When you remove the dipstick again, your oil level should be between the two markings on the metal. If the level is below, remove the oil cap on the engine and add the type of oil specified in the manual. If there is no oil on the dipstick, add oil until it falls into the right range and take your car in to be inspected right away. Oil that looks grainy or milky also warrants a trip to the repair shop.
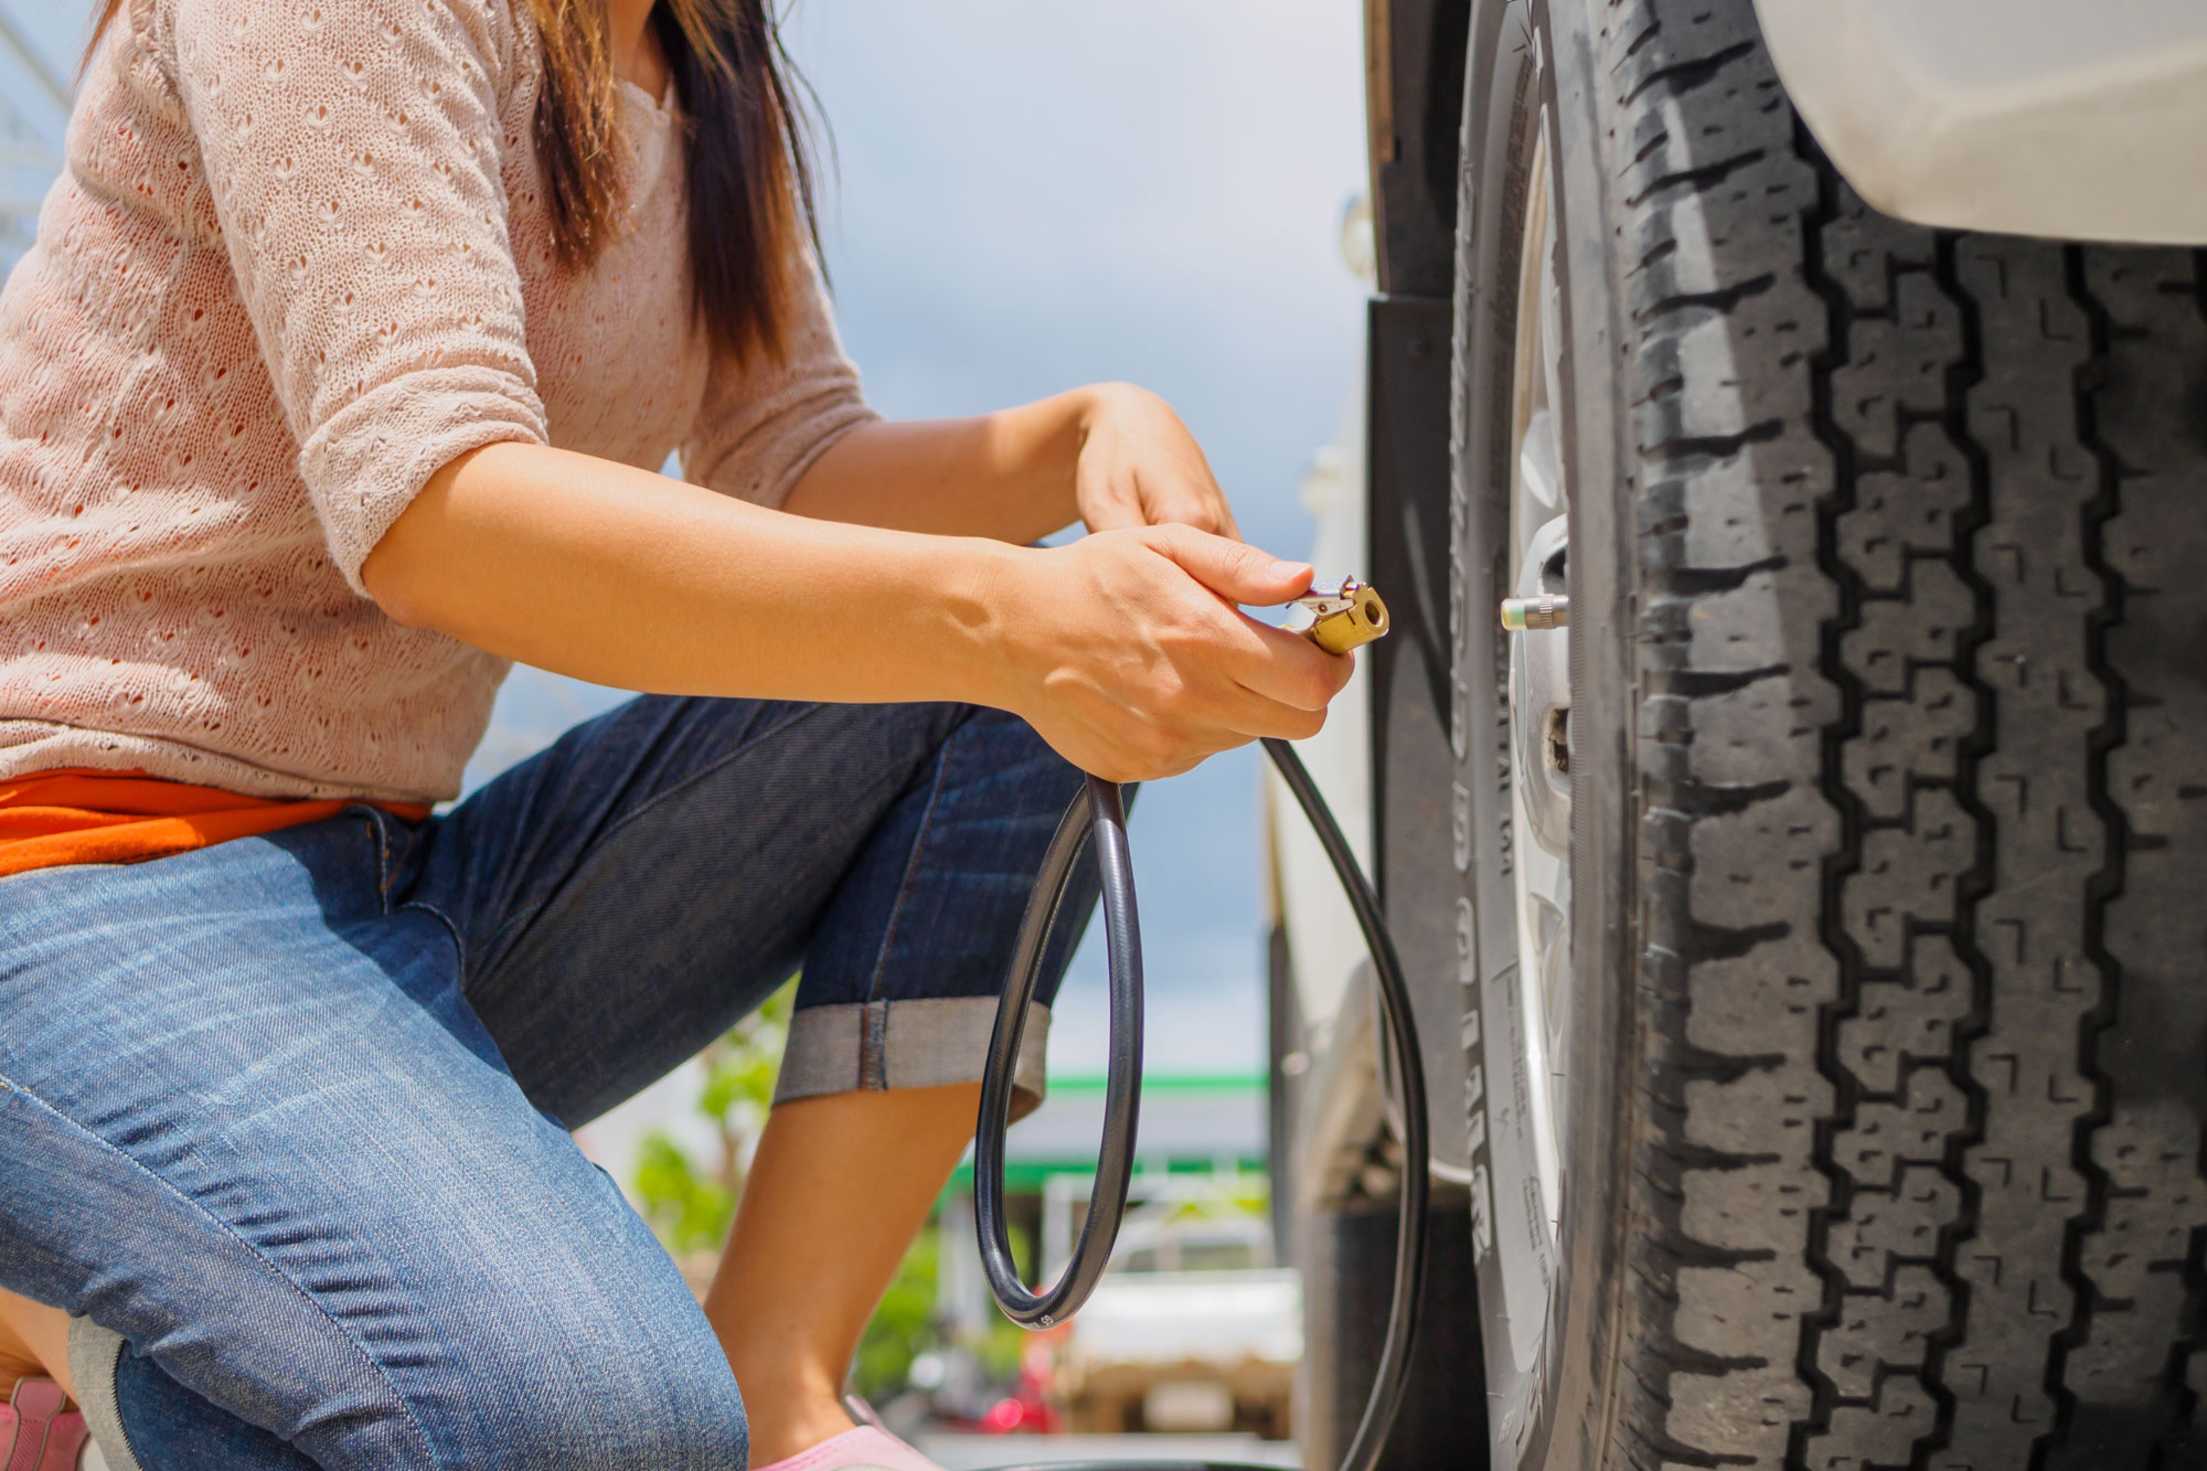
2. Check tire pressure.
Under-inflated tires can be dangerous, cause uneven tread wear, and reduce your vehicle’s efficiency. At least once a month, use a pressure gauge to ensure that all four tires are at the manufacturer’s recommended PSI. You’ll find that figure in your owner’s manual or on the information sticker located either on your driver’s side door or where the door meets the frame. To get the most accurate reading, test your tire pressure first thing in the morning or when your car hasn’t been driven for a few hours, because heat generated by driving expands the air in the tire and can mask low tire pressure. If any are low, use a tire inflator at home or at your local gas station to bring it up to the recommended level.
3. Inspect belts and hoses.
When you check your oil, give your hoses and belts a quick once-over while the engine is cool. Squeeze hoses to make sure they don’t feel crunchy. Look for cracks and for fluid seeping out at connection points. Check belts for fraying and glazing. When the engine is running, listen for squealing and vibrations. If you find any of these problems, you should take your vehicle to a professional for further inspection and repairs.
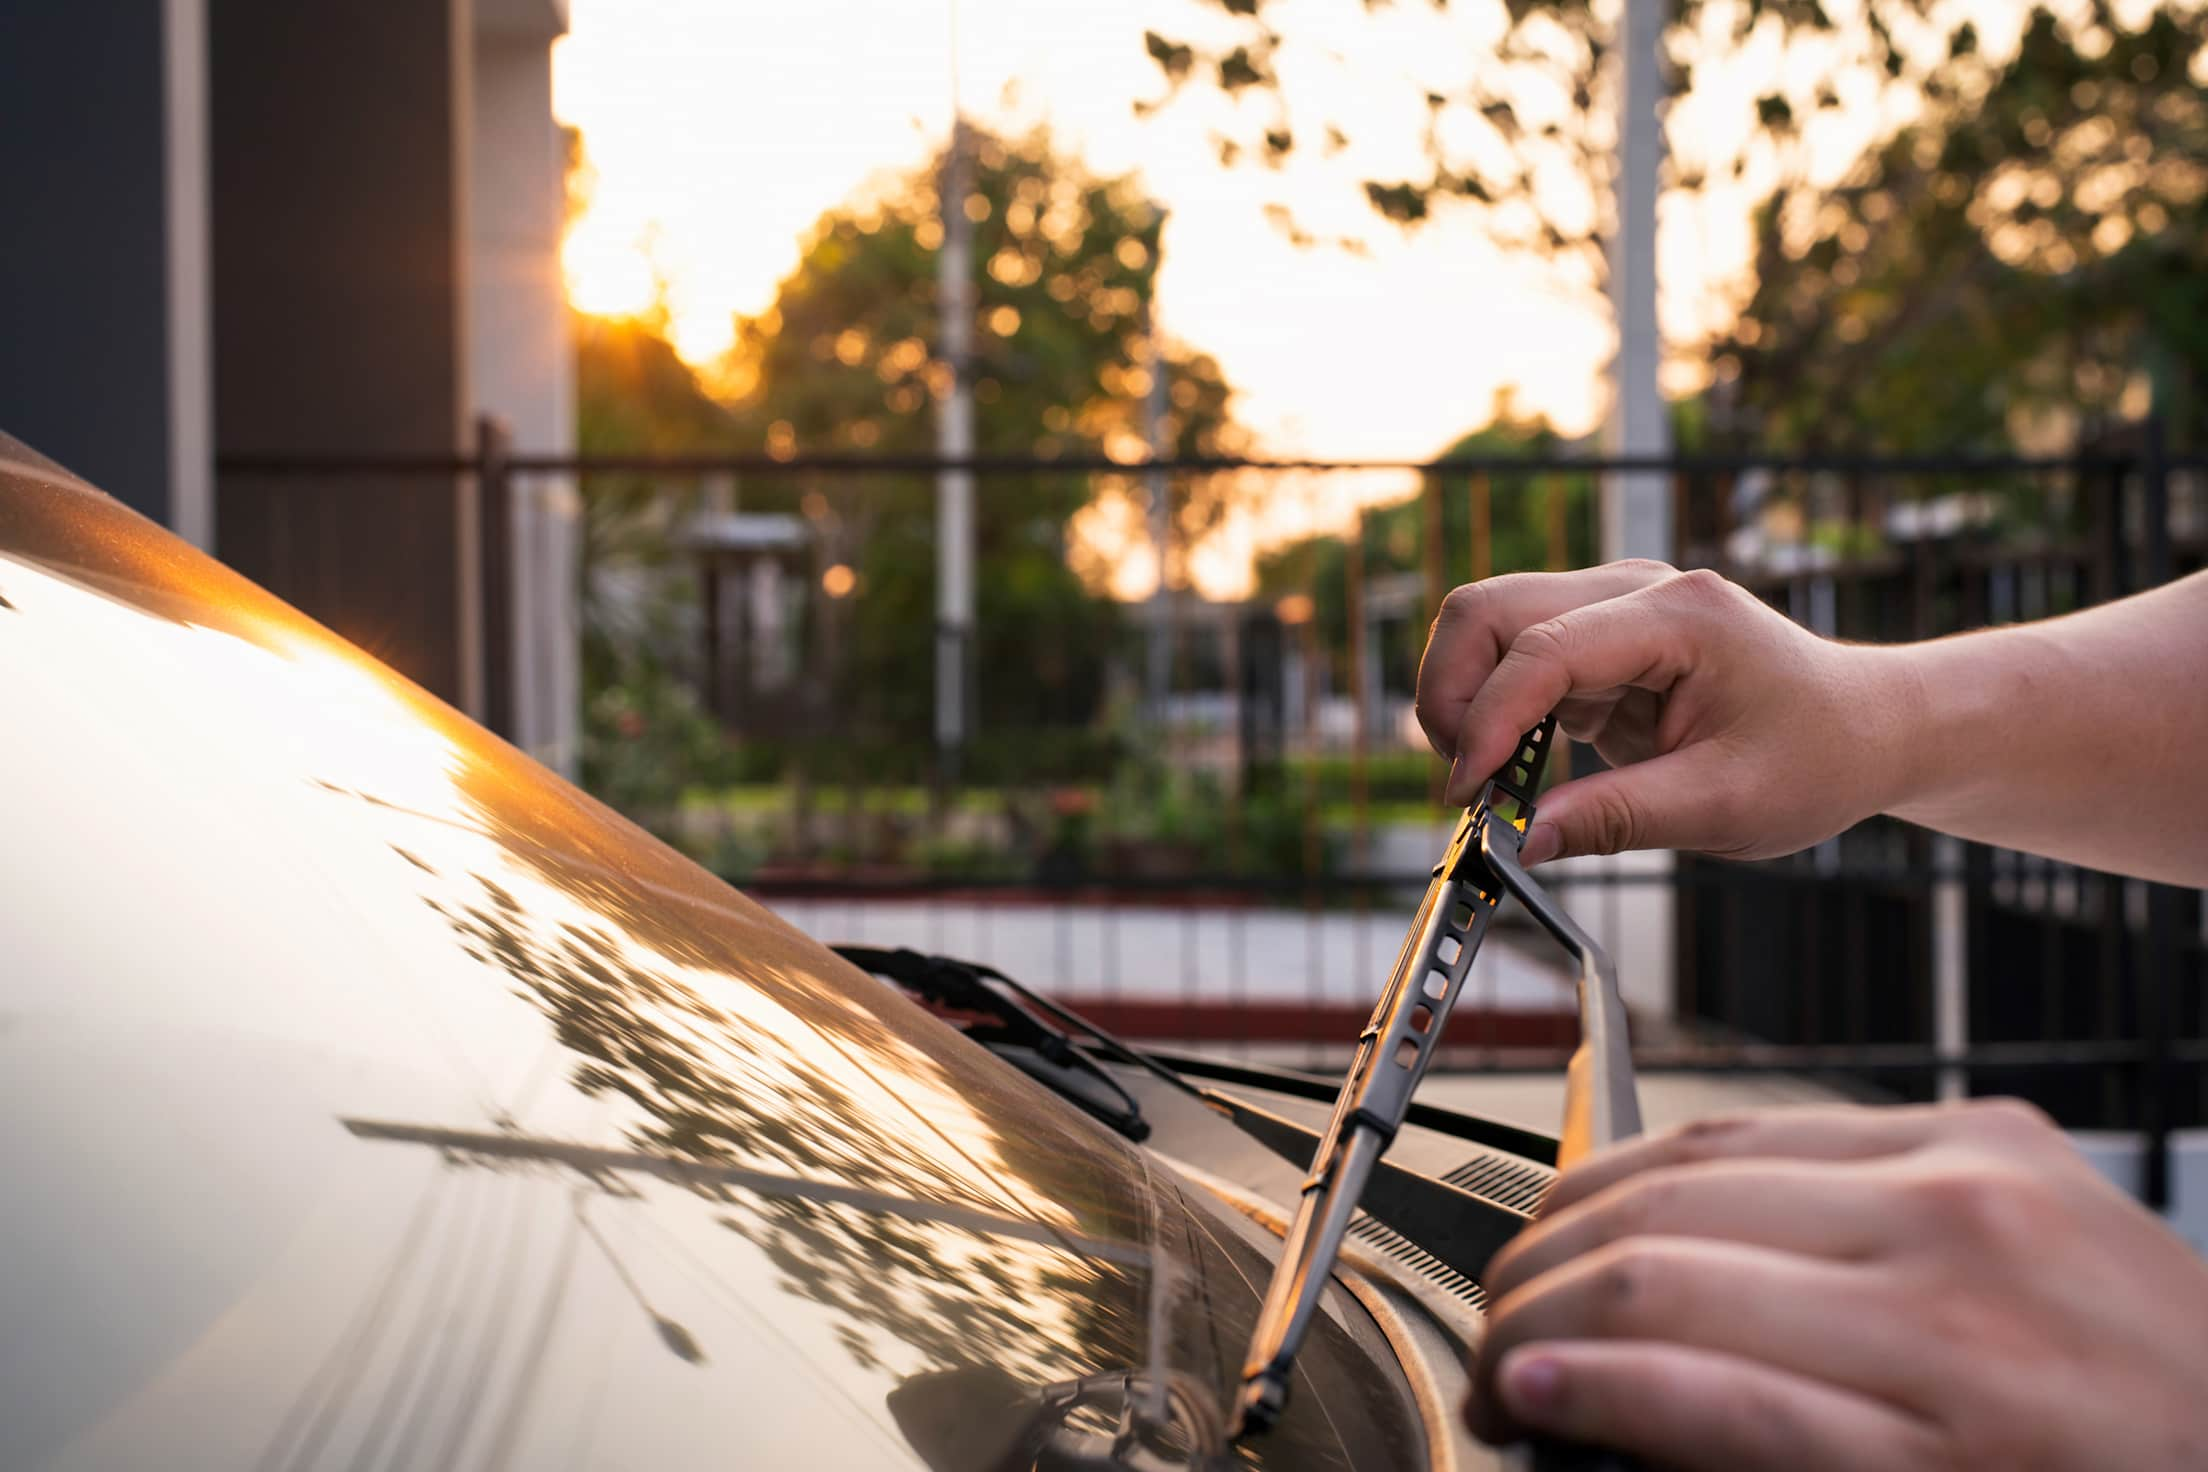
4. Replace wiper blades.
New wiper blades should be installed every six to 12 months. To find the right size, measure both windshield wiper blades—most vehicles have two sizes—or use the wiper reference guide available at most parts stores. When buying online, be sure to select the blades appropriate for your vehicle.
To install new blades, lift the wiper arms off the windshield and cover the glass with a large towel or blanket. This will prevent you from cracking your windshield if you accidentally drop the bare arms onto the glass. Directions to install wiper blades are located on the back of the package, but if you want to replace just the rubber wiper inserts or you have an unusual style blade, pulling up a YouTube video can come in handy.
5. Add washer fluid.
Washer fluid is vital for proper visibility. It’s important to buy the fluid that’s best for the climate you live in and to avoid using plain water, which will expand in freezing temperatures and damage the reservoir. To add fluid, pop the hood and locate the washer fluid reservoir. Open the reservoir, and pour the washer fluid in until it hits the fill line. If you don’t have a steady hand, you may find it easier to use a funnel or create one from the spout half of a milk jug.
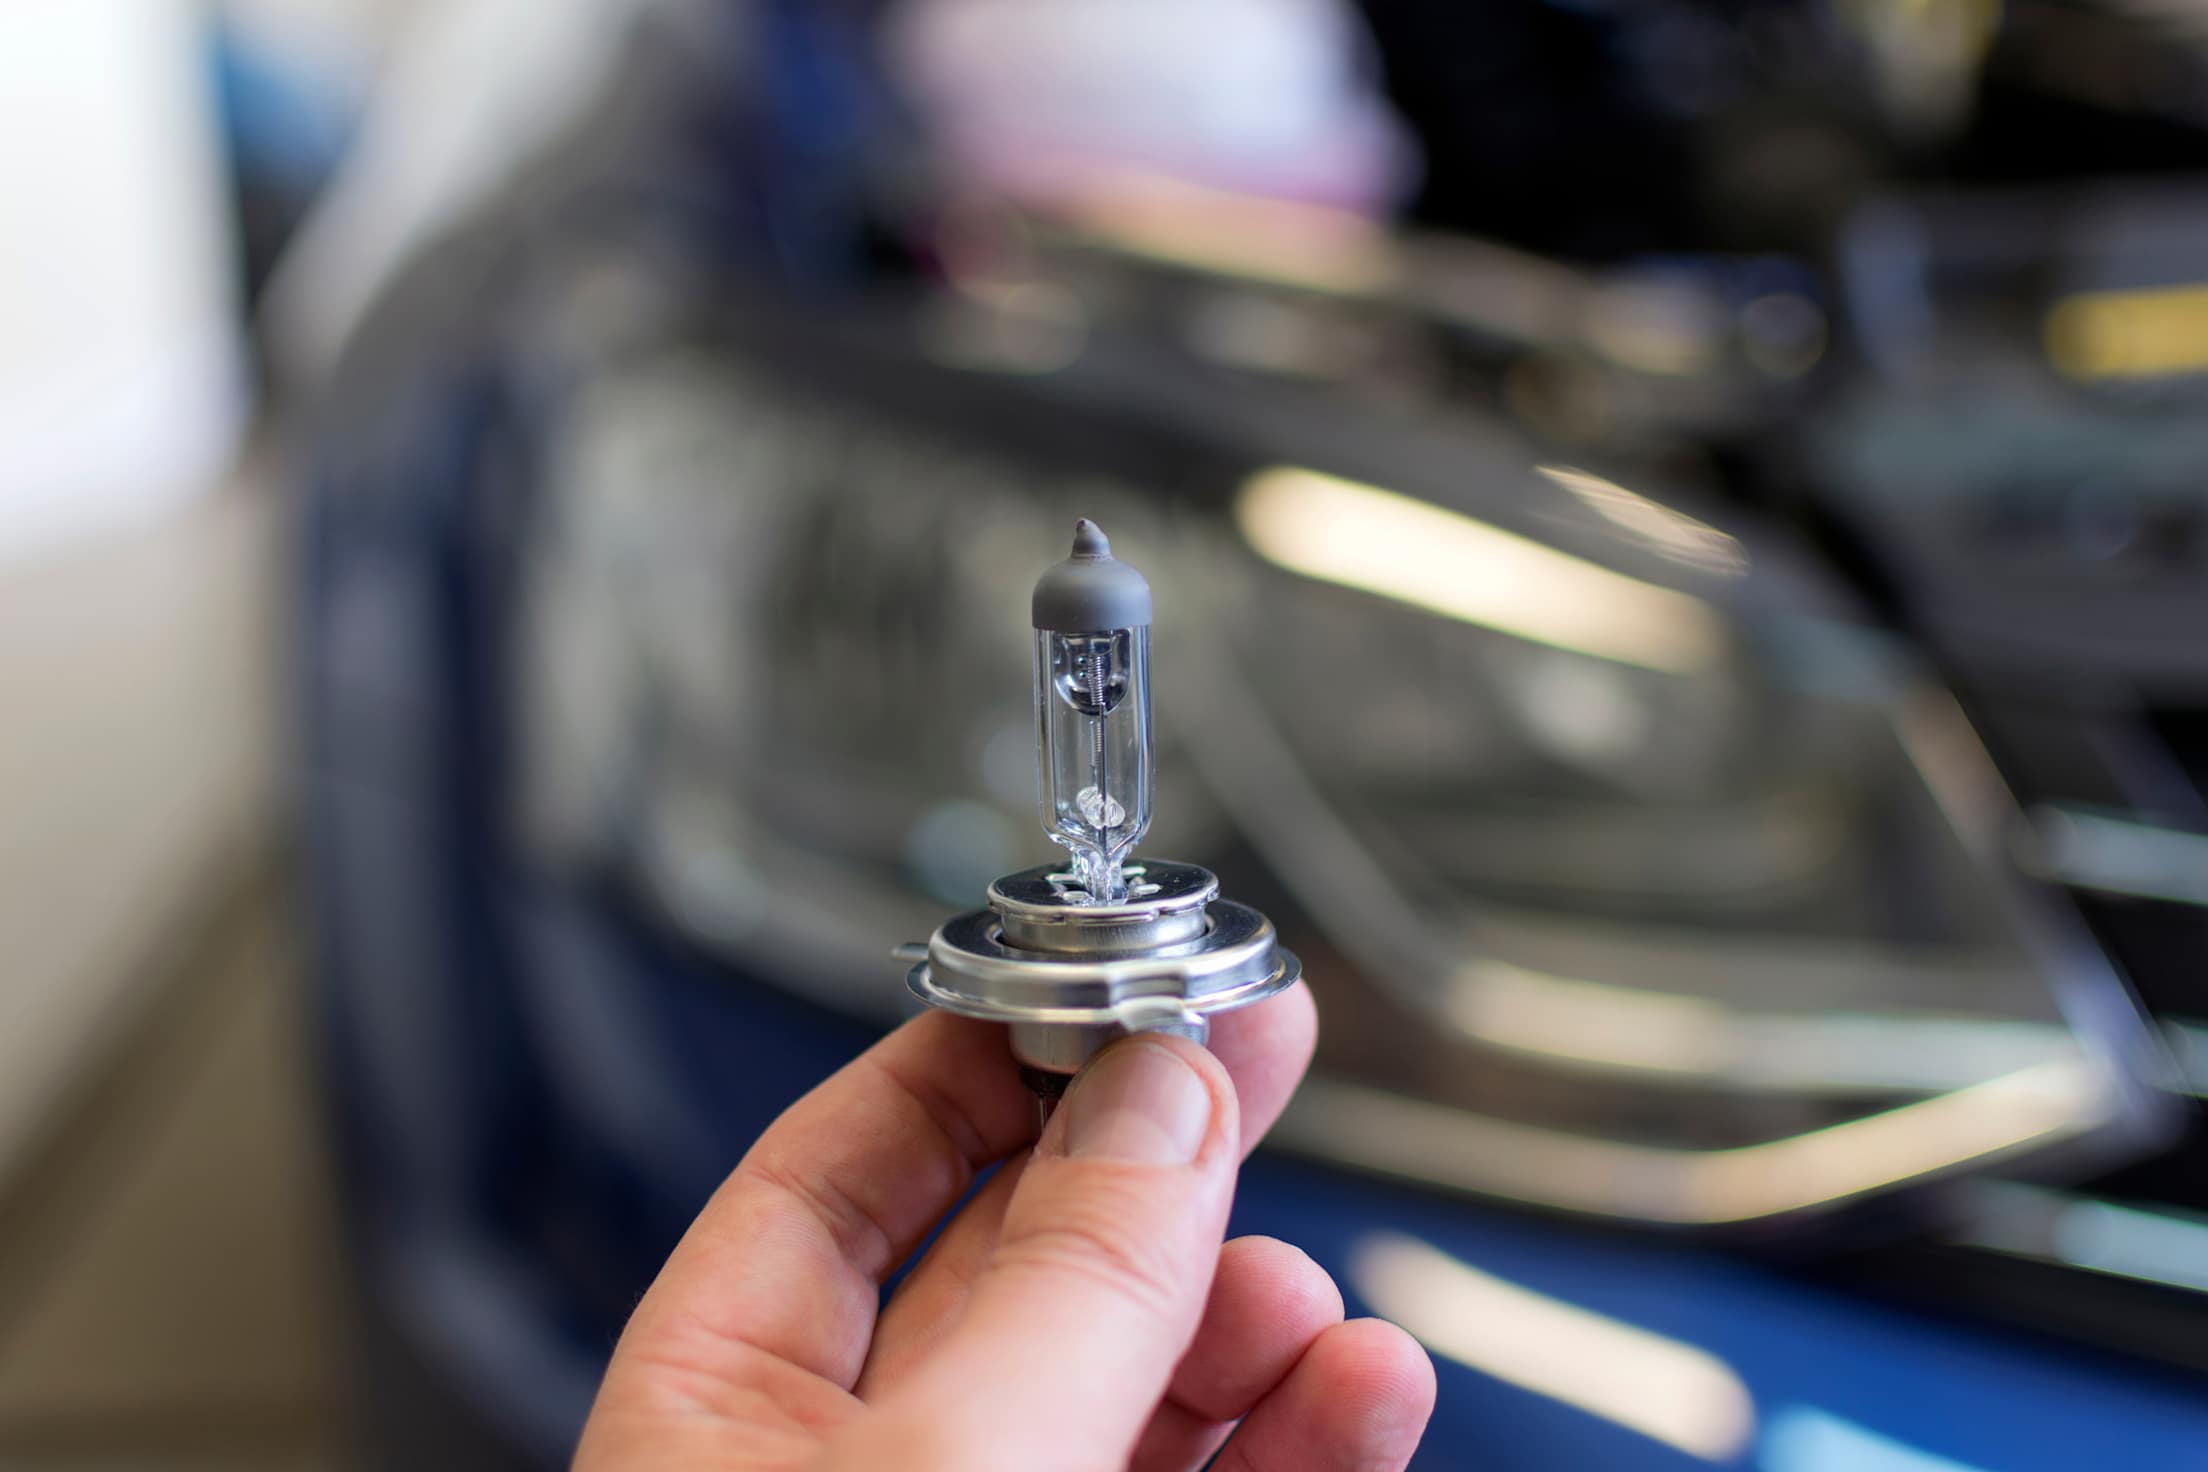
6. Change light bulbs.
Headlights, taillights, brake lights, and turn signals are critical for safe, defensive driving. Luckily, when these lights go out, most are easy to change. All you need, in many cases, is a Phillips screwdriver, says Talamantes. Many owner’s manuals offer replacement instructions, and a vehicle-specific YouTube tutorial can help you visualize the process. Not all bulbs are the same. You may need to remove the bulb to find the number listed on it and match it up with the correct one at the parts store. Newer LED bulbs typically do not need to be replaced. If your car has LED lights that aren’t working properly, it is best to enlist a professional who can correctly diagnose the problem.
7. Periodically clean the battery terminals and tighten connections.
Loose connections and leaking battery acid can impact a vehicle’s ability to start and reduce battery life. In most vehicles, the battery is under the hood, but if yours is not, your owner’s manual will tell you how to access it. Look at the terminals, the two metal posts located on the top or side of the battery. If there’s white or blue “dust” on or around the terminals, the battery is leaking acid. This doesn’t mean that the battery has to be replaced immediately, but it may be on its way out. To remove the dust, put on latex gloves and use a wire brush to clean it off. Finally, check your terminal connections to make sure they don’t move when you wiggle the wires side to side or up and down. Tightening them with an open ended wrench takes just a few minutes; make sure the wrench doesn’t touch both terminals at once.
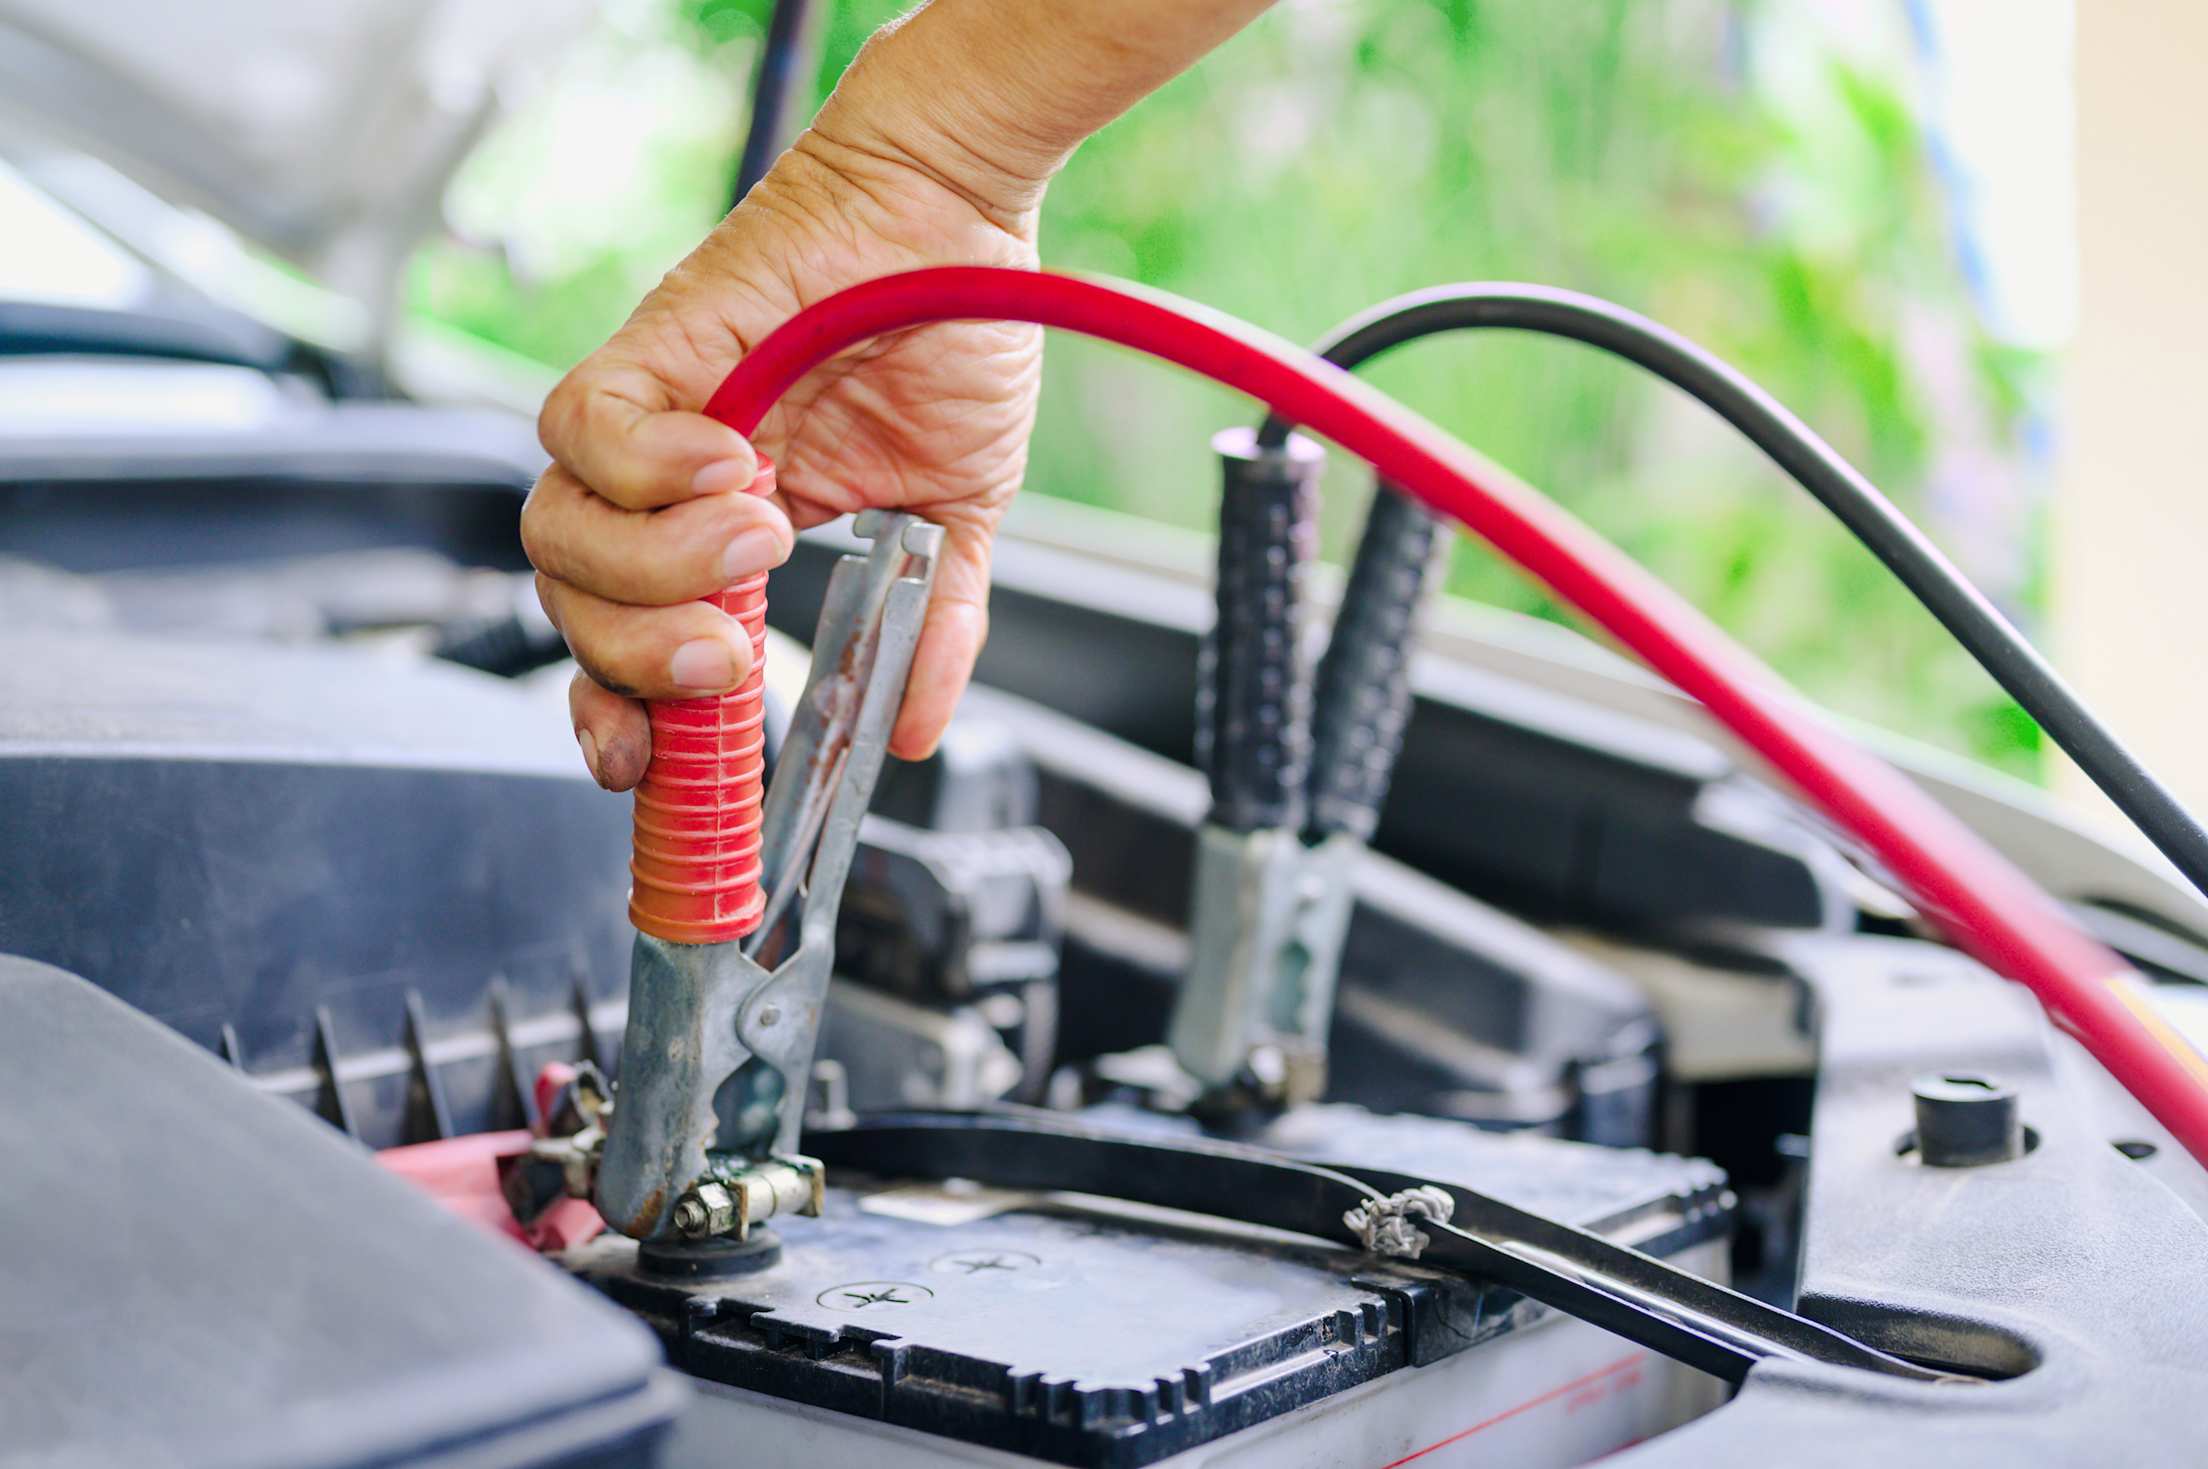
8. Jumpstart a dead battery.
Before jump-starting your car, make sure your battery terminals are clean and the connections are strong. (See number 7.) If everything is in order, check your owner’s manual: Some manufacturers advise against jump-starting, while others offer important instructions. To jump-start most vehicles, attach the positive (often red) clamp of the cables to the dead battery’s positive terminal post, which will often have a red cover or a plus sign (+) for positive. Then, while both vehicles are turned off, attach the second positive clamp to the working vehicle’s positive terminal. Now attach the negative clamp (typically black) to the negative terminal on the working battery. Finally, take the remaining negative clamp and attach it to a non-painted metal surface on the main engine block of the car that won’t start. Start the working car; then, after a minute or two, start the other car. Disconnect in reverse order, being careful to not let any of the clamps touch.
Smart Tip: AAA Battery Service Technicians can test, jump-start, and replace car batteries—a free service for AAA Members.
9. Replace the cabin filter.
If your car was manufactured after 2002, there’s a good chance that the air passes through a cabin filter every time you turn on the fan, air conditioner, or heater. Your owner’s manual will state an interval for replacement, but if you have allergies or have recently driven through wildfire smoke, you may want to replace it sooner. In most vehicles, the filter is located behind the glove box, and it’s usually an easy swap that requires few, if any, tools. Once you’ve exposed the filter compartment (your manual and YouTube can be helpful here), lift the latches to remove the faceplate and replace the filter.
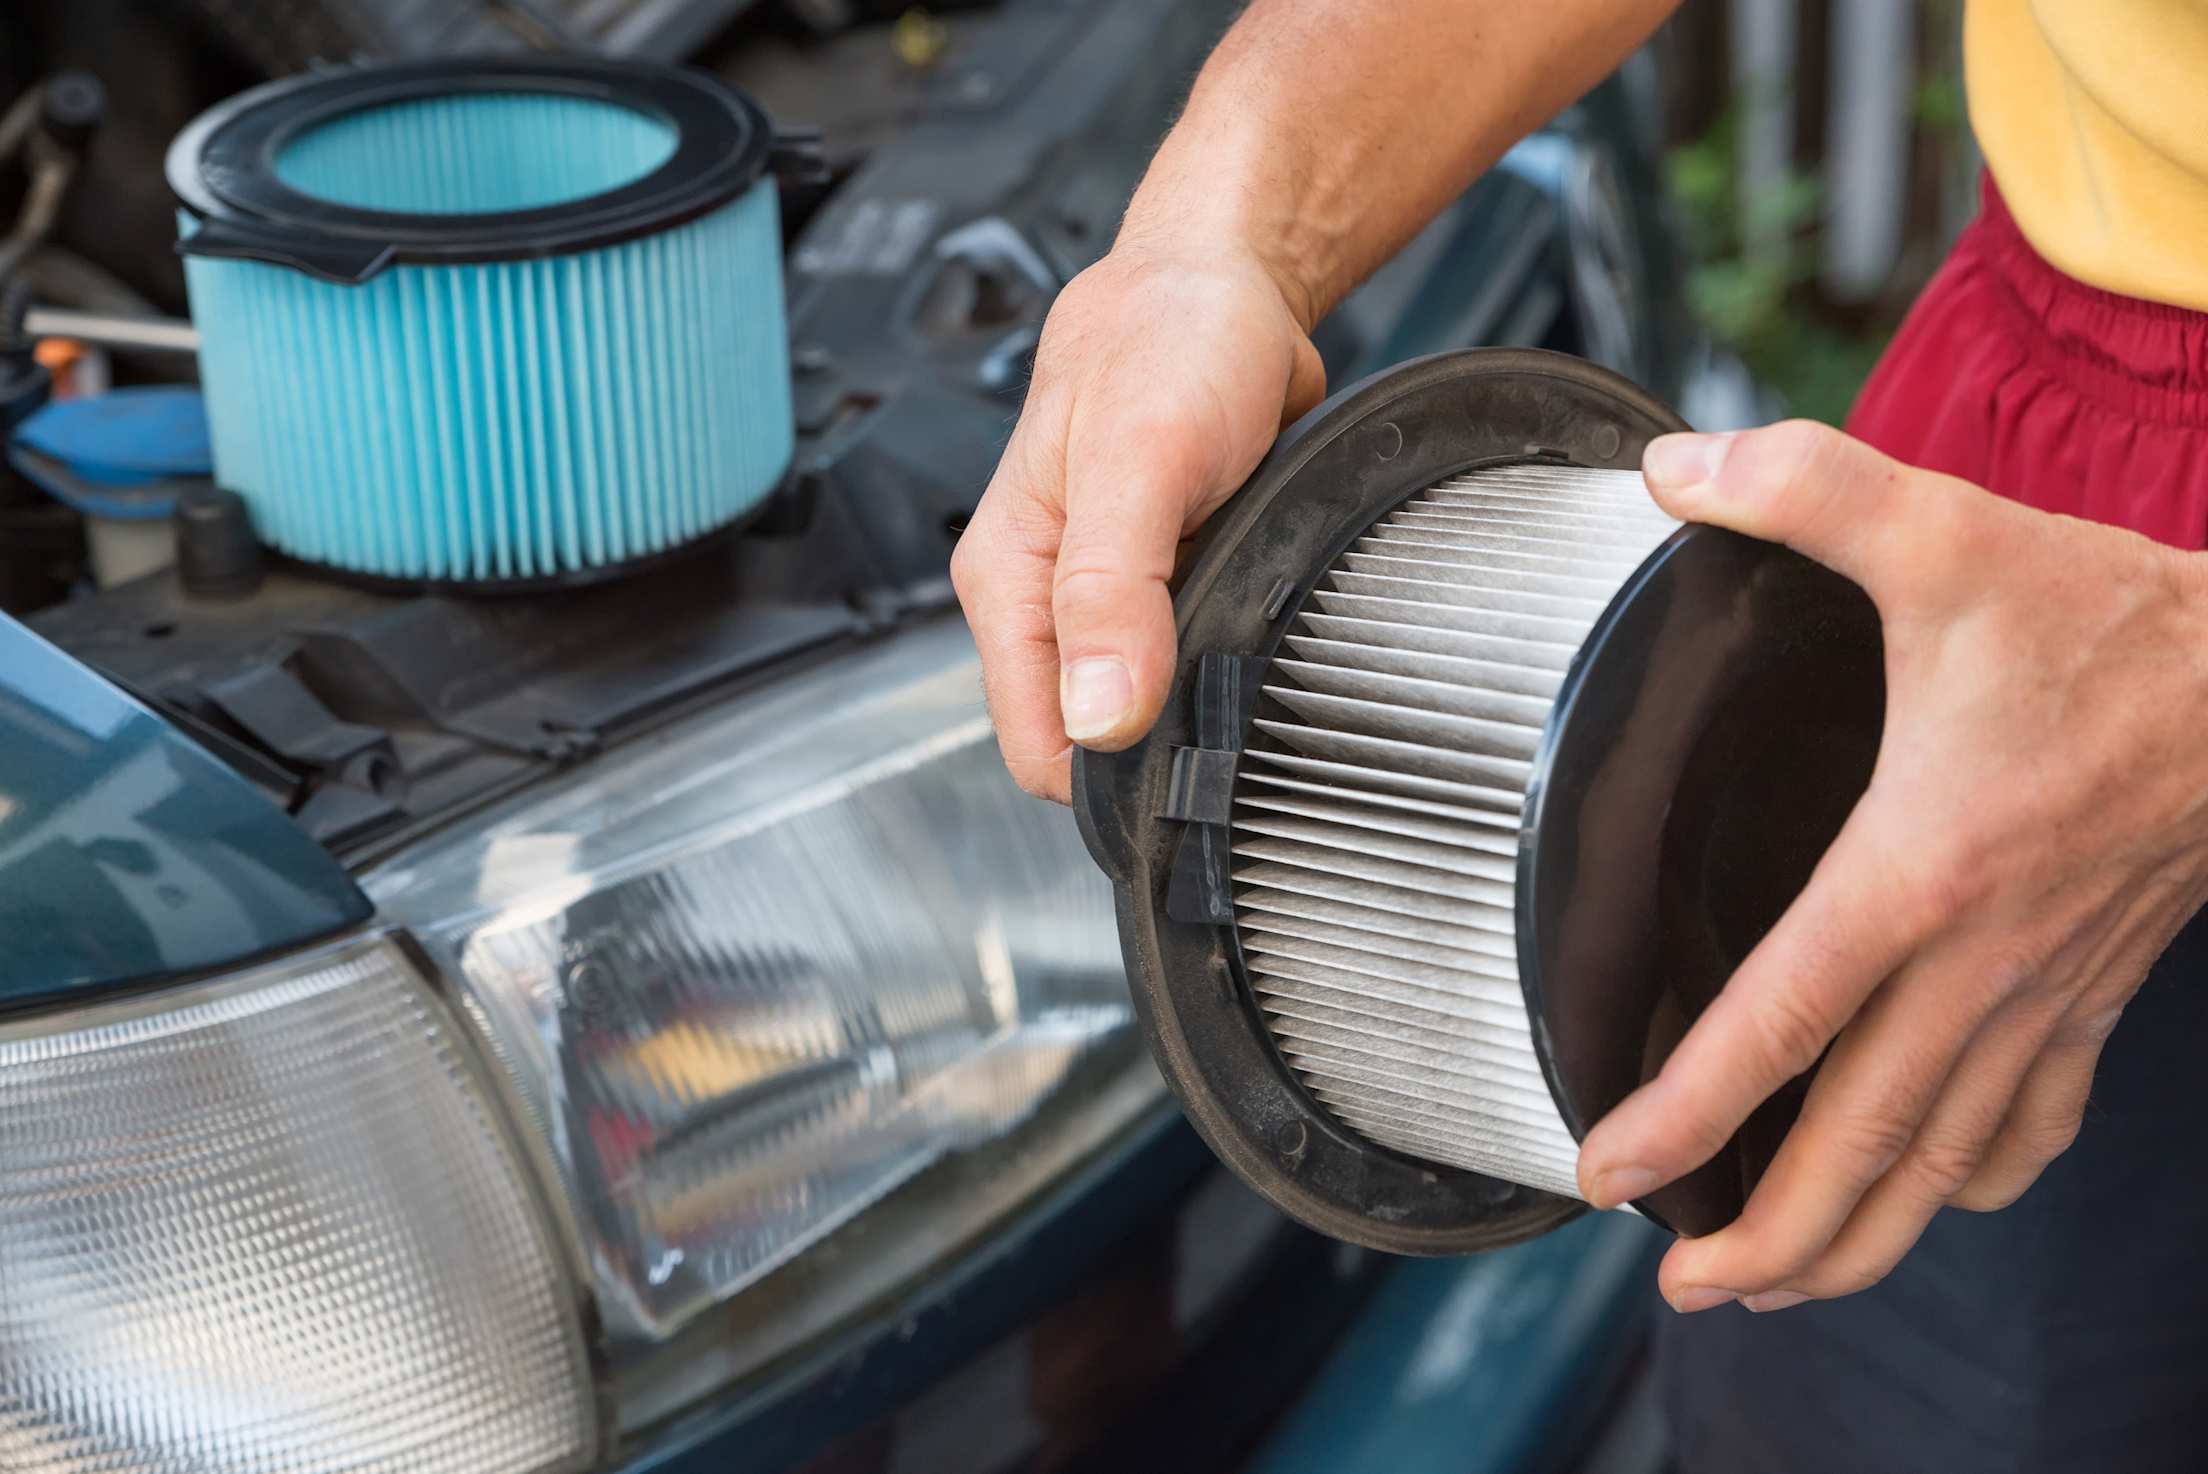
10. Replace the engine air filter.
Your car uses air as well as fuel when you step on the gas pedal, and that air first passes through the engine air filter to remove any potentially damaging particles. The filter generally needs to be replaced every 20,000 to 30,000 miles (check your manual), and is easy to access on most vehicles. First, locate the engine air filter box under the hood and undo the clips or screws along the top. Carefully pull back the cover, remove the old filter, and place the new one in the same orientation. Finally, close the cover and tighten the clips or screws.
When to Call a Professional
Not all car repairs or maintenance should be attempted at home. Sometimes, it’s best to call in a professional, whether by bringing your vehicle into a AAA Owned and Operated Auto Repair Center or AAA Approved Auto Repair shop, or by calling AAA Roadside Assistance for help.
Tasks that are complicated or dangerous if done incorrectly, including brake and transmission repairs and services, should be handled by a repair shop. You may also avoid the personal hassle and get more comprehensive service by taking your car in. For example, changing the oil yourself rarely saves you much money, and you miss the opportunity to have your vehicle inspected, which can catch problems before they get more extensive.
If your check engine light comes on and the vehicle’s drivability changes, or if the light starts flashing, pull over immediately and call roadside assistance. Other signs that you should stop driving and have your car towed to the shop: Your oil pressure light comes on, fluids are leaking, you’re having difficulty steering, the brake pedal is lower to the floor than normal, your vehicle is smoking or steaming, or you hear grinding or knocking noises.
Get quality auto repair service from certified technicians and the brand you trust.