6 Tips for Indoor and Outdoor Composting
Follow these basic rules to successfully compost at home.

Whether you’re considering composting inside a tiny apartment or in the corner of a large garden, you may be surprised by how easy it is to get started. All you really need is a bit of space, food scraps, and carbon-rich materials (think: dry leaves or yesterday’s newspaper). The following basic principles will help you build a reliable compost setup and get the most out of it with the least amount of work.
1. Only put compostable materials in the bin.
Not everything can be composted, but the basics are fairly straightforward. If you have curbside compost pickup, check with your service provider for a full list of accepted materials.
You can compost:
- Hair and fur;
- Fireplace ashes, sawdust, and wood chips;
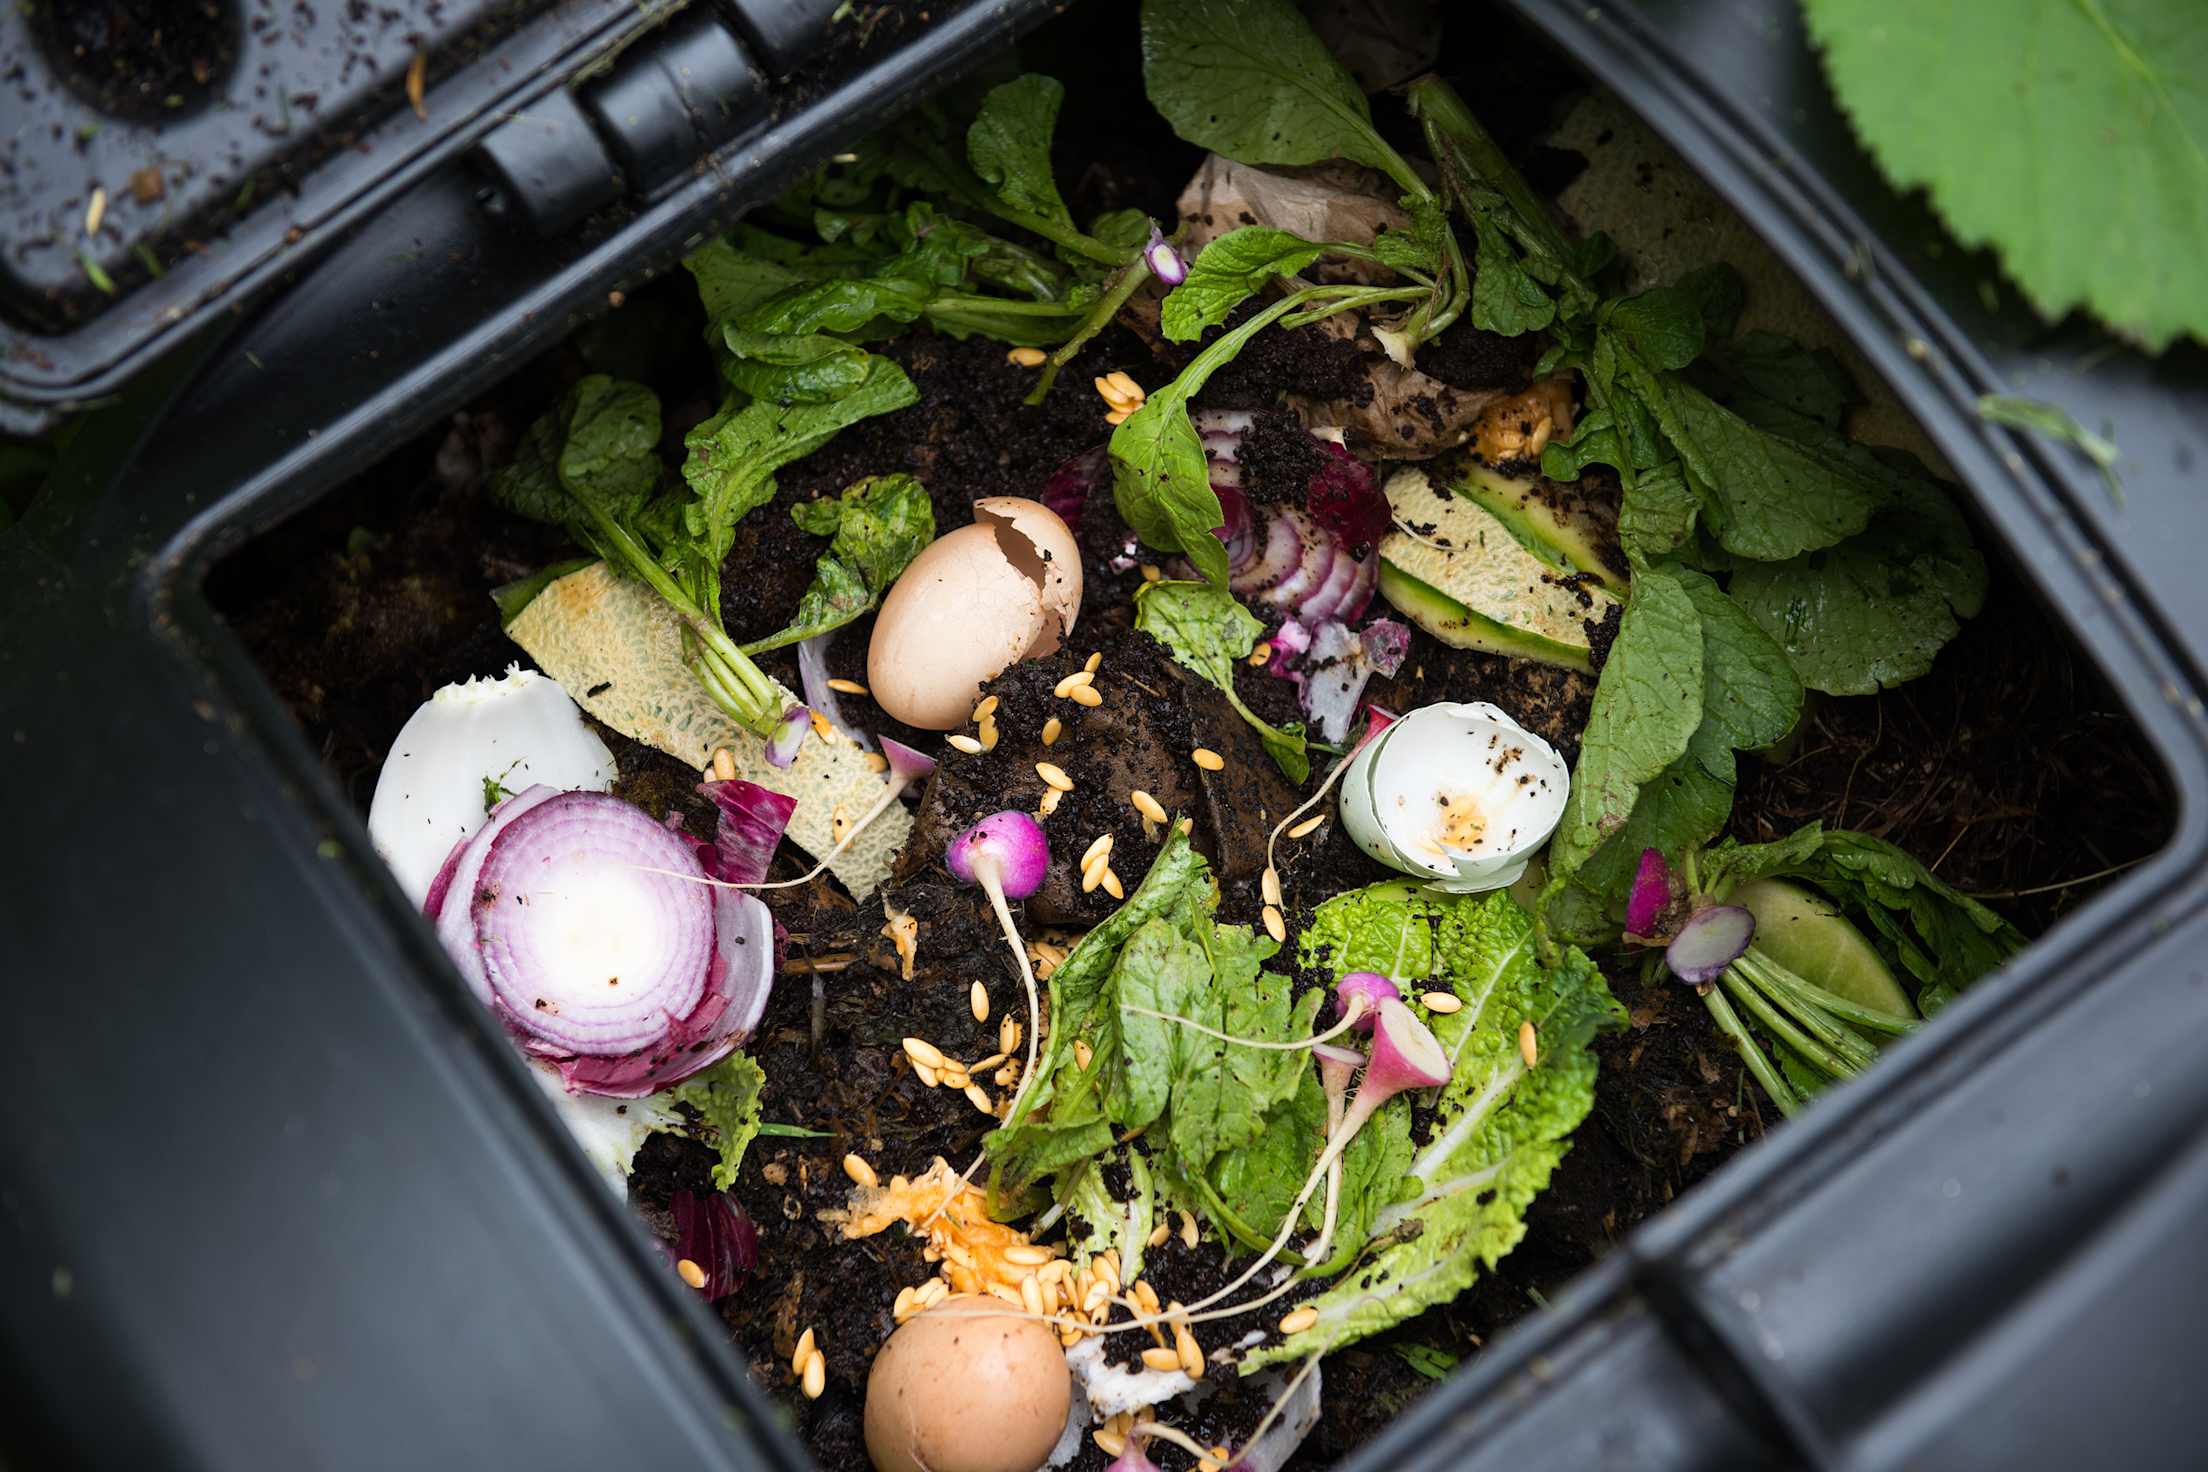
- Coffee grounds, coffee filters, fruits, vegetables, eggshells, nutshells, and tea bags;
- Shredded or small pieces of paper (not shiny) and newspaper, as well as cardboard;
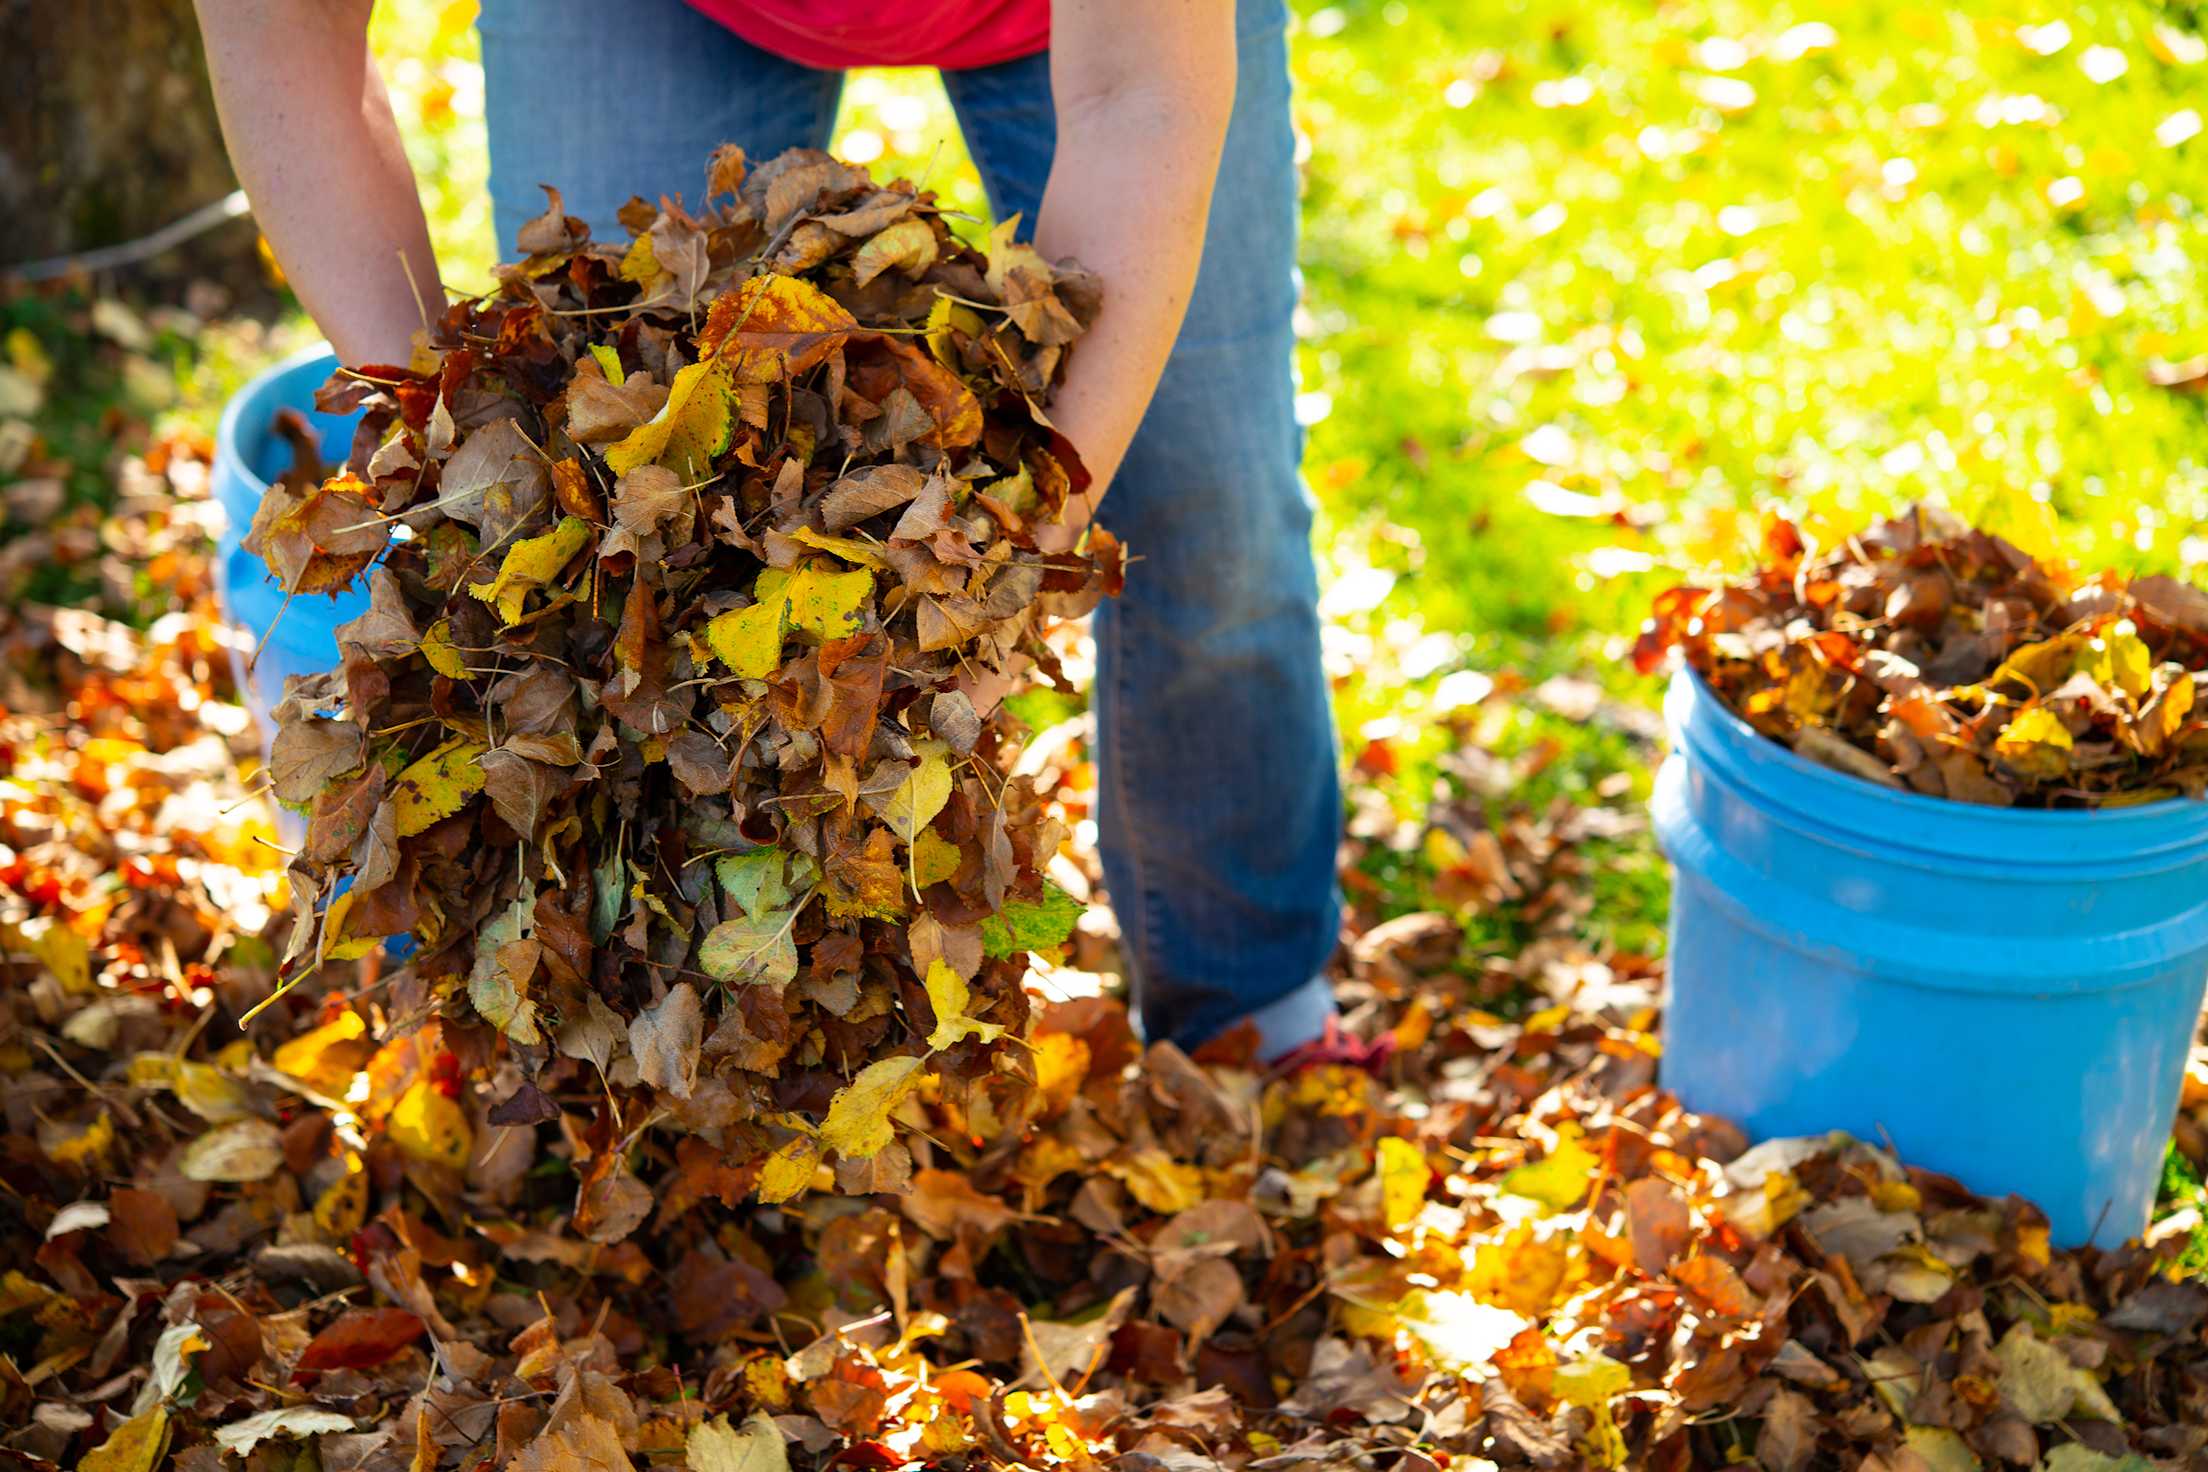
- Leaves, branches, twigs, houseplants, hay, straw, and other yard trimmings.
But it’s best not to compost the following items at home:
- Dairy products, eggs, meat, fish, fat, and grease—these foods will be stinky and attract pests;
- Pet feces or litter—these can contain pathogens and contaminate the compost;
- Coal or charcoal ash;
- Any yard trimmings that had chemical fertilizers applied, as well as black walnut tree leaves or twigs, which release substances that are harmful to plants.

2. Get the right mix of greens and browns.
There is a science to aerobic composting: You need the right mix of greens (that is, things that are high in nitrogen, such as kitchen scraps) and browns (items that are high in carbon, such as newspaper, twigs, and dead leaves). The ratio to aim for is two parts brown to one part green.
But be responsive to what’s actually happening in your bin or pile. If it’s slow to break down, you may need to add more air, nitrogen, or water. Experience and experimentation will help you know what to add, but if it’s moist and matted down, try turning the compost to introduce more oxygen. If it’s dry and aerated, try adding moisture. If it starts to smell, try adding more carbon.
Note: For bokashi composting, which is anaerobic (oxygen-free), you won’t need to worry about adding carbon-high materials. Instead, you’ll add microbe-treated bran, which drives the fermentation process and breaks down materials.
3. Pay attention to oxygen and moisture.
Both oxygen and water are important for well-functioning compost (unless you’re going with a bokashi style of composting, which relies on the lack of oxygen). Turning the compost helps you get oxygen in the mix, and it also redistributes the microorganisms that are diligently breaking everything down.
But if your contents get too dry, the process can stall. You want the compost to have the consistency of a damp sponge, says Heather Williams, environmental scientist with CalRecycle. If you pick up a handful and gently squeeze, some water should come out, but it shouldn’t gush liquid. Add more greens or water if it’s dry, and more browns if it’s too wet.

4. Let it heat up.
You need the pile to get fairly warm inside to encourage decomposition. (Yes, fallen leaves left alone will eventually turn into dirt—but this takes quite a while.) Once the temperature in the compost pile hits 130 to 140 degrees Fahrenheit, you can turn the compost to encourage decomposition and prevent it from getting too hot. Use a thermometer to check the temperature in several locations throughout the pile, paying particular attention to the center. (You may need to dig down a bit to get the thermometer in the right spot). You don’t want it too hot, since that will kill off the helpful microorganisms.
Good news, you don’t need to get too concerned about chilly temperatures. “You can still compost through winter,” says Alexa Kielty, a zero waste specialist at the San Francisco Department of the Environment. The microbes will slow down their activity in the cold and the compost pile may grow dormant, but it will pick up again once it gets warmer. If your compost bin will be in cold temperatures, you can try insulating it with a tarp or hay bales.
If you’re vermicomposting (using worms to aid in the decomposition process), you’ll need to keep the bin between 55 and 77 degrees Fahrenheit, per the Environmental Protection Agency. For bokashi composting, keep your bucket at room temperature.
5. Keep pests out.
Pile up a bunch of food, and it’s easy to attract all the area critters to your home or yard. That’s where rodent-resistant containers come in. And, remember, your compost will be less attractive to pests if it doesn’t have foods on the “no” list, such as meat or dairy.
If the compost is attracting animals and you don’t want to switch to a pest-proof container, you can use mesh hardware cloth around the pile or immediately cover food with brown materials. Burying food under brown material can also help avoid flies.
6. Reap the benefits.
It’s fairly apparent when compost is done. “You can take it in your hand and when you smell it, it should smell like sweet soil—it should not smell like a rotting food,” Kielty says. You also won’t see big chunks in it.
You can mix the compost and dirt in a one-to-one mix, she says, and plant from there. “You don’t want to overuse the compost on your plants, because it’s high in nitrogen,” Kielty says—too much will burn the plant. You can also use it as mulch around trees and plants, without letting it touch them directly.
Smart Tip: Neighbors with a large garden space or local community gardens will likely be grateful for any excess compost you can pass along.