How to Compost at Home
Cut down on your household trash and reap big environmental benefits.


Have you been thinking about composting, but held off because you don't have outdoor space, aren't quite sure how it works, or fear noxious odors or an onslaught of critters? Fortunately, composting is less intimidating than it seems, and once you have your set-up in place, it's a simple habit to keep up.
Here’s why experts encourage everyone to compost and exactly what you need to know to get started, including tips to keep your compost stink- and pest-free and how to maintain the right balance of materials.
The Benefits of Composting
Composting can keep more than a quarter of the typical household’s waste out of the landfill, where it would create harmful greenhouse gasses, such as methane and carbon dioxide. While it can seem like a small step to put your banana peel in the compost bin instead of the trash can, composting can have big impacts. San Francisco’s oft-cited, highly effective, curbside composting program has reduced equivalent greenhouse gas emissions by 93,437 metric tons annually. That’s the same amount of GHG emissions saved by keeping 20,000 cars off the road for a year.
If you have a garden, you’ll also reap the benefits with larger, more attractive flowers and vegetables and fruits with higher nutrients and protein levels, says Heather Williams, environmental scientist with CalRecycle.
Using compost returns nutrients to the soil, cuts down on the need for petroleum-based fertilizers (which have a negative environmental impact), and also reduces the need for pesticides by supporting healthier, more resilient plants, says Alexa Kielty, a zero waste specialist at the San Francisco Department of the Environment.
Plus, since compost absorbs moisture, your plants will require less water. “You’re essentially protecting plants from drought by using compost,” Kielty says.
Choose a Composting Method
No matter where you live—a home with a sprawling backyard or a compact studio—you can compost. Here are some of the most common composting methods and how much space and attention is required for each.
1. Pick Up (or Drop Off)
Difficulty: Easy
Space required: Countertop bin or food container
The easiest option is to let someone else do the composting for you. Many municipal waste collection services in the West now offer curbside compost alongside trash and recycling services. If the service isn’t offered in your area, look to see if nearby community gardens and farmers’ markets host compost drop-off spots. Depending on where you live, you may also be able to arrange a service that will pick up your compostables (see options on Compost Now).
“We all need to take more responsibility for our waste stream, but not everyone has time, so sometimes a municipal program where someone comes and picks it up is as much as you’re capable of managing,” Williams says. “That’s significantly better than putting it in the trash.”
Smart Tip: If you can’t take your food waste straight to an outdoor receptacle, stash it in the freezer in an old takeout container, paper bag, or any other freezer-safe container to prevent odor.
2. Bokashi
Difficulty: Moderate, then easy once established
Space required: Bucket
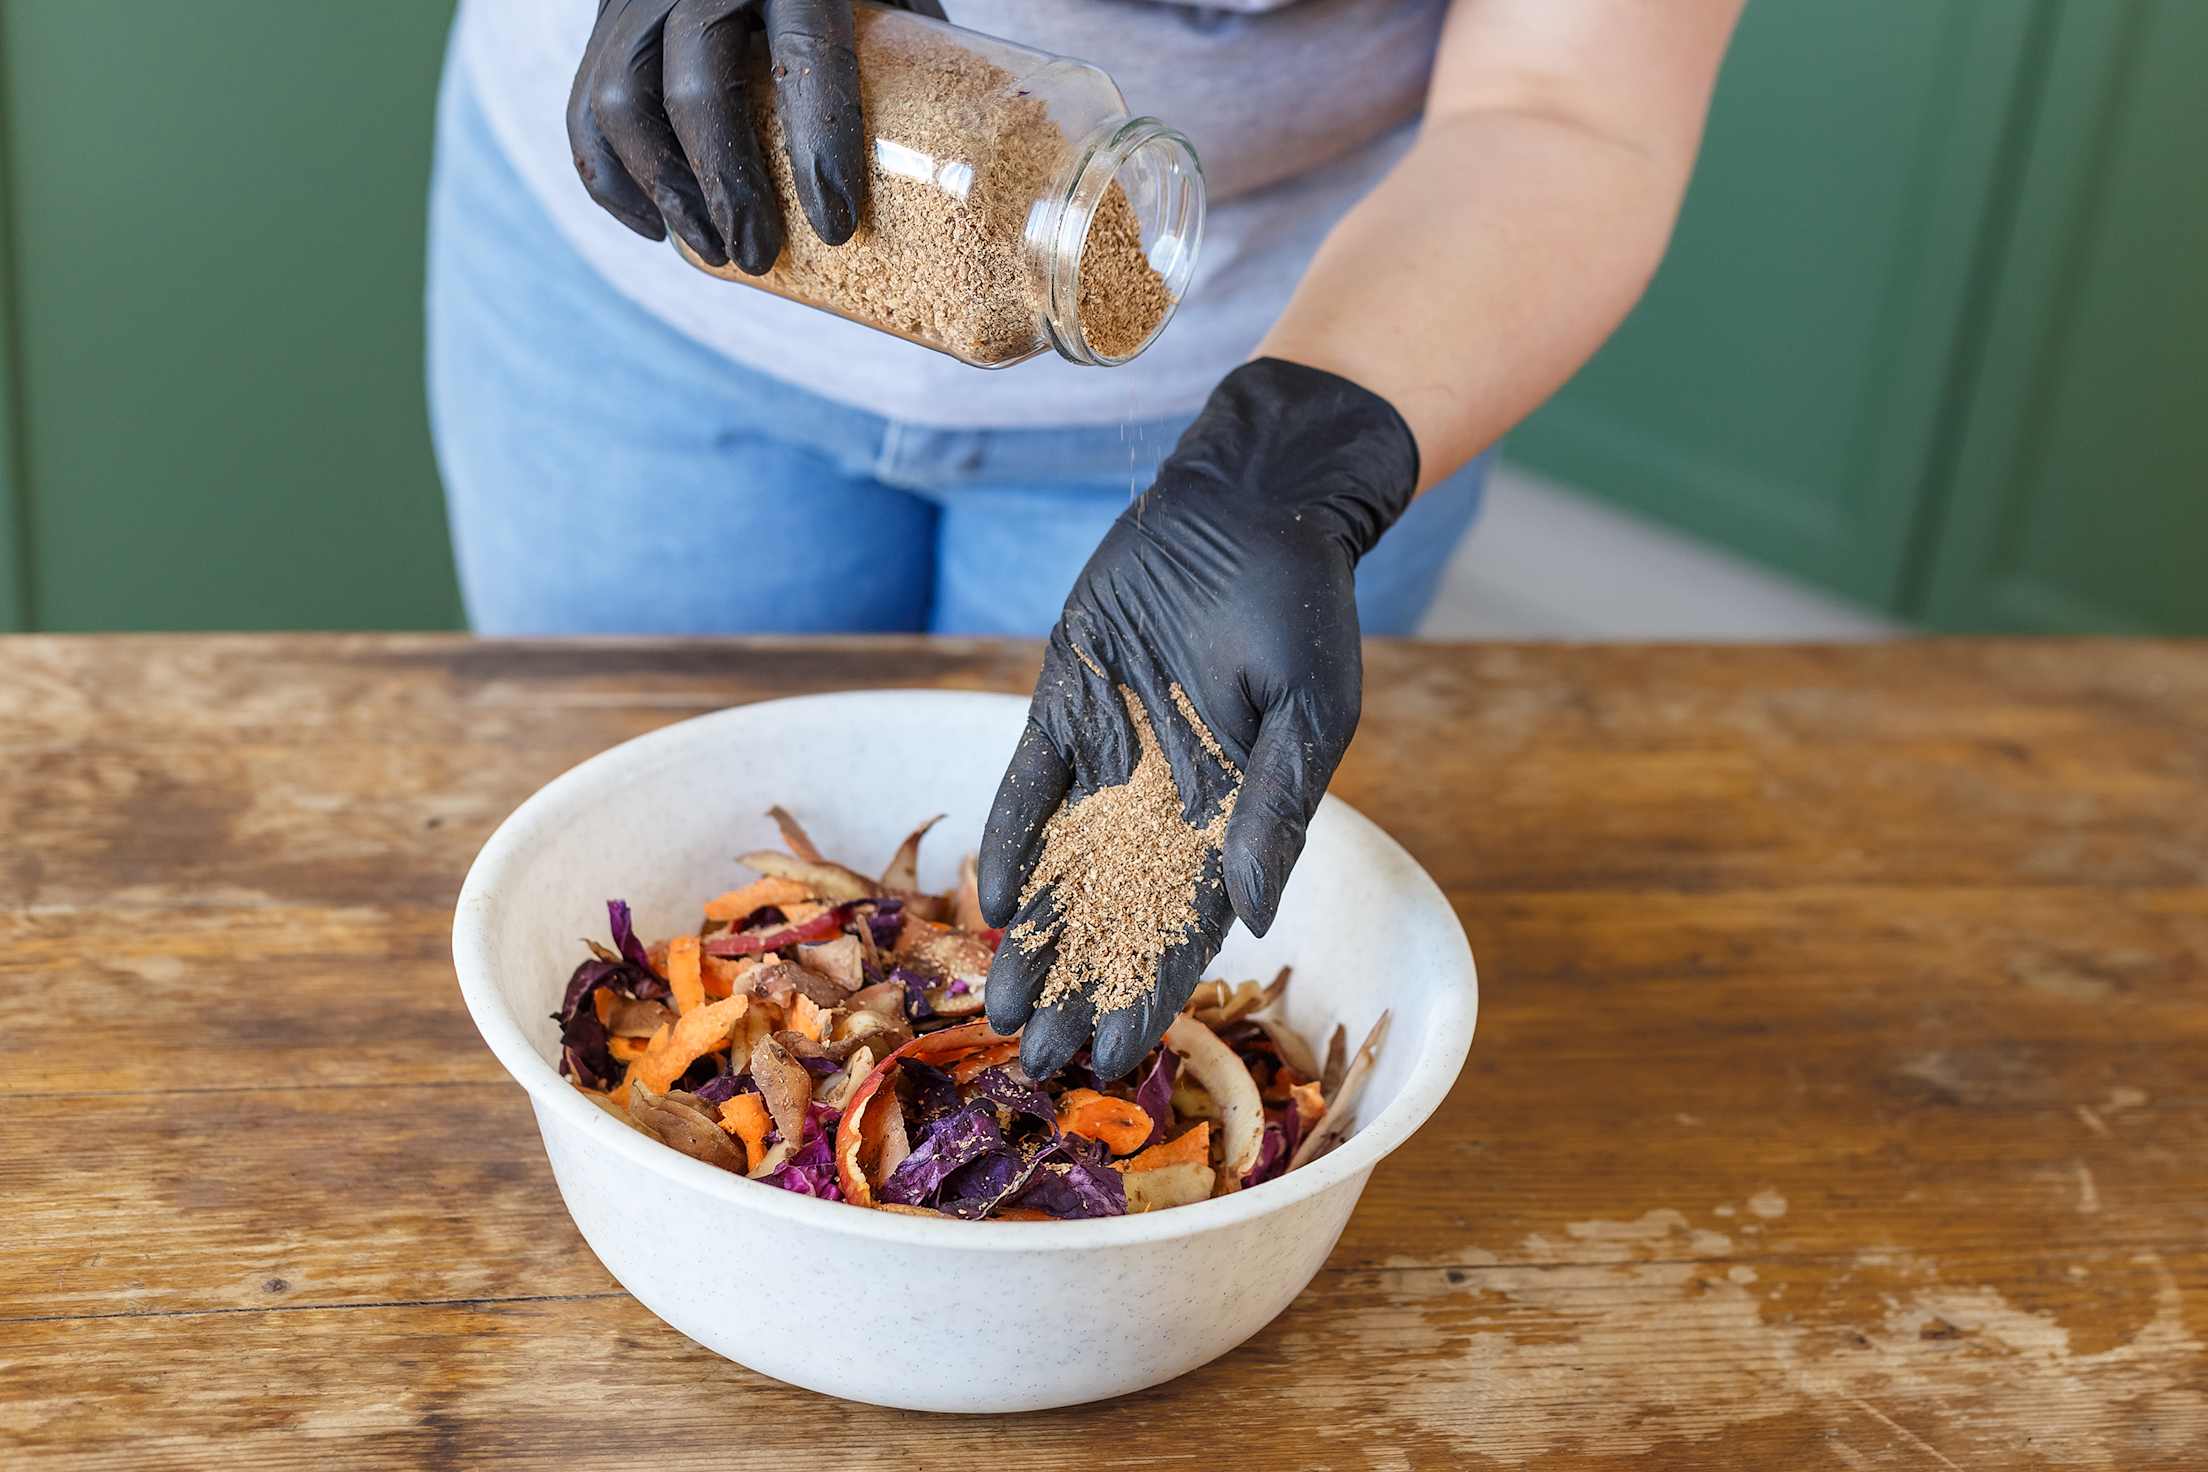
This composting method with roots in Japan and Korea is also ideal for small spaces, but it does require a place to bury the finished product. Bokashi uses fermentation to cut down on odors, Williams notes. It's an anaerobic process, which means it doesn’t depend on oxygen like other composting methods.
To get started, you’ll need a bucket or a bokashi kit with an airtight lid. You’ll place your food scraps inside, along with what’s known as “effective microorganisms" or a starter culture. The fermentation process will produce a potentially sour-smelling liquid, known as leachate, which you’ll drain off on a weekly basis. Bokashi buckets come with a spigot at the bottom for easy draining. You can use this nutrient-rich liquid to water outdoor plants.
Once the bucket is full, it will finish fermenting in less than two weeks. When it’s done, it will look similar to when you started, but have a sour, pickled smell. Bury the fermented scraps several inches under the soil to avoid attracting animals and allow it to finish breaking down fully.
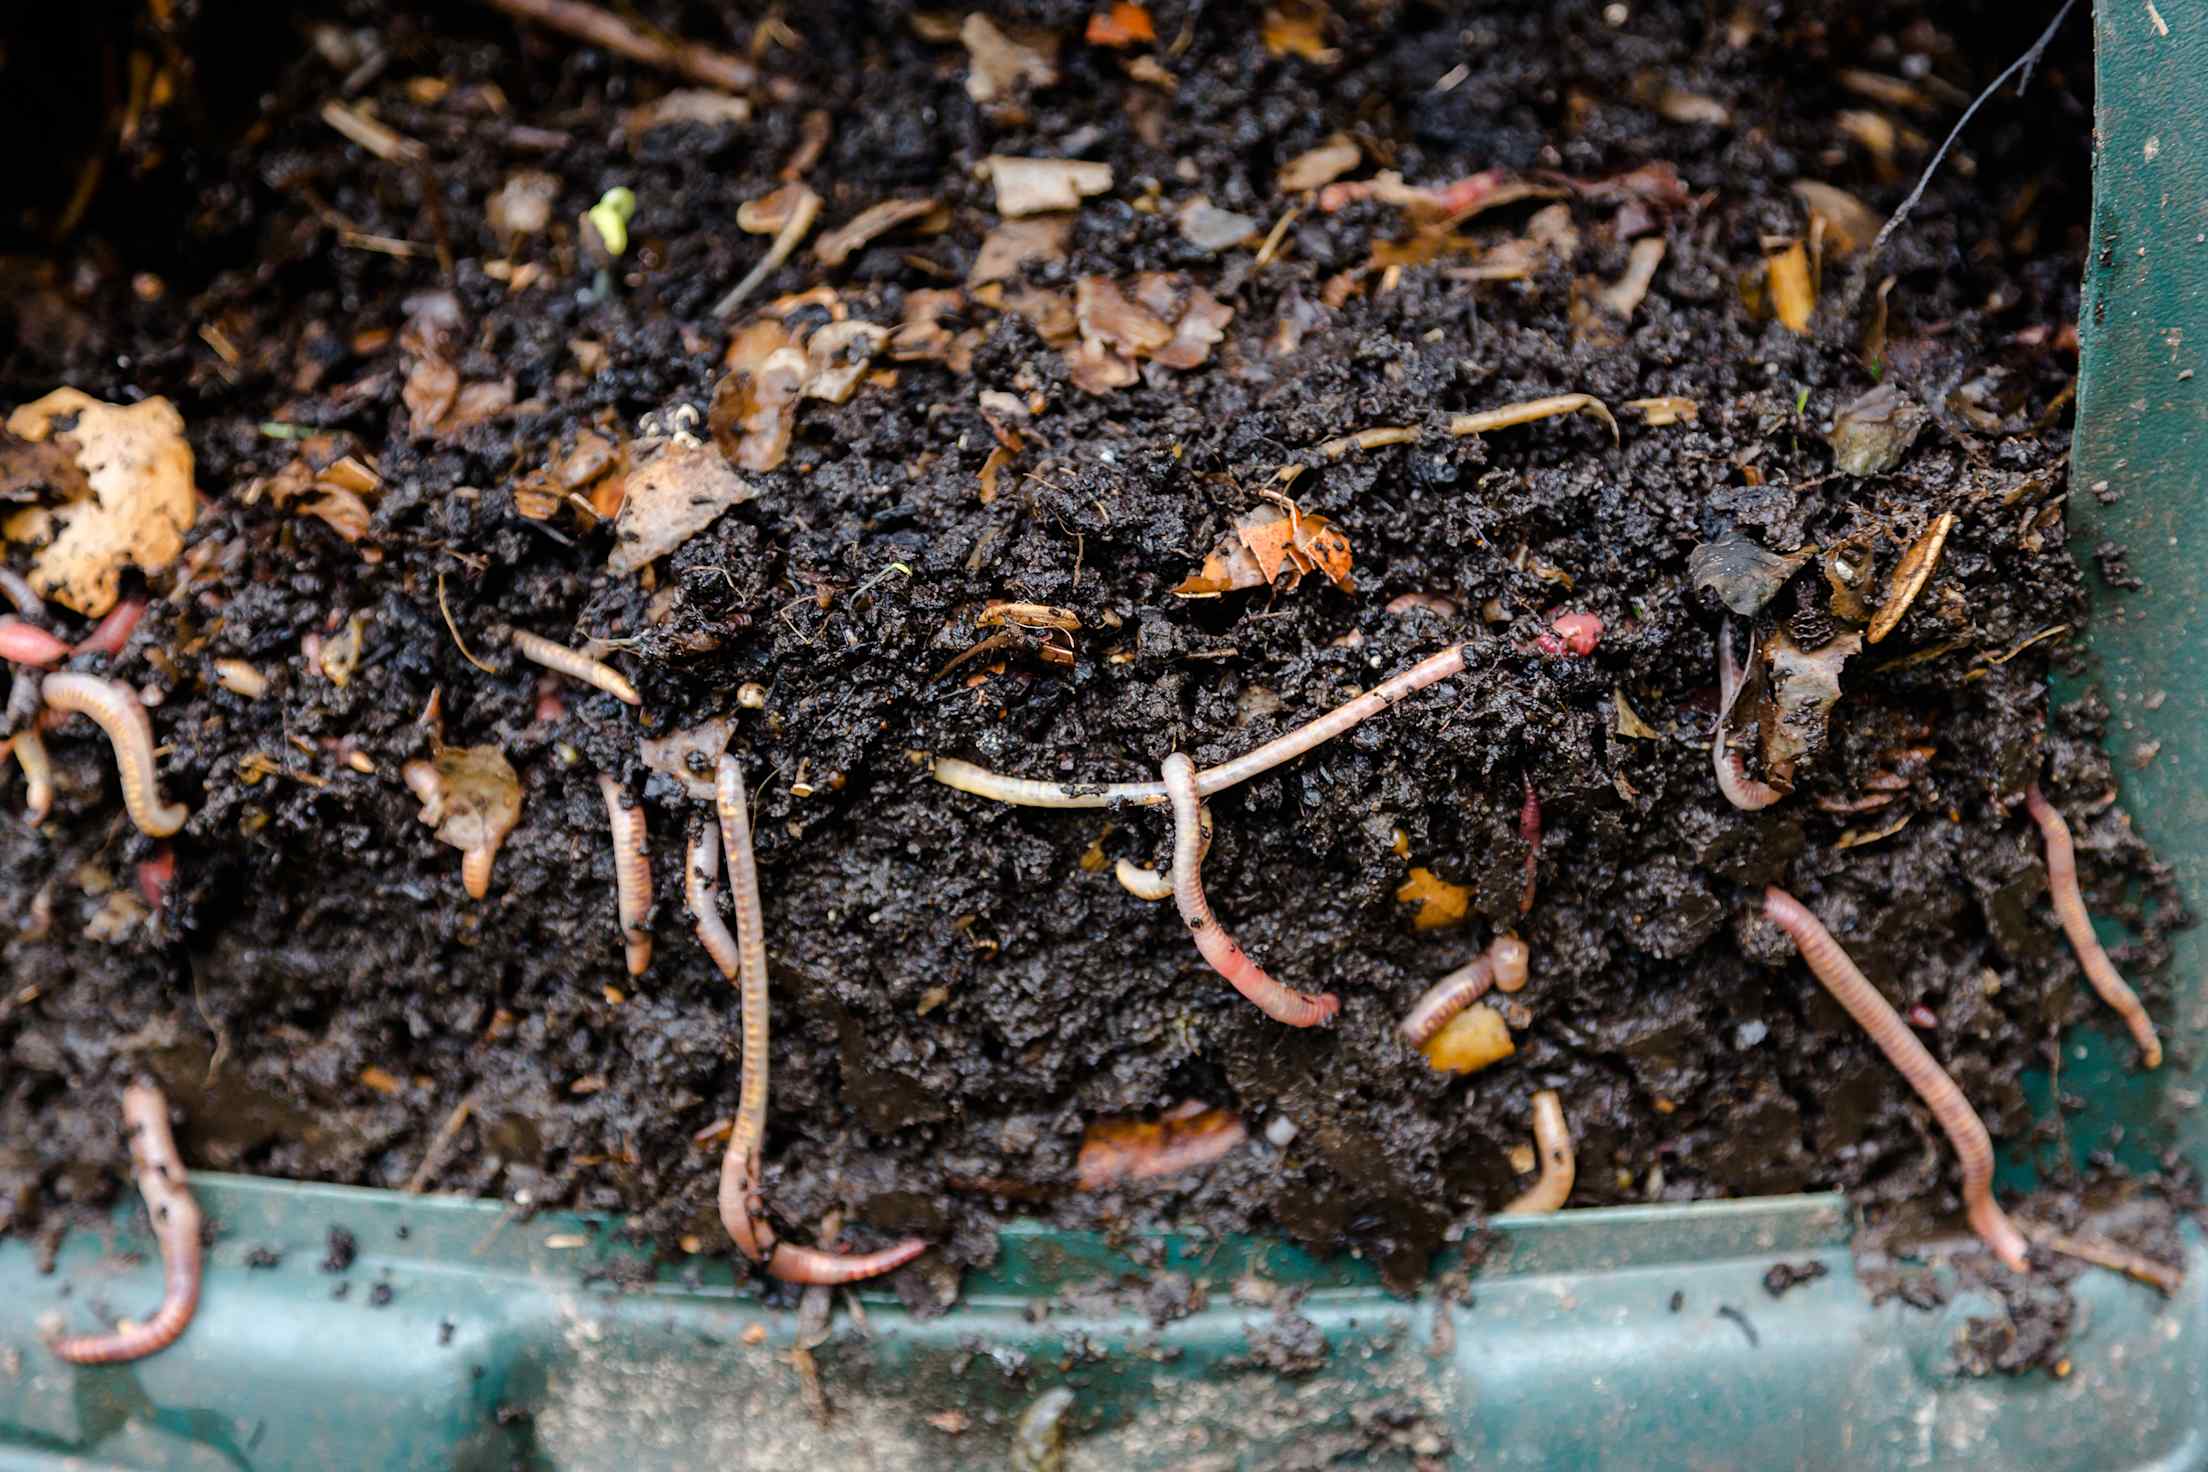
3. Vermicomposting
Difficulty: Easy
Space Required: Small bin
Worm composting is nowhere near as creepy-crawly as it sounds, and it’s ideal for indoor use. To do this type of composting, you’ll need a bin and a whole bunch of red worms. “It’s basically a worm house,” says San Francisco Department of the Environment’s Kielty. The worms eat the food scraps and paper that you give them and produce worm tea, which can be used as a liquid fertilizer, and castings, the worm droppings that make fantastic potting soil.
You’ll need a bin and enough worms to match the amount of food you discard and the size of your space. You can order worms online or purchase them at your local garden supply store. The Environmental Protection Agency estimates that 1,000 worms can consume a half-pound of organic material daily. Interested in getting started? The EPA shares step-by-step instructions for how to DIY your bins and maintain them.
To keep the worms happily munching, add food scraps weekly and discard any liquid monthly. Once the bin is full and there aren’t any scraps left, separate the worms from the compost and begin again.
Smart Tip: Both basements and under the kitchen sink are ideal locations for your worm bin; they’ll thrive at room temperature (53 to 77 degrees Fahrenheit).
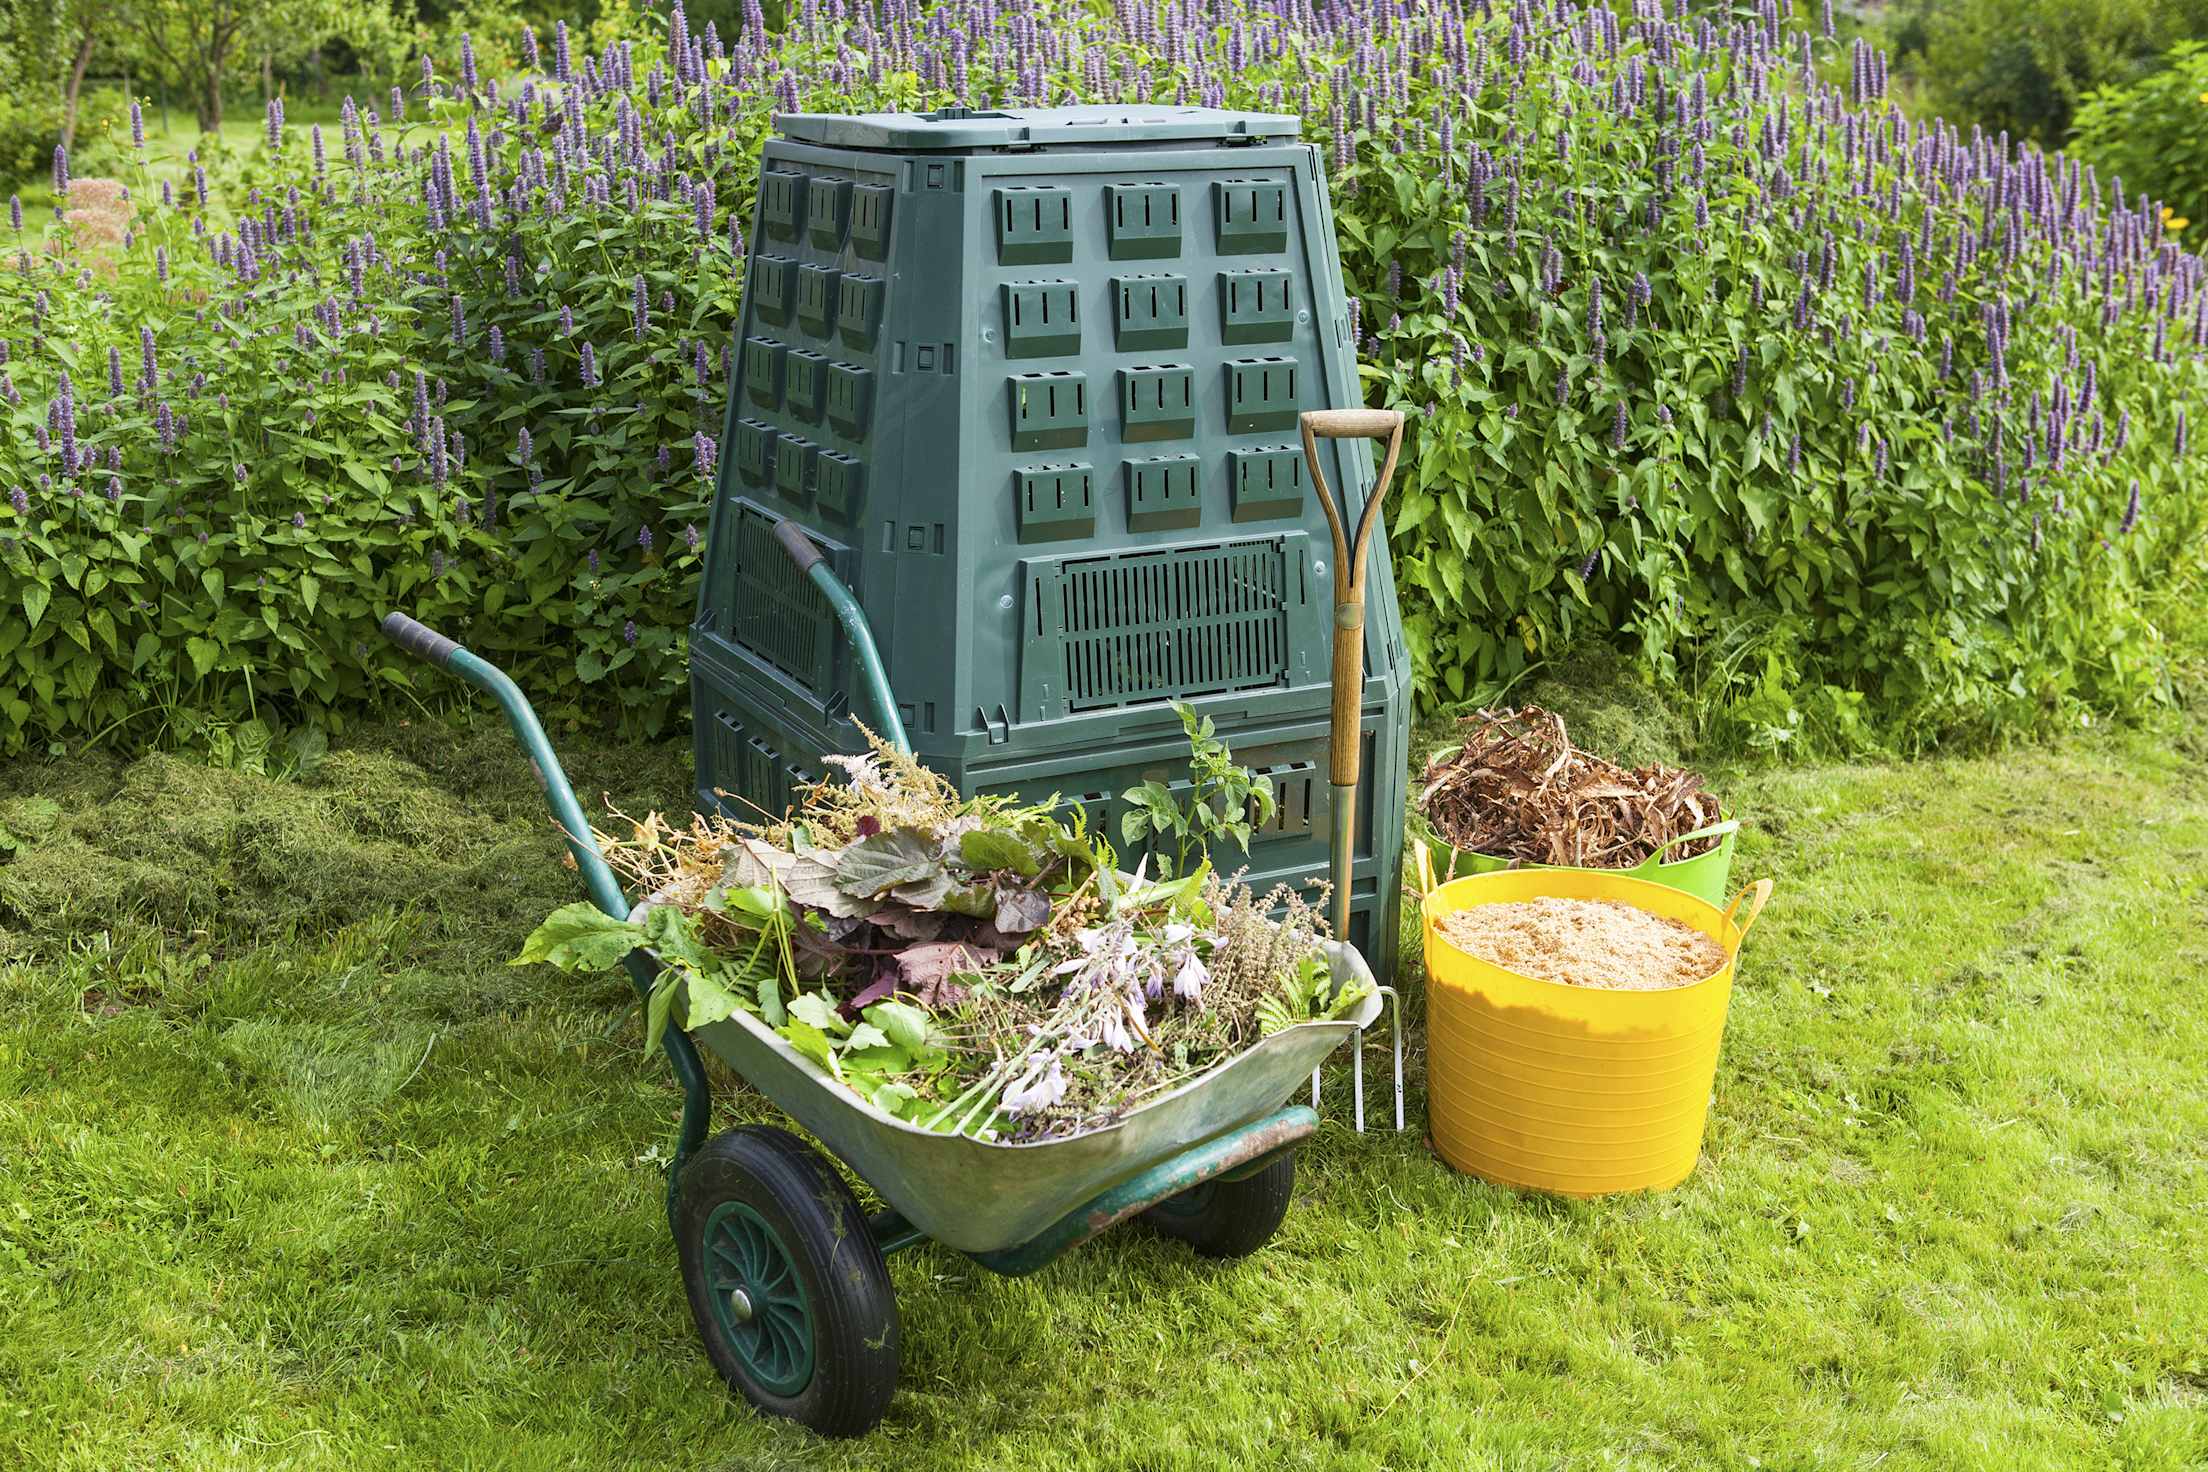
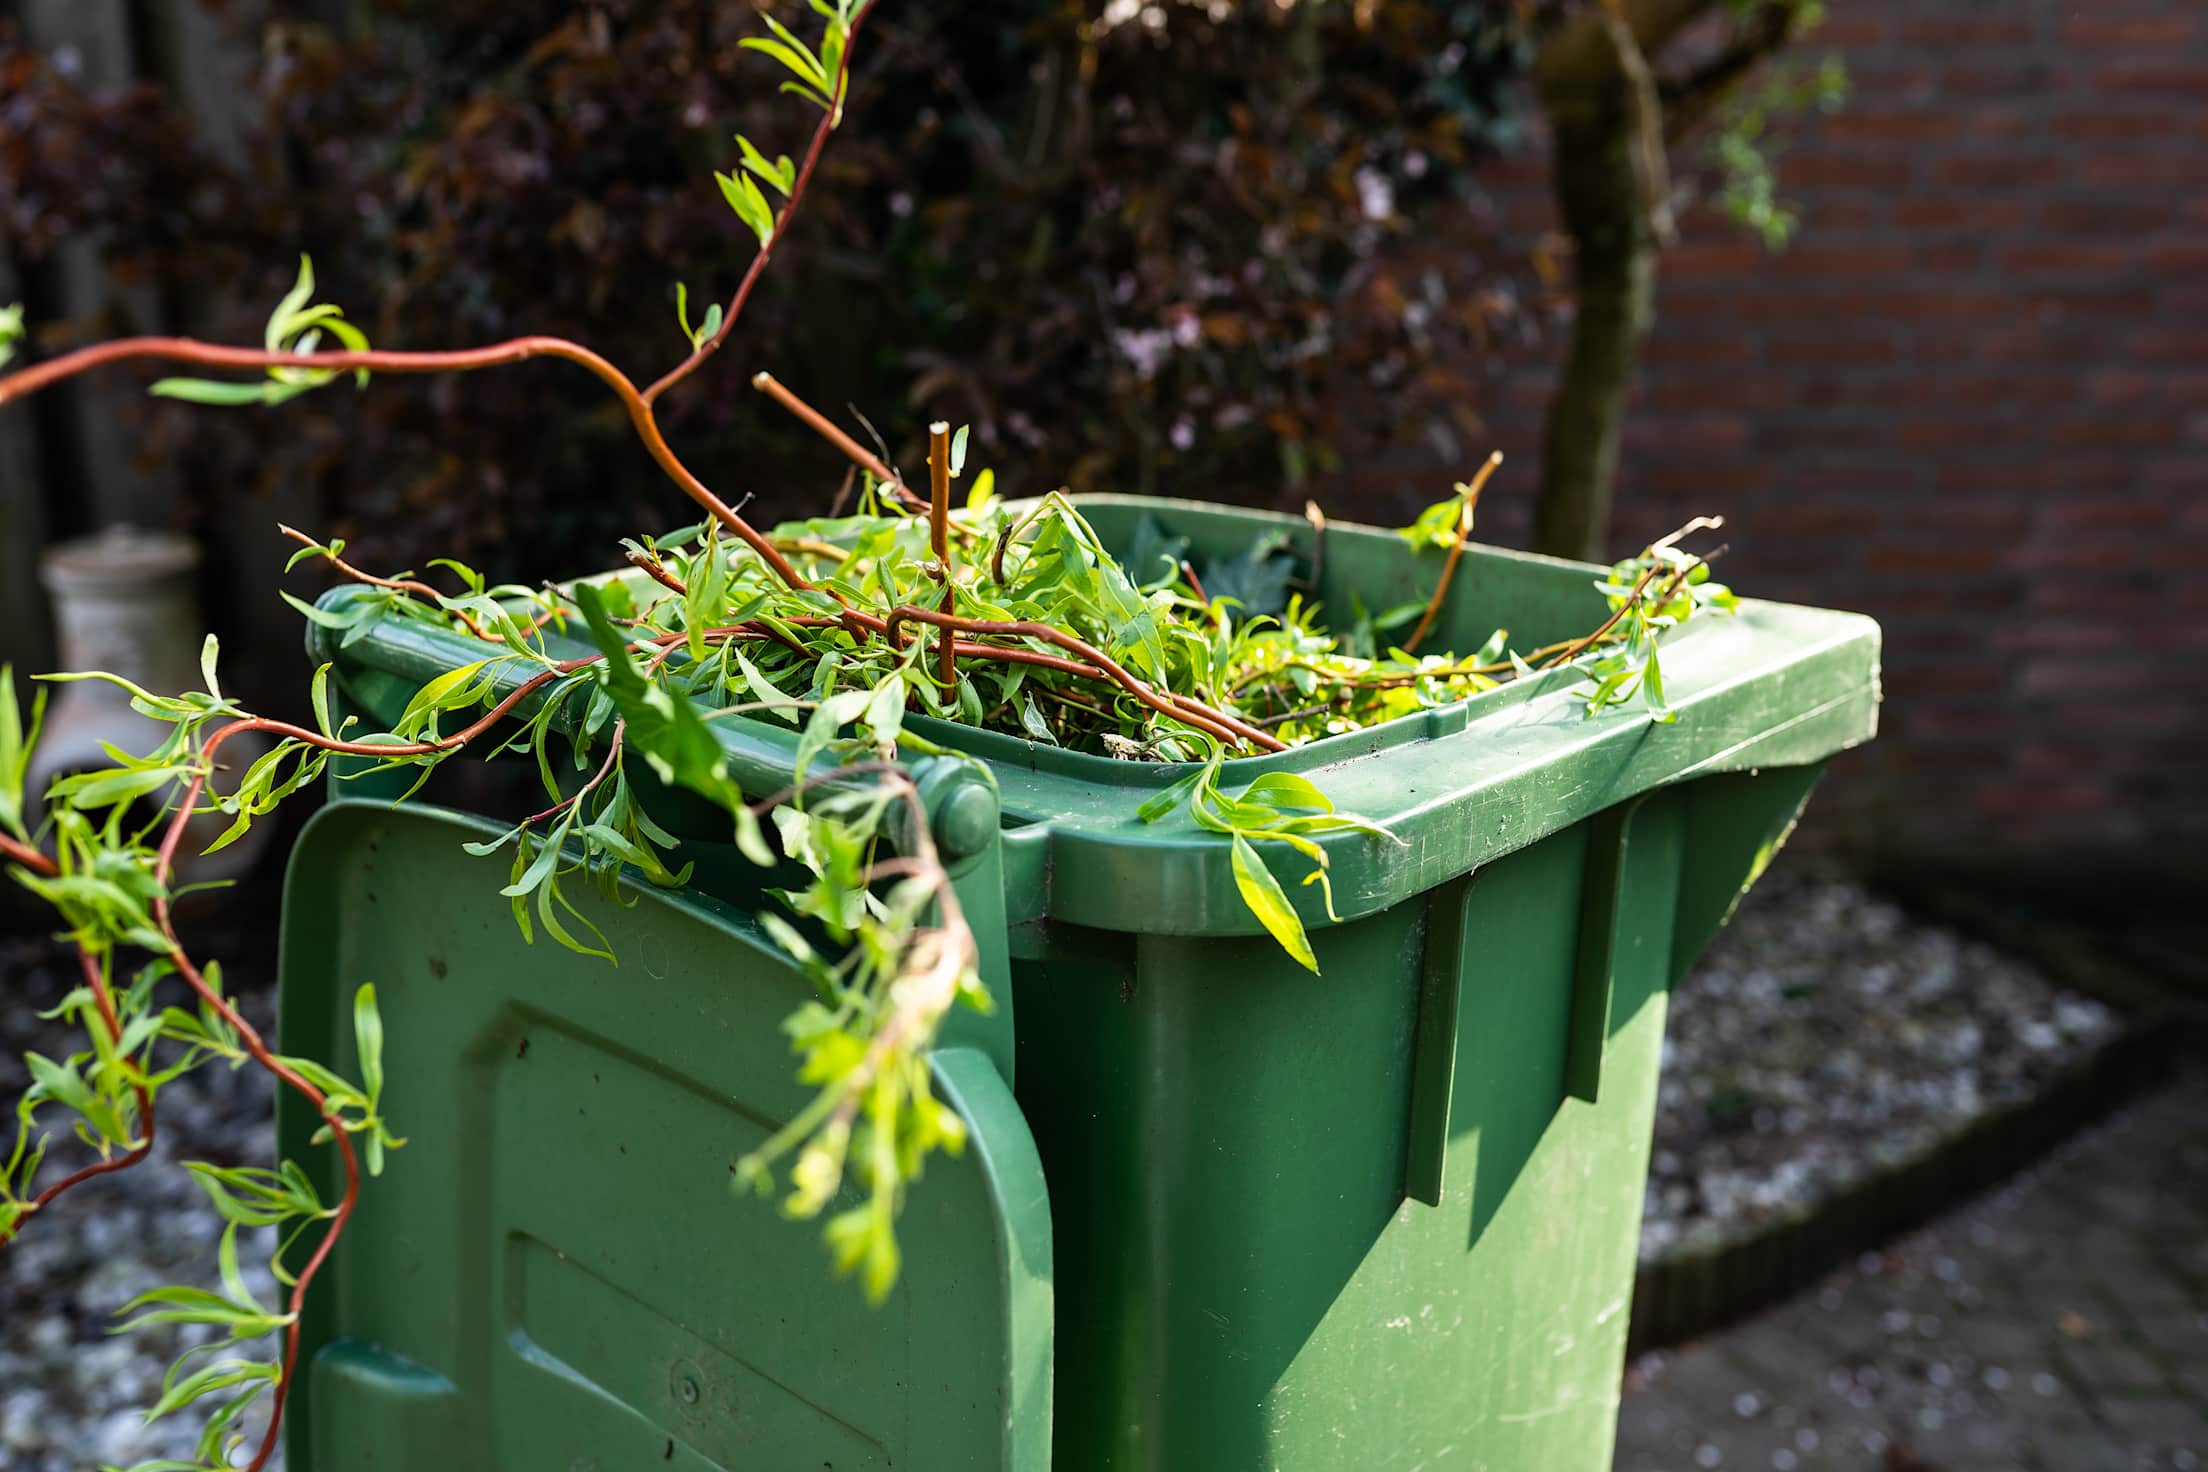
4. Outdoor Composter
Difficulty: Easy
Space Required: Varies
Outdoor compost bins range from small-space-friendly containers that fit on a deck or balcony to tumblers and bins that hold more than 65 gallons. All you really need is a small rodent-proof bin, along with some dry mulch-like materials (such as leaves or grass clippings), to get started, Williams says.
If you have ample space, take advantage of it. You can purchase a large composting bin, which can be as simple as a trash can with a pest-proof lid and some holes drilled throughout for air. Easy-to-turn compost tumblers are also a great option. They let you skip the shoveling and speed up how long it takes for food scraps to turn into compost.
“You can also do open-air composting, but for folks starting off, I’d recommend purchasing a composting unit,” Kielty says—that way you won’t have to fret about vermin.
If you want to skip the bin and instead pile your compost on the ground, start by finding a spot in the shade that’s within reach of your garden hose. Cover the area with a layer of woody material to help air reach the bottom of the pile. You’ll need to turn the materials weekly and make sure that the pile has the right moisture levels to keep it moving along. Add water as needed, aiming for a wet-sponge consistency.