Configuring Your Control Panel Settings
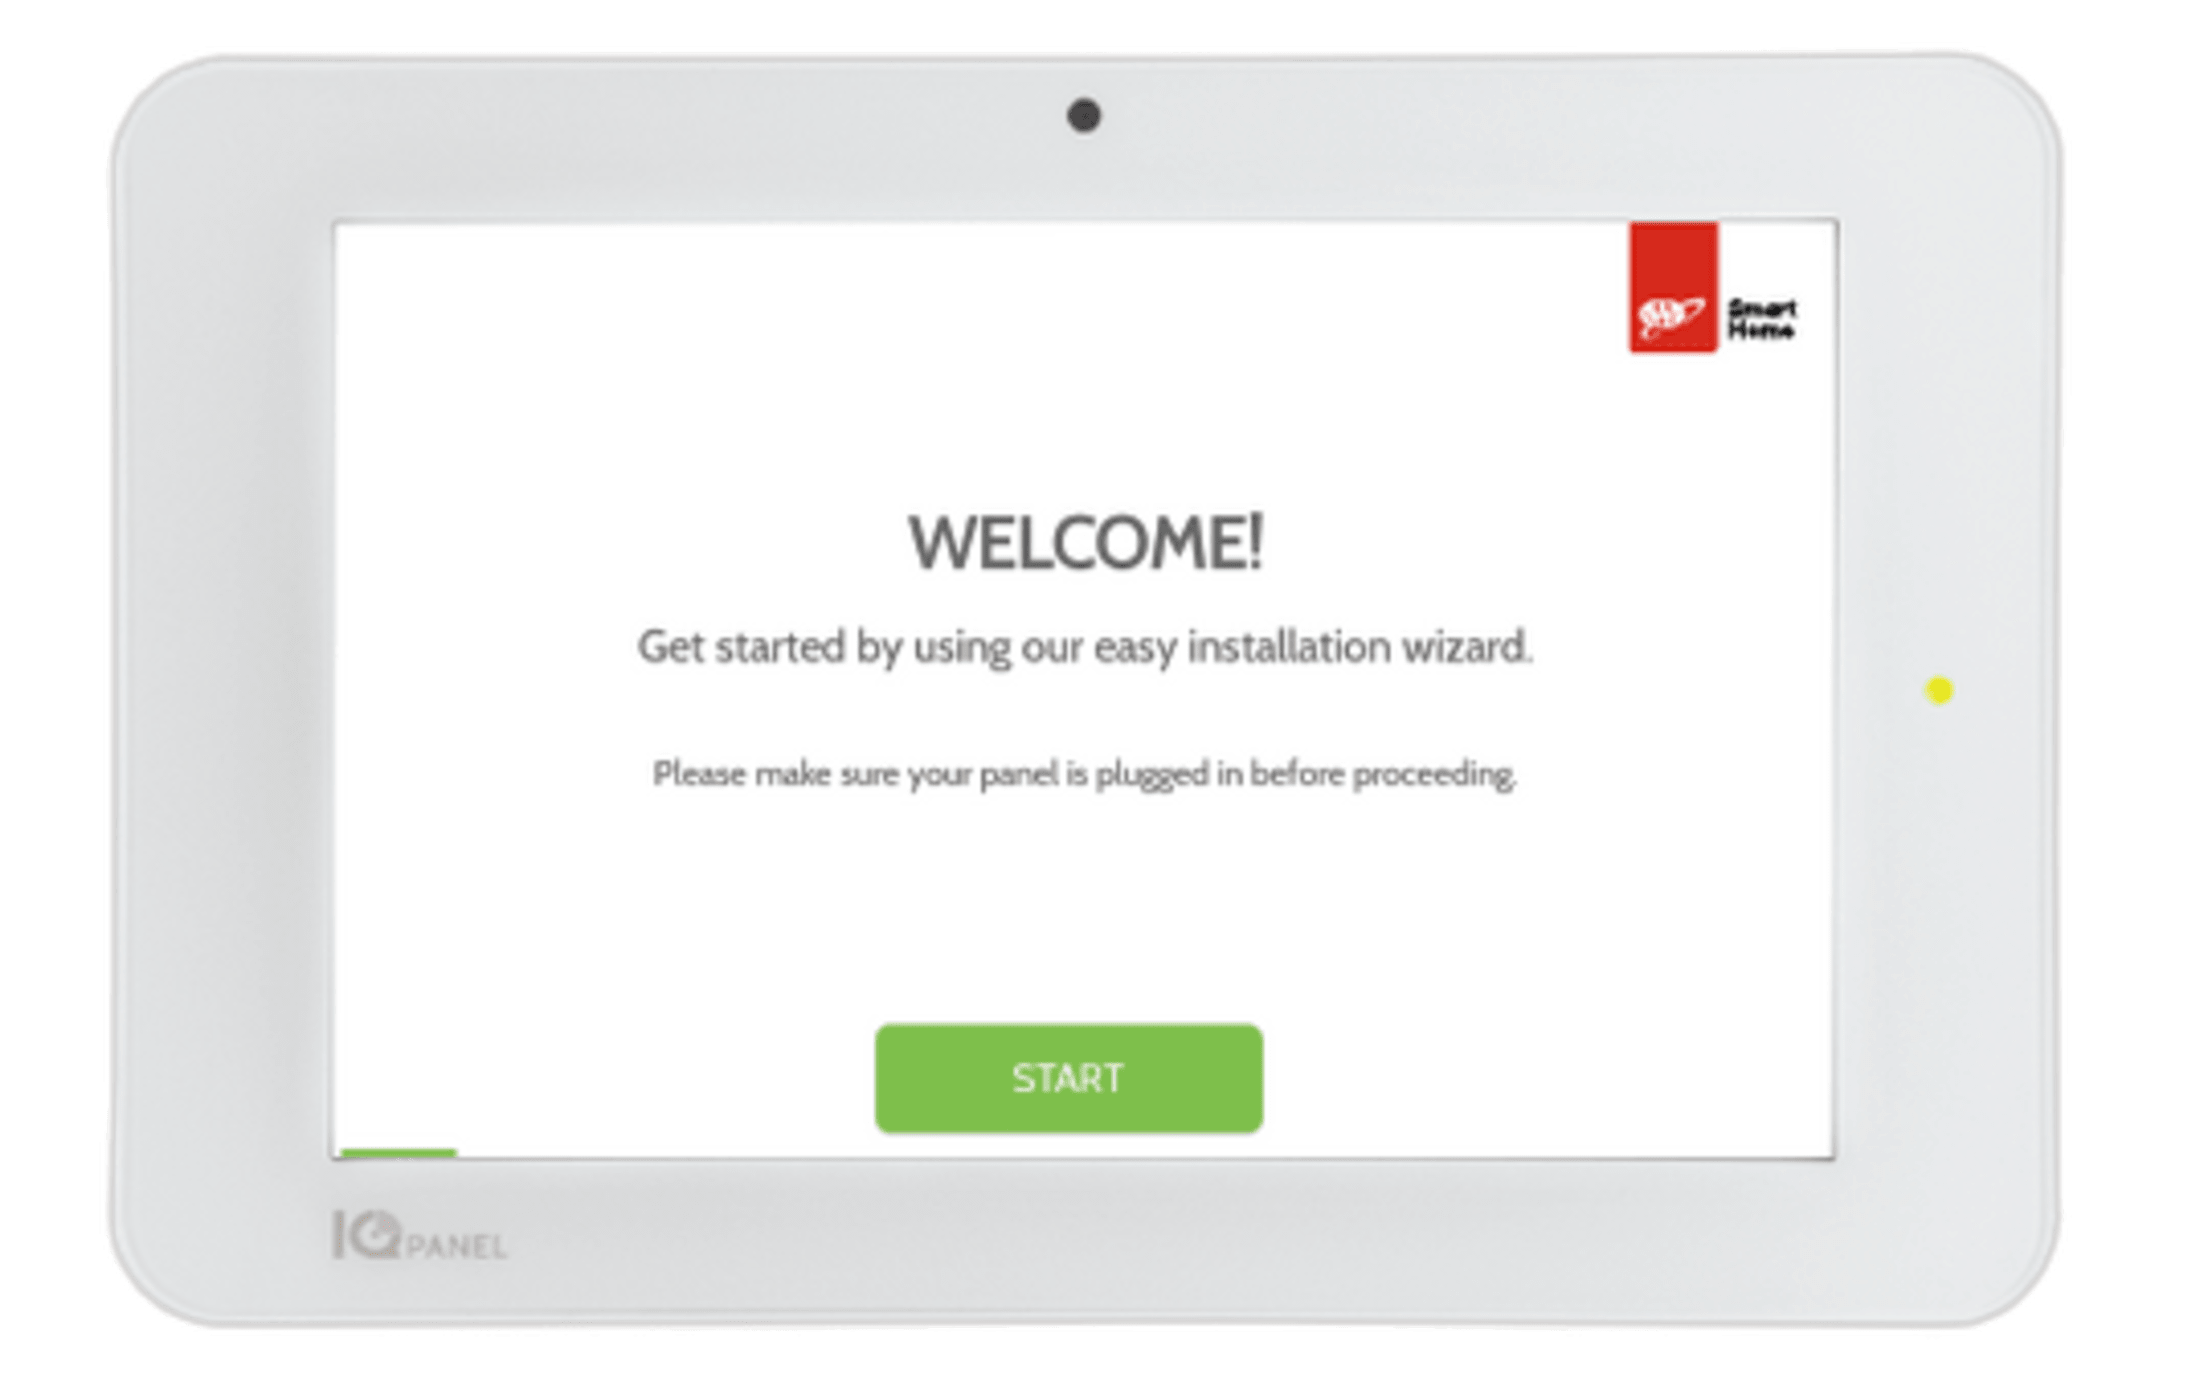
Once you’ve installed your security equipment, go to your control panel and run the on-screen setup wizard, where you’ll connect to WiFi, run a system test, enable bluetooth, and add users.
Since your security devices have already been connected to your panel, you can skip any screens for entering your sensors.
During this process, you’ll be asked to enter your master code. Your default code is 1234. But for security purposes, you should change your code once your install is complete.
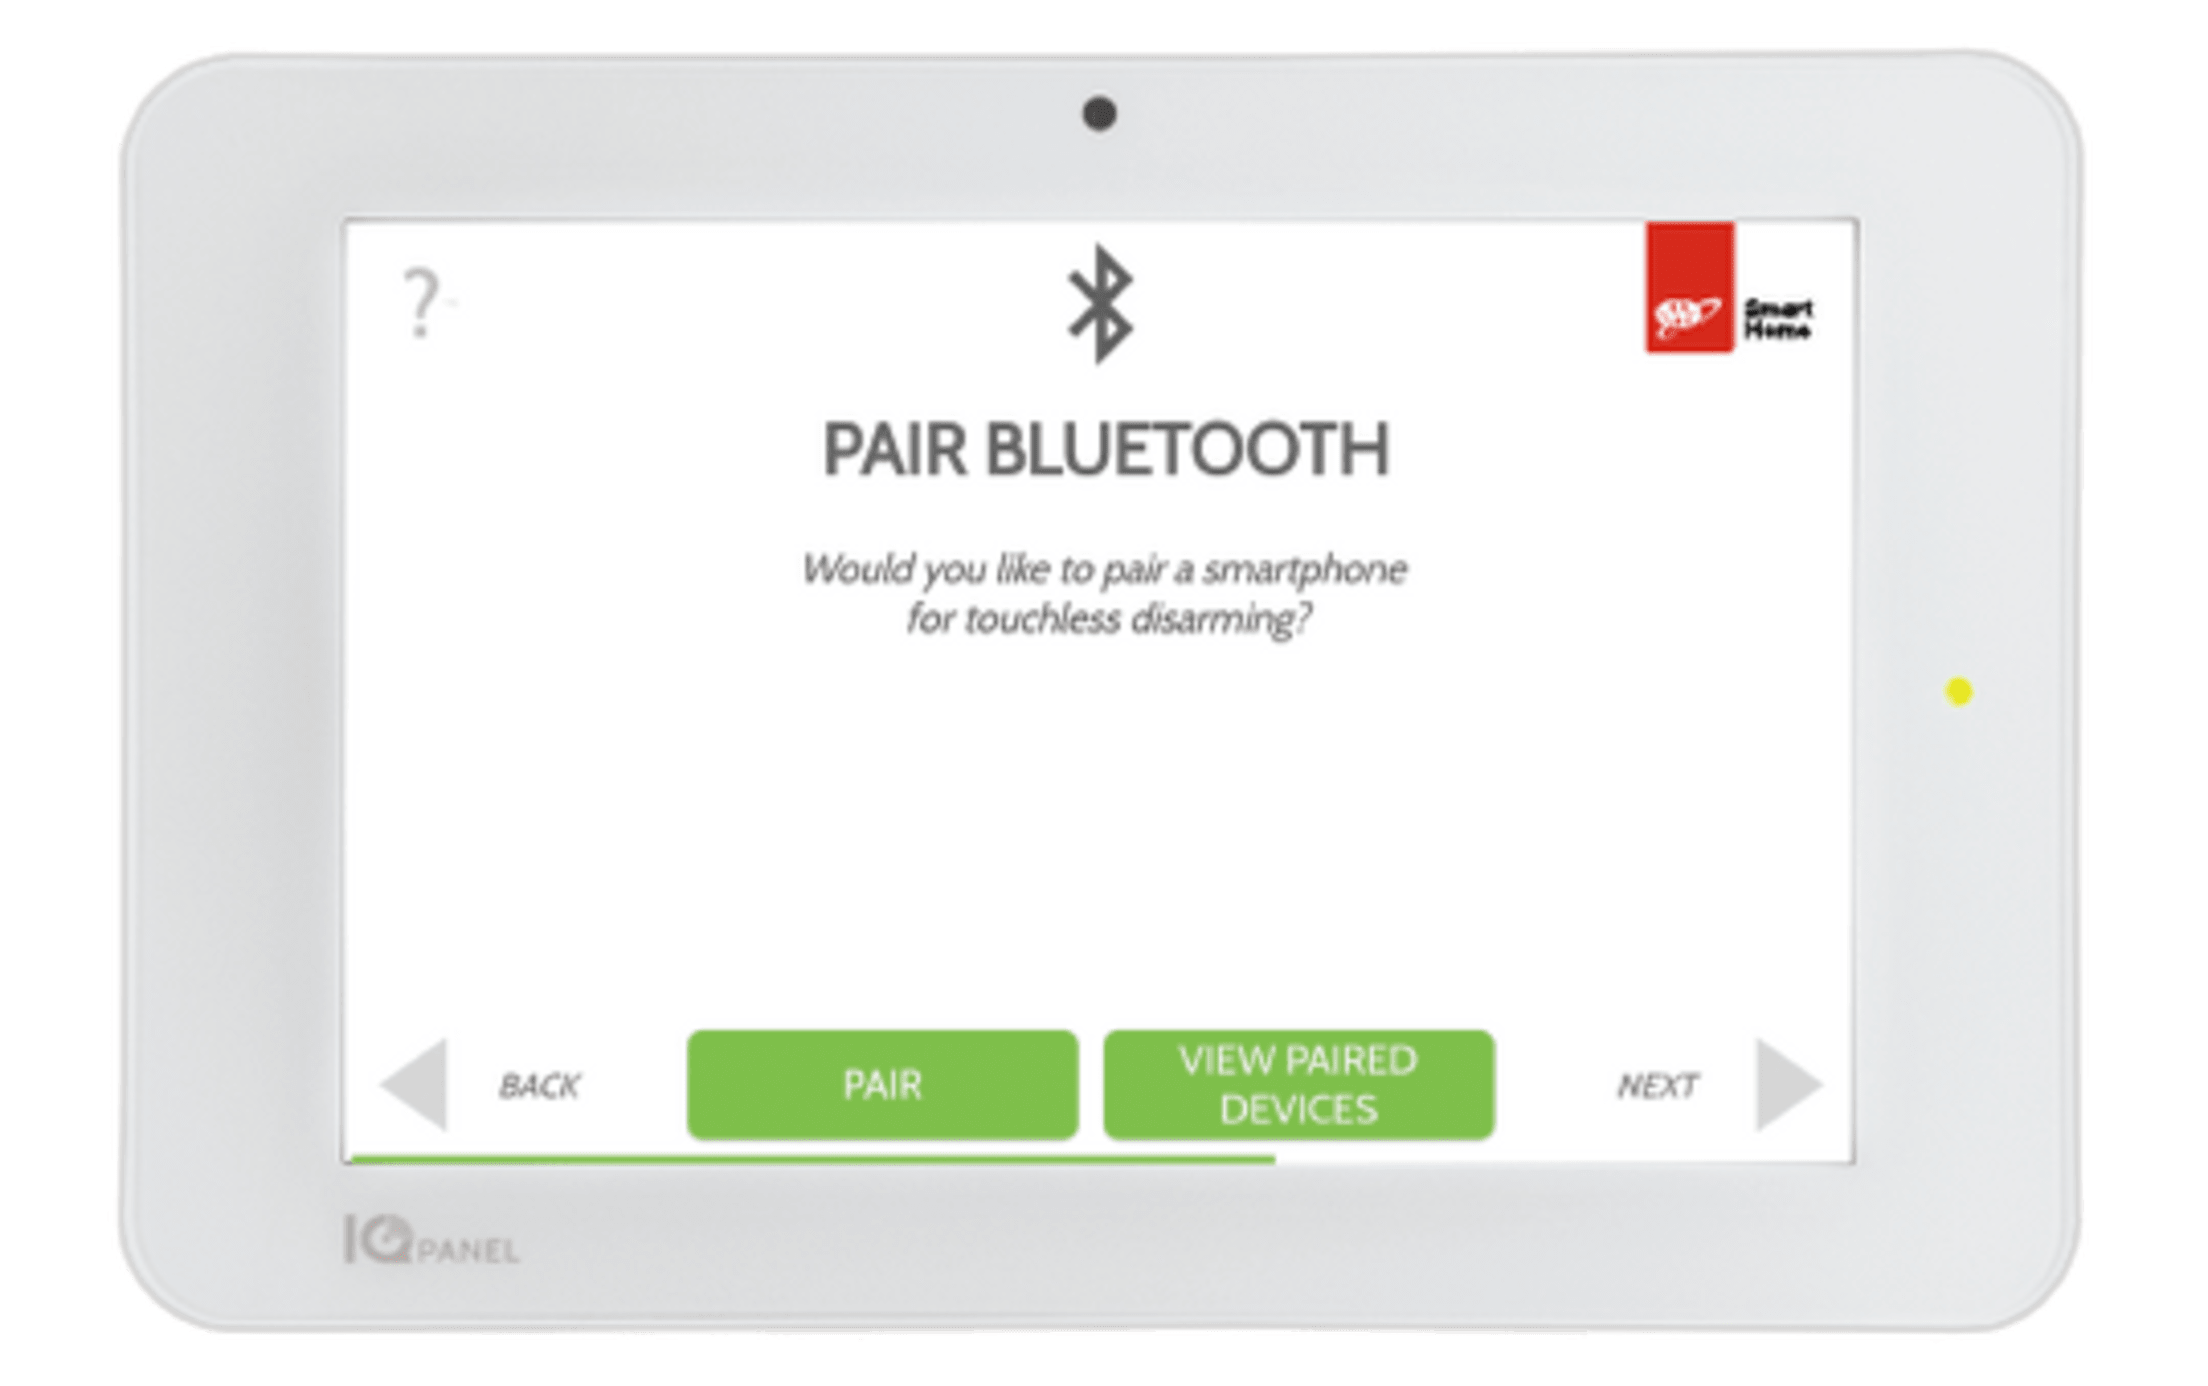
Enabling Bluetooth Devices
By connecting your smartphone to your system using Bluetooth, you can trigger touchless disarming of your panel when your phone comes within range.
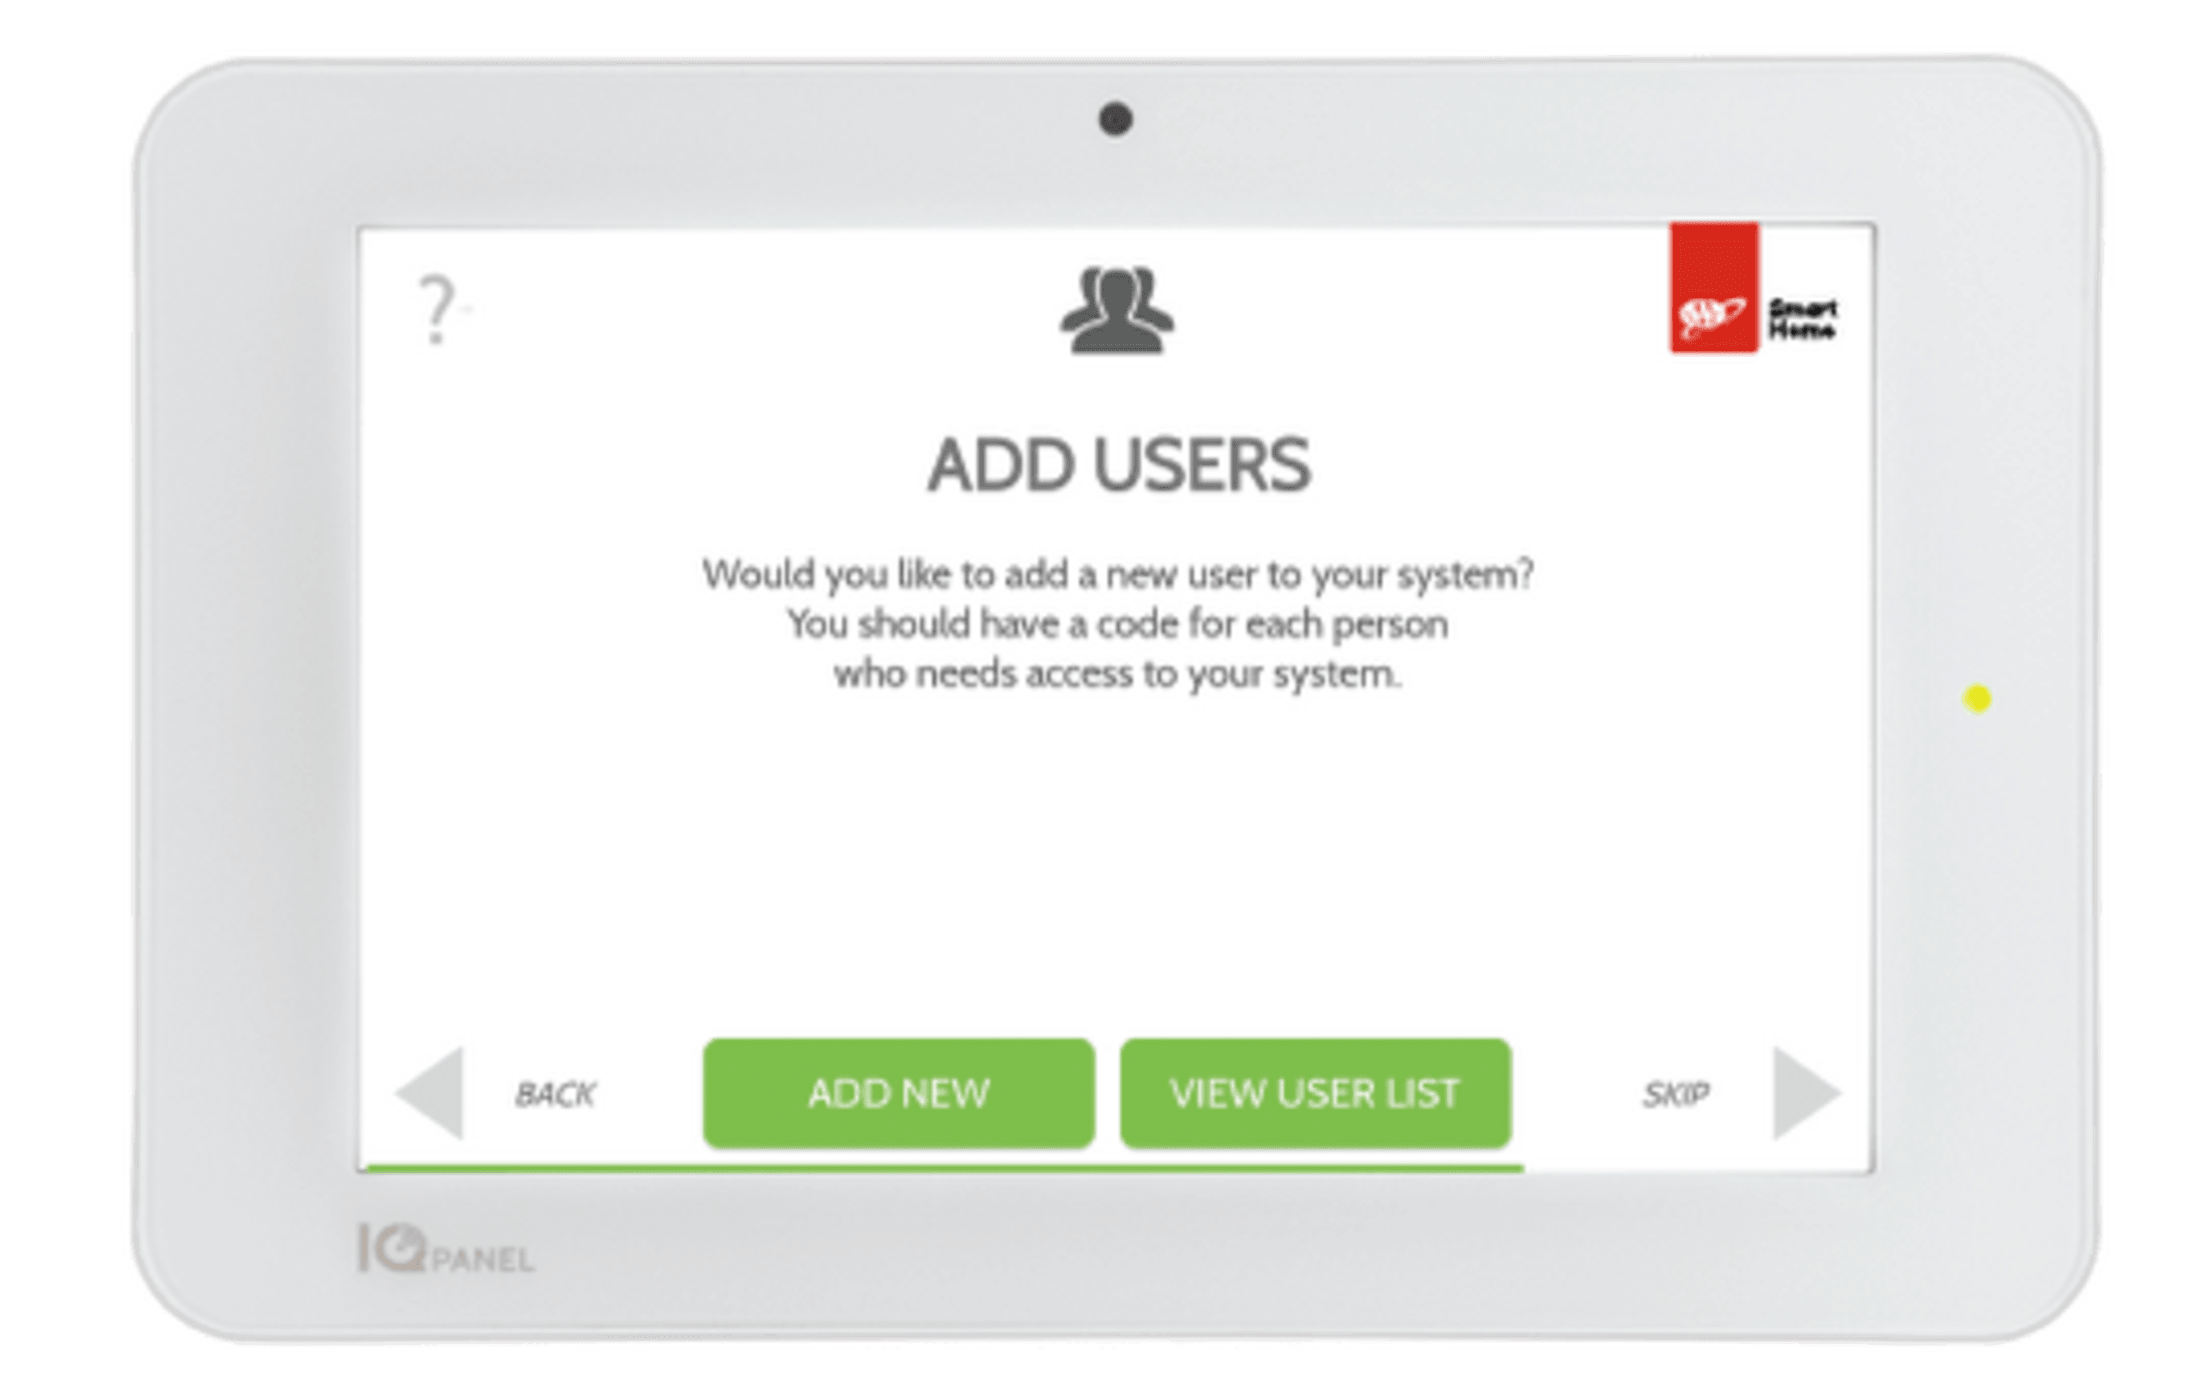
Adding Users
You can add 200+ unique users, each with a custom name and level of access.
- Master: Can access panel functions, camra, and system settings
- User: Can access panel functions, camera, but NOT system settings
- Guest: Can arm and disarm, but only until an expiration date that you set
Next: Testing your system & activating monitoring
Other Device Install Guides
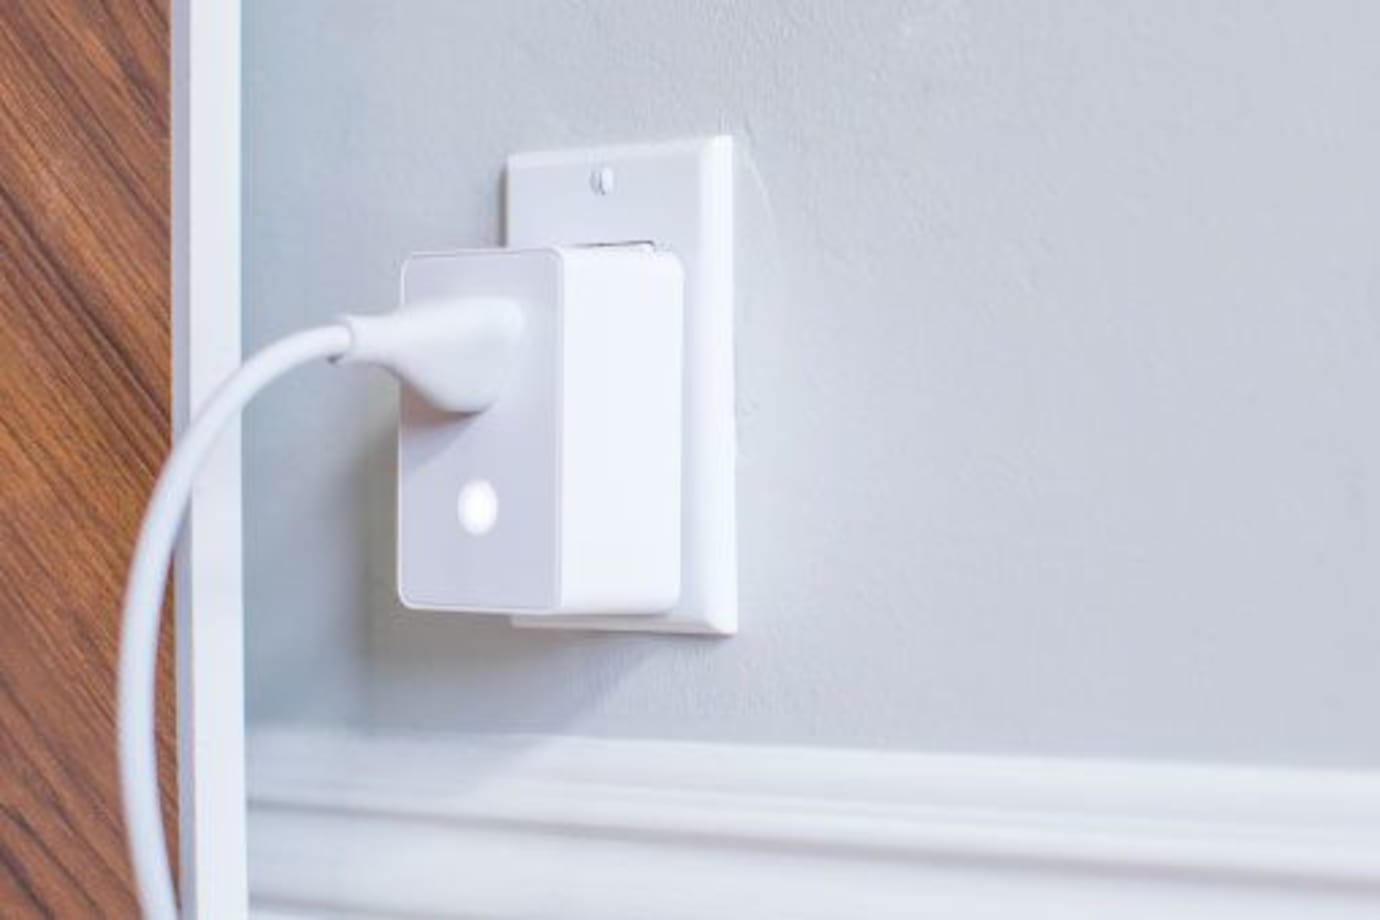
Your Lamp Plug lets you turn a lamp on and off, or dim it (if the lamp has a dimming bulb), using your control panel or mobile app. It plugs into any standard outlet.
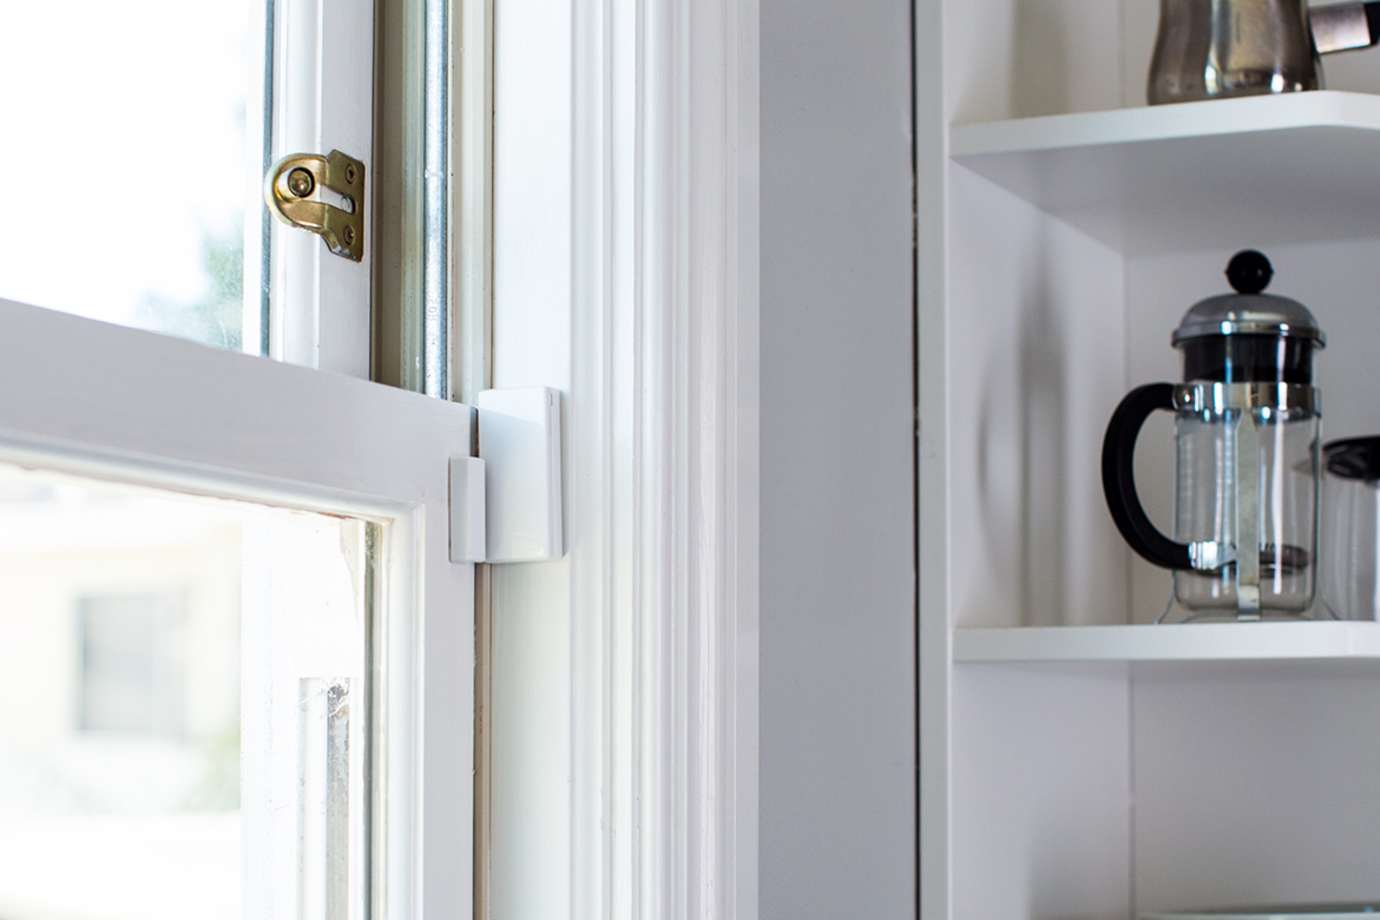
Entry sensors help protect your home's main entry points by alerting you when a door or window are open
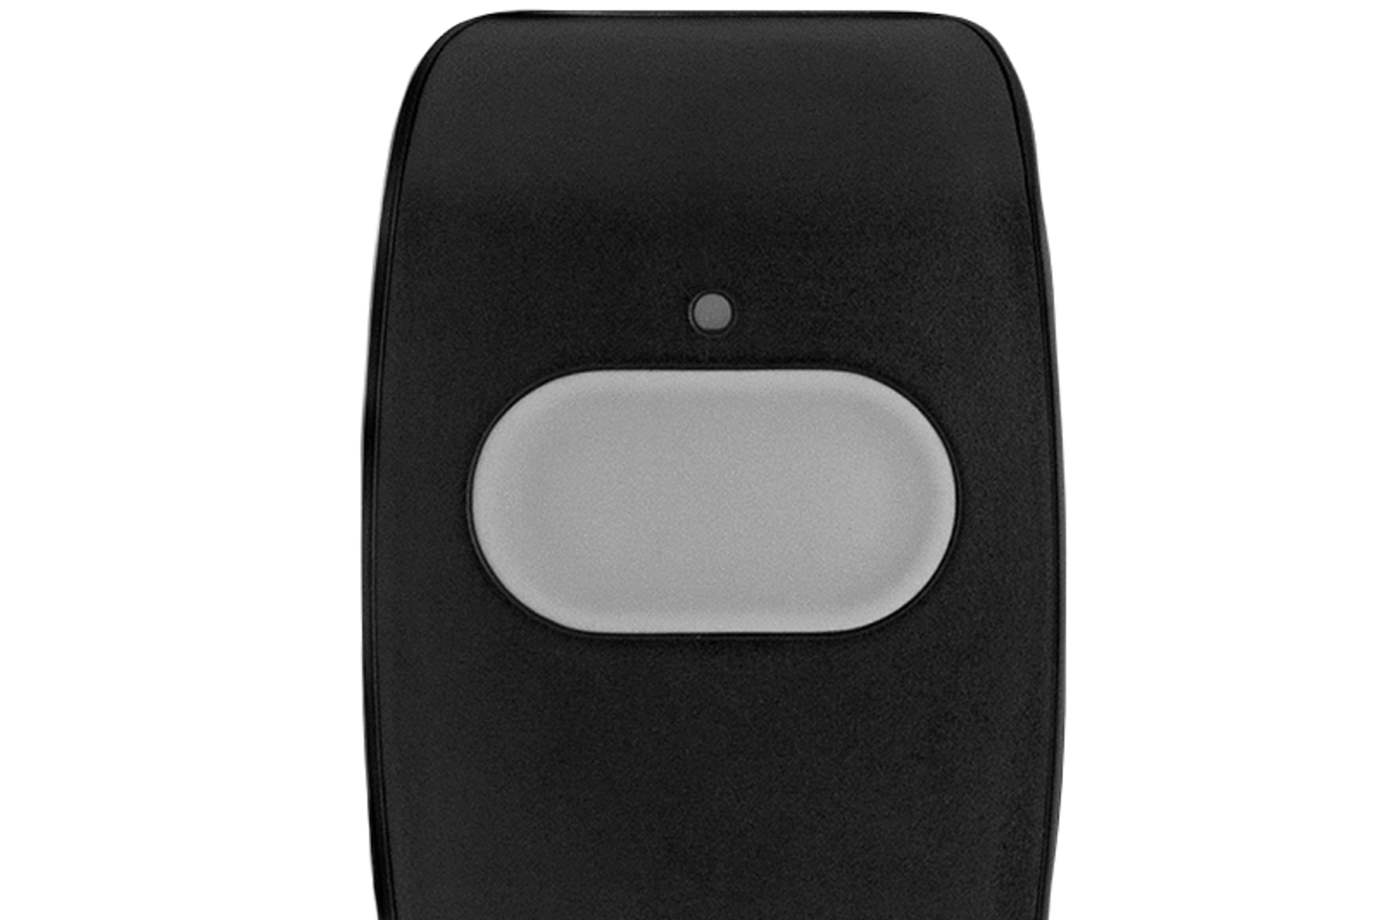
When pressed within range of your panel, the panic button alerts your system to dispatch medical, fire, or police first responders in case of an emergency.
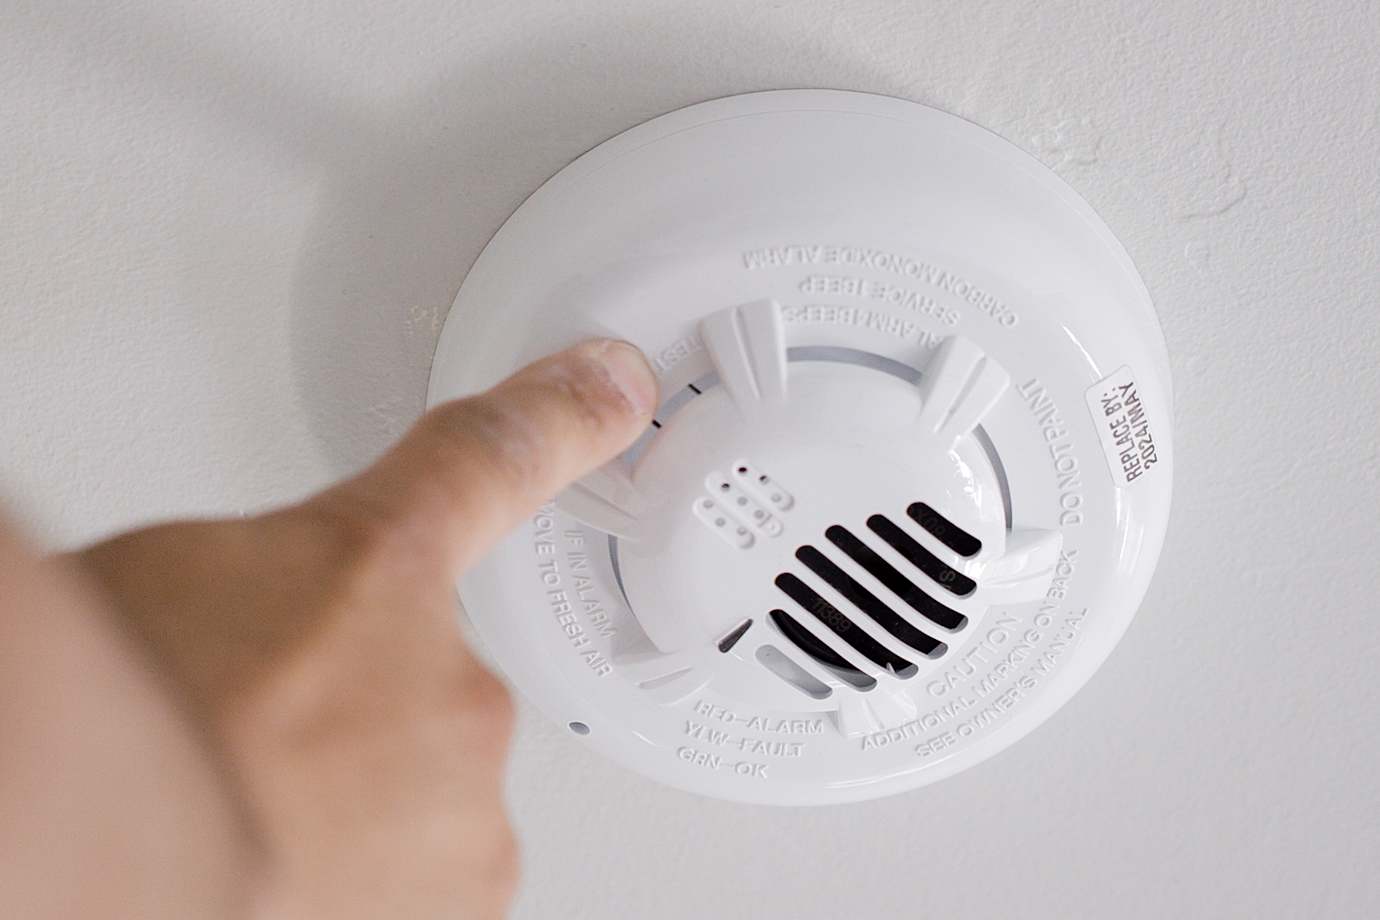
Your carbon detector alerts you to the presence of carbon monoxide in your home.
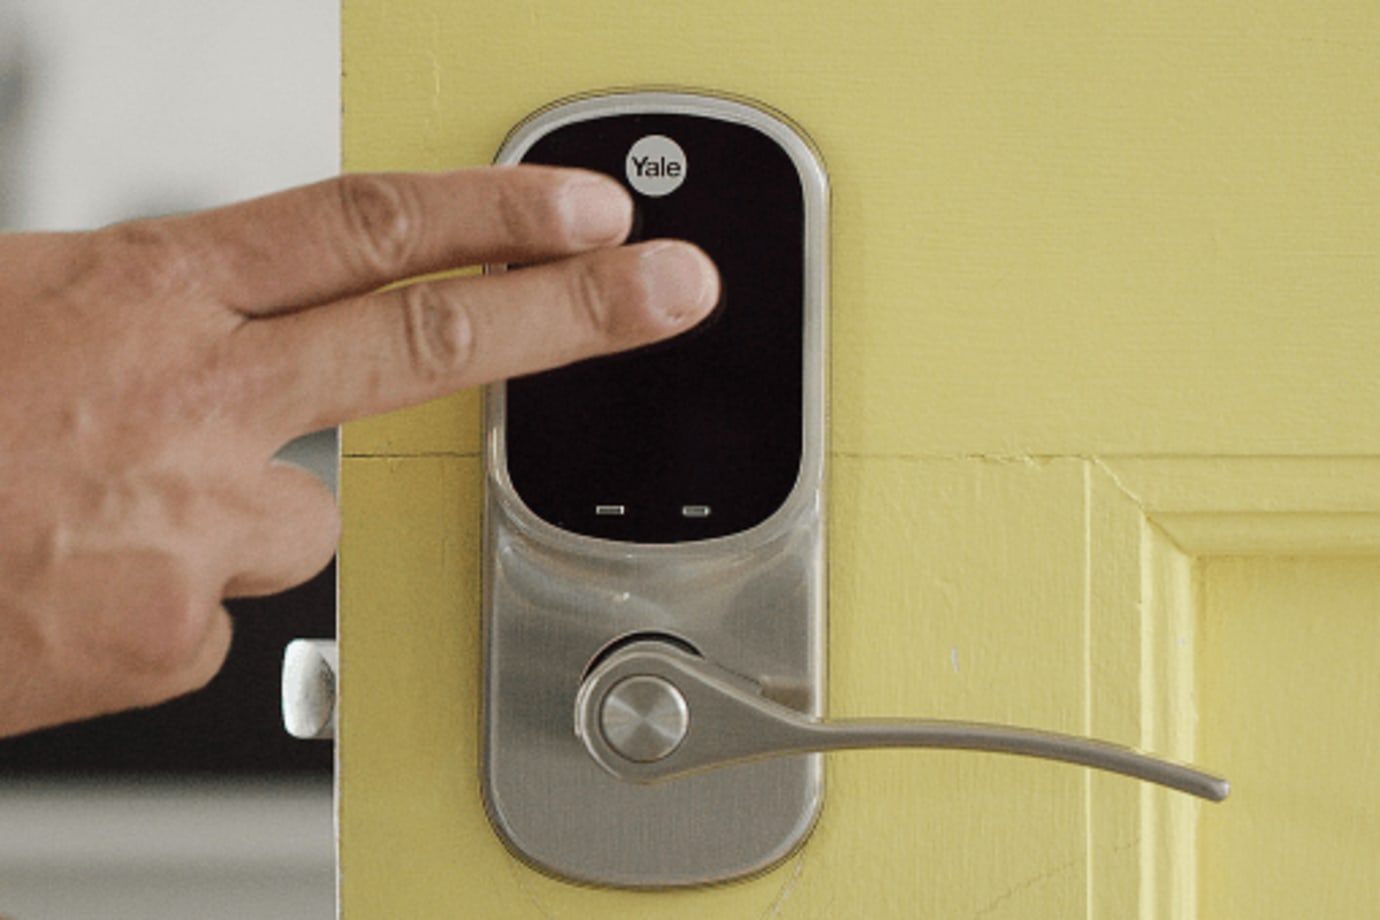
Your keyless Smart Door Lock with a lever lets you conveniently unlock and lock your door with a backlit touchscreen keypad, rather than having to carry around keys that can get lost.
