Installing Wired Doorbell Camera

Wired Doorbell Camera Installation Guide PDF
Camera Installation Parts
- Wired Doorbell Camera
- Wall plate
- Two (2) wall anchors
- Two (2) screws
- Mechanical chime
Tools Required
- Wire crimping tool
- Wi-Fi connection to broadband (Cable, DSL, or Fiber Optic) internet
- A computer, tablet, or smartphone with Wi-Fi is required if the router does not have the Wi-Fi Protected Setup (WPS) feature
Note: Verify that your transformer meets the minimum voltage of 16 VAC and minimum power of 10 VA; specifications are often written directly on the transformer.
Pre-Installation Instructions
Verify that the electricity is turned off at the transformer before installing the power module. Locate your chime box and remove the cover.
1. Turn off power to the doorbell circuit (transformer). The recommended transformer rating is 16-24 VAC, 10-40 VA.
2. Remove any existing power module(s) from the in-home chime that belong to the video doorbell being replaced.
3. Verify that the chime wire terminals are connected to one wire run from the transformer and one wire run from the doorbell.
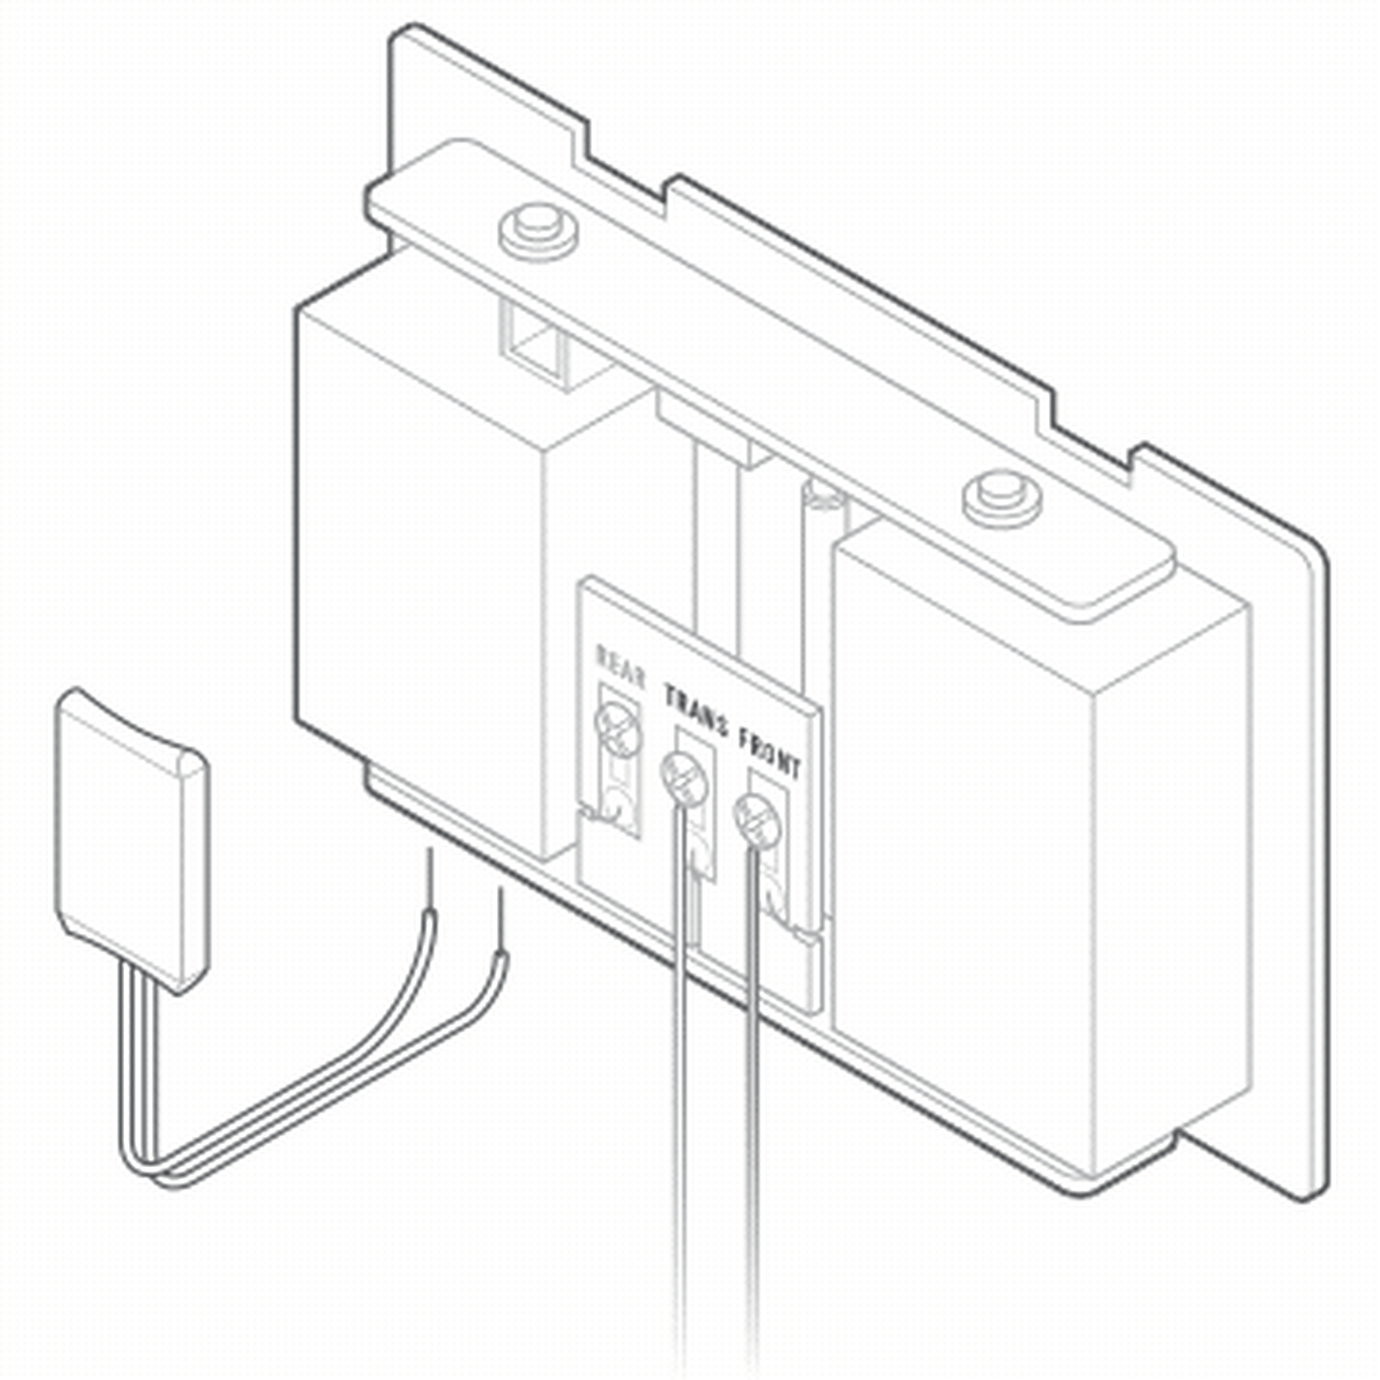
Mechanical Chime Installation
Connect the mechanical chime dongle to the chime by attaching one wire to each of the terminals (i.e., FRONT and TRANS or REAR and TRANS), leaving the existing wires in place. Polarity does not matter.
Wired Doorbell Installation
1. Remove the existing doorbell from the wall and disconnect the wires. Secure the wires so that they can be connected in a later step (you can tape them to the wall surface so they don't fall back into the wall).

2. Verify the Wired Doorbell installation height is less than 6.5 feet (2 meters)from floor level and in a vertical orientation.
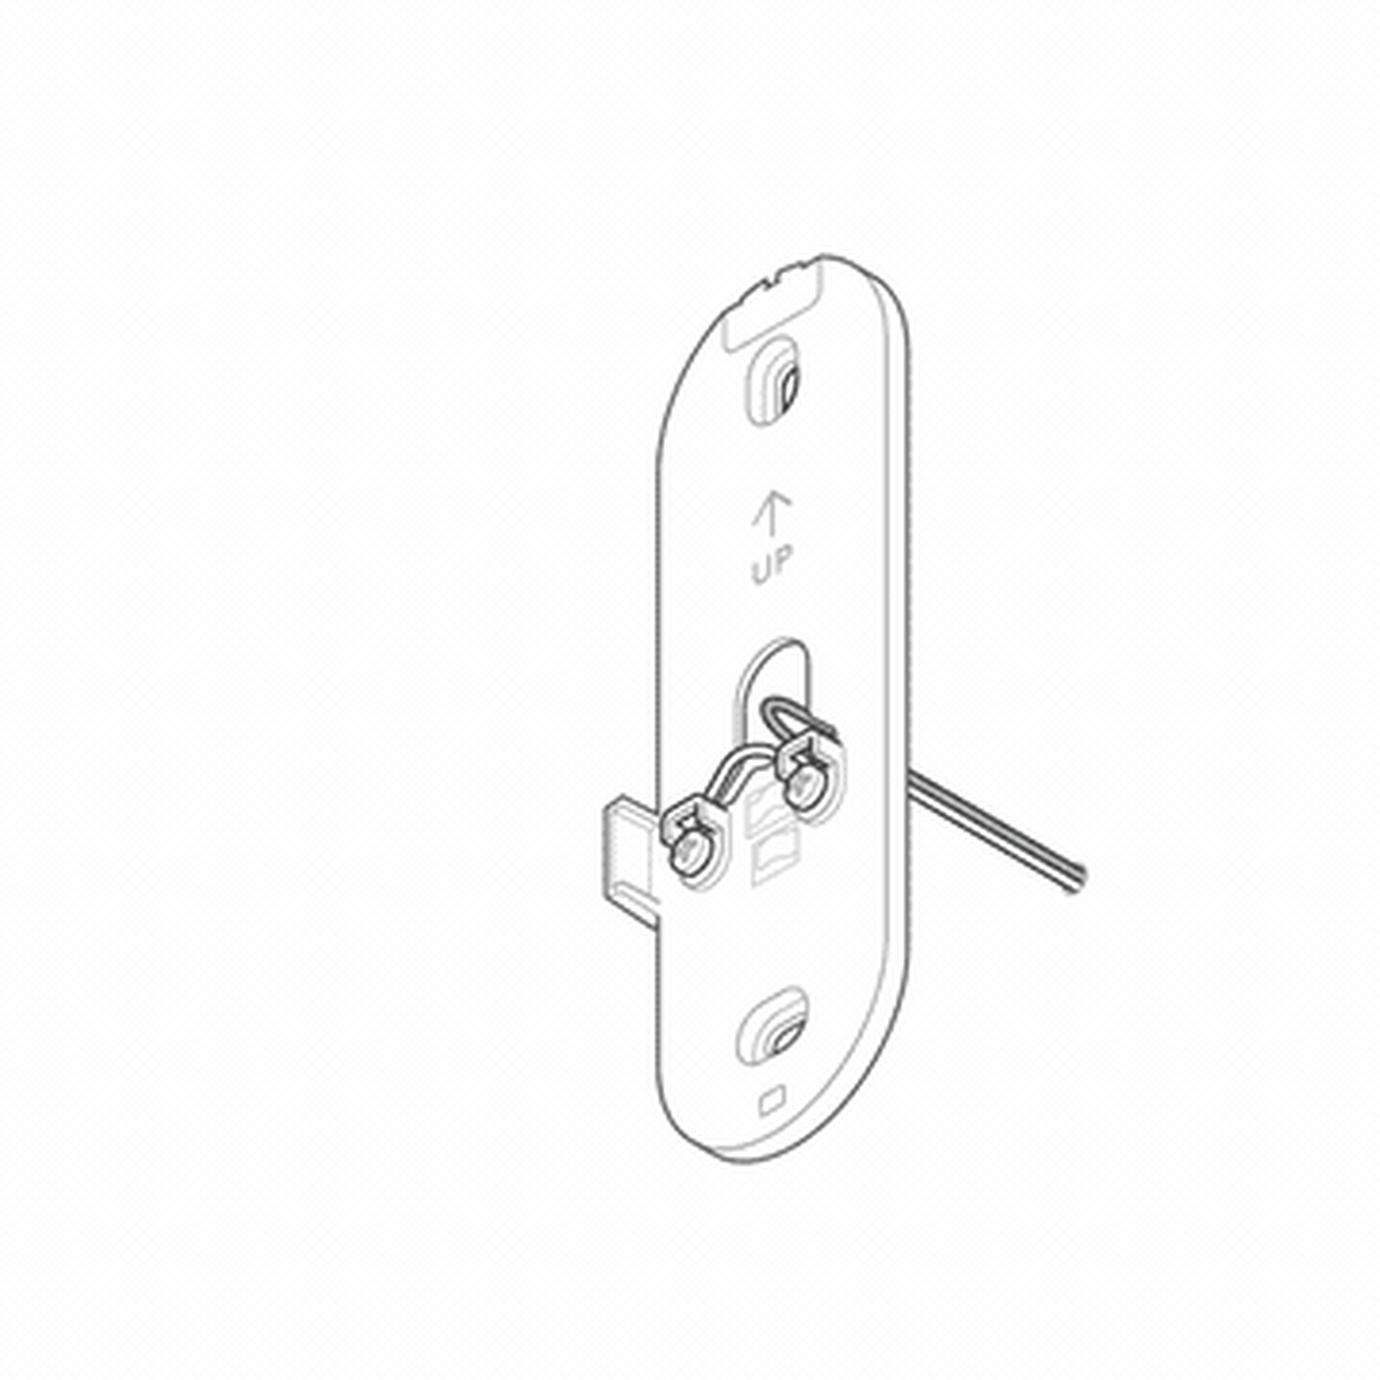
3. Thread the doorbell wires through the wall plate, making sure to thread the wires underneath the plastic bridges of the wall plate leading to the screw terminals, and secure the wires to the wall plate screw terminals.
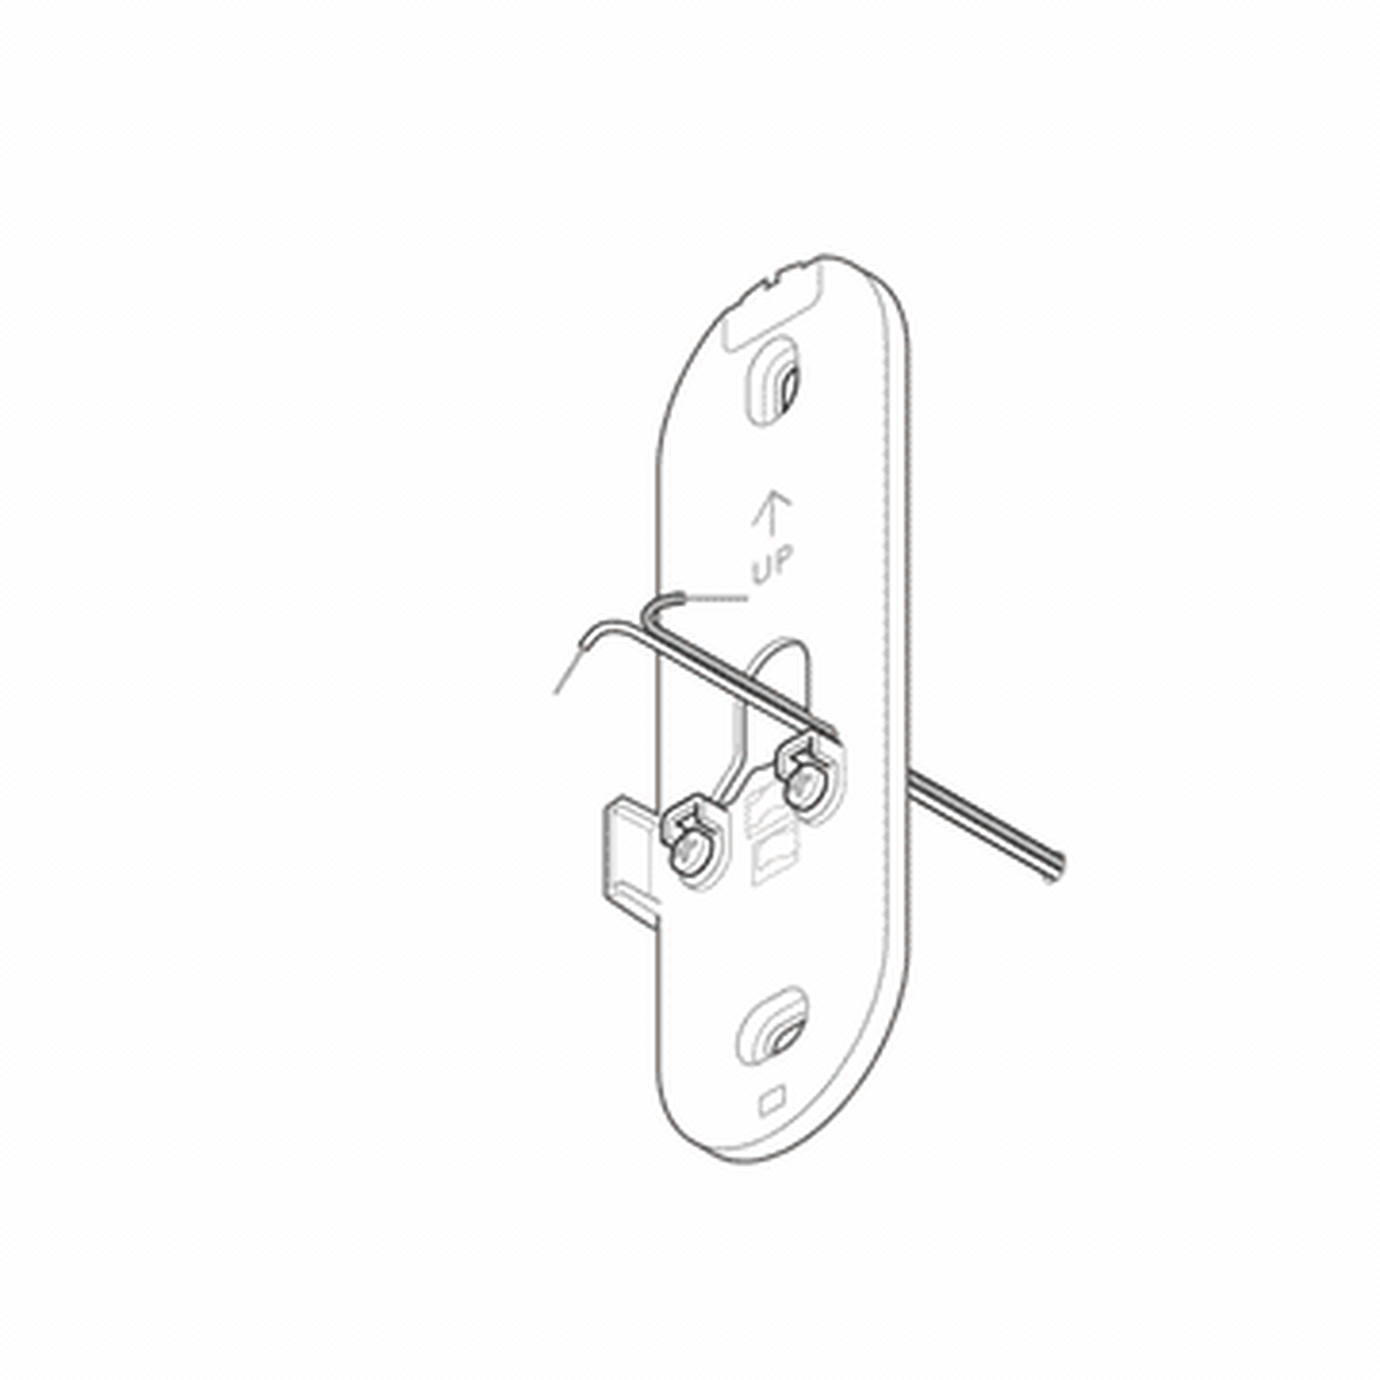
Important: Minimize the length of any excess wire leads that protrude from the area surrounding the screw terminals. Excess wire can interfere with the assembly to the Wired Doorbell Camera and may result in the device not powering on.
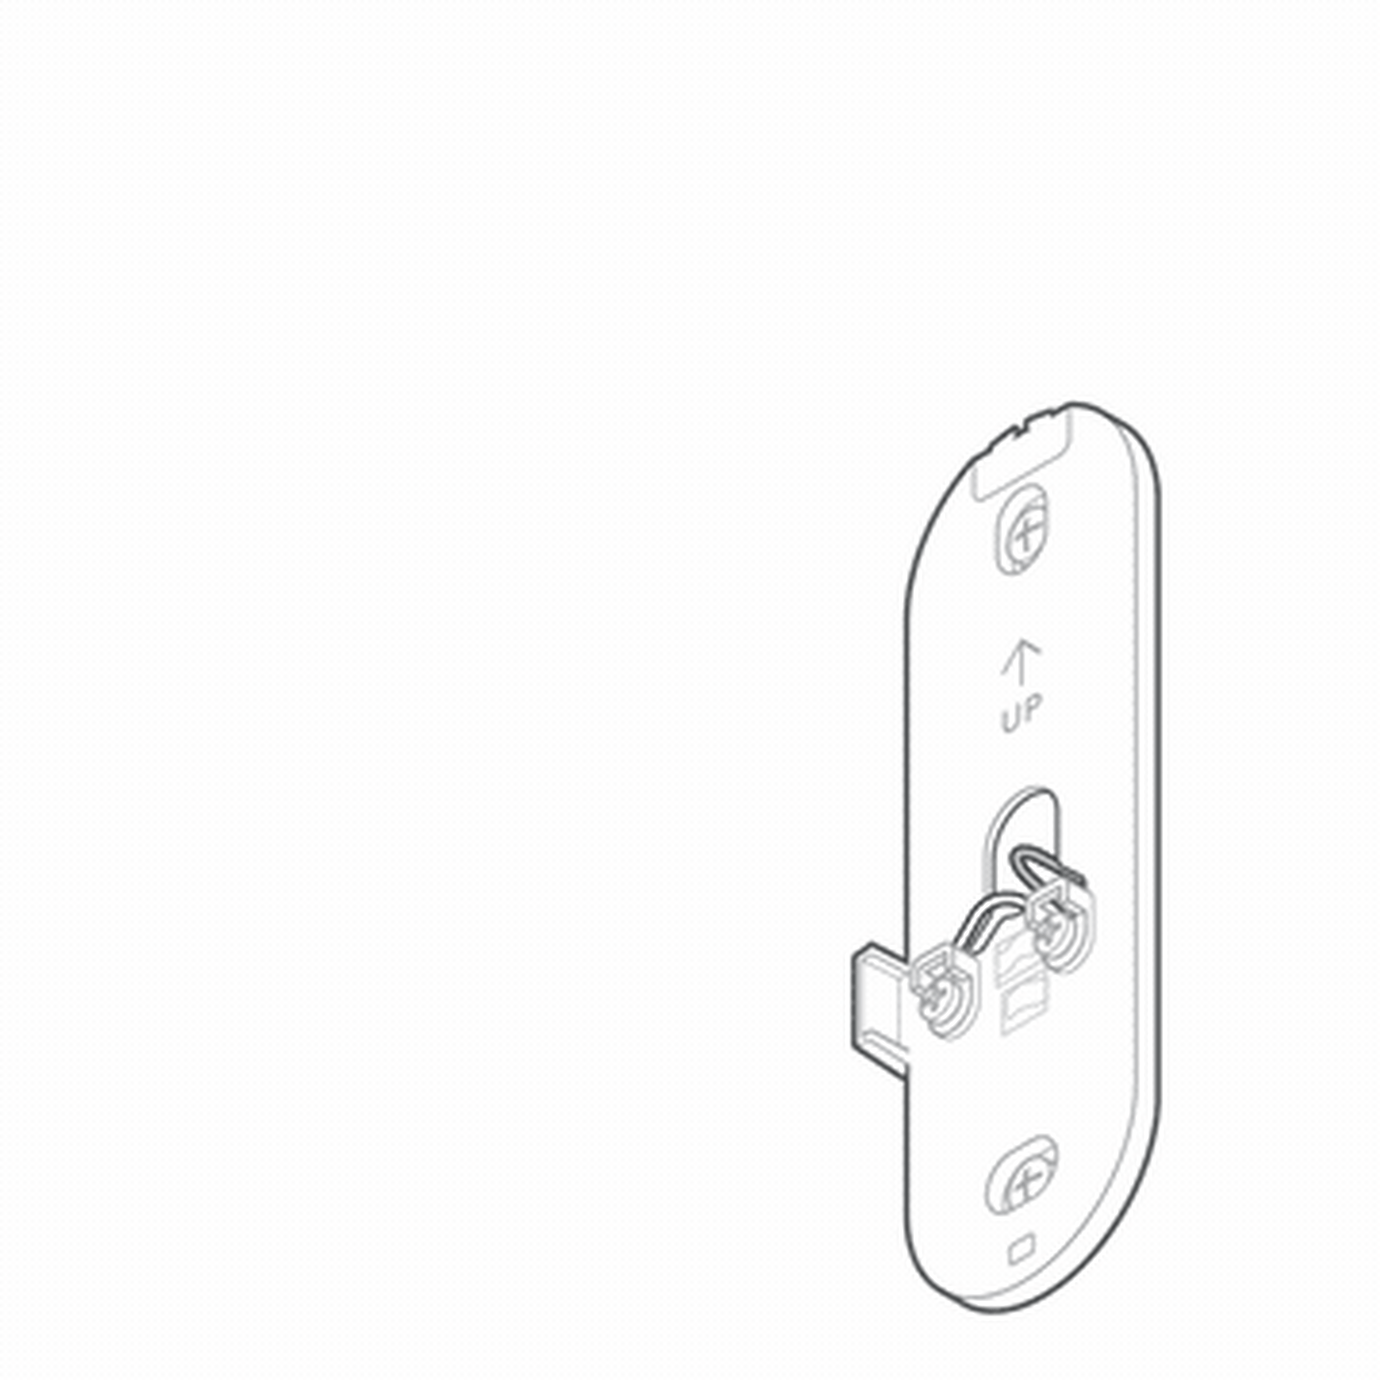
4. Mount the wallplate to the surface with the provided screws/anchors.
5. Connect the Wired Doorbell Camera to the wall plate by first securing/latching the top edge, then pushing the device into the wall plate until it clicks.
6. Restore power to the doorbell circuit (transformer).
Connect the Wired Doorbell Camera to the Wi-Fi Network
The Wired Doorbell Camera can be connected to the Wi-Fi network using Access Point (AP) mode or Wi-Fi Protected Setup (WPS).
AP Mode
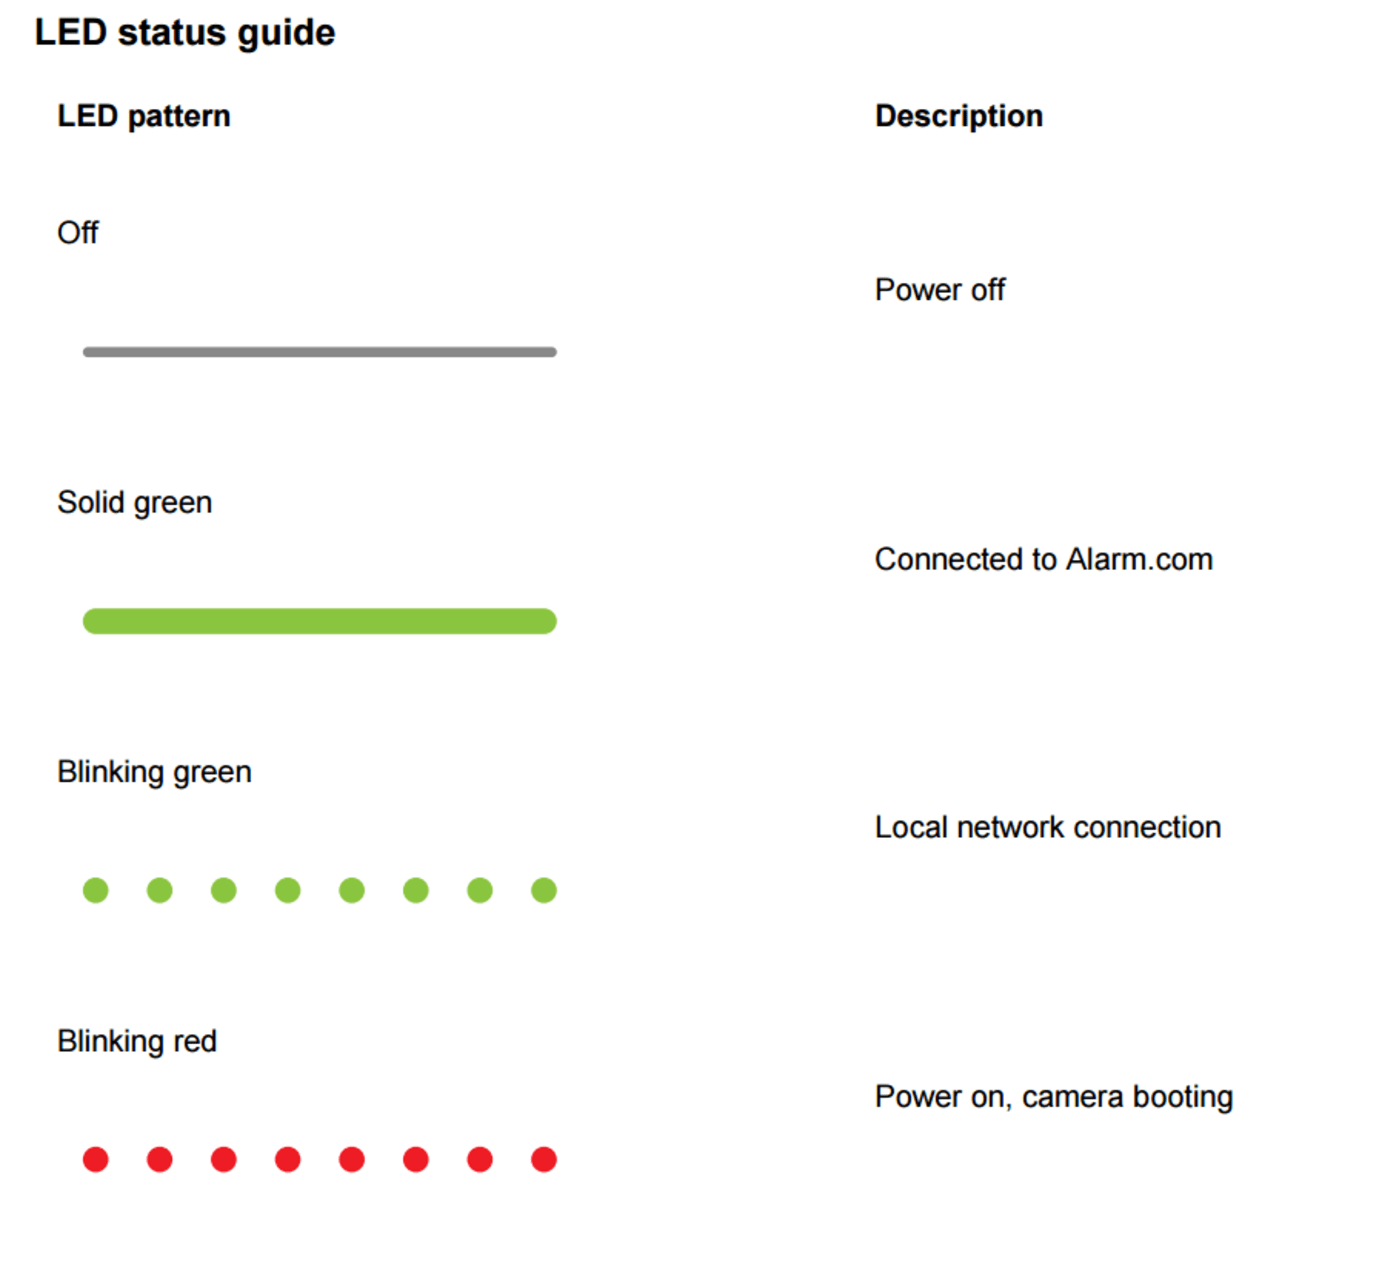
1. Verify that the device powers on (flashing red LED) then enters AP mode (flashing white LED).
◦ If the LED is not white after two minutes, press and hold the doorbell button and release when the LED begins to blink white (about 30 seconds).
2. Use an internet-enabled device to connect to the Wi-Fi network ADC-VDB775 (XX:XX:XX) where XX:XX:XX is the last six characters of the ADC-VDB775’s MAC address, which is located on the device or packaging.
3. Open a web browser with the same device and enter http://vdb775install.com or 192.168.1.1 in the URL field. Follow the on-screen instructions to add the Wired Doorbell Camera to the Wi-Fi network. The LED may briefly turn red before blinking green. The LED will be solid green when the connection is complete.
4. Verify the LED is solid green then enroll the device to the account using the steps covered in Enroll the Wired Doorbell Camera to the account.
WPS Mode
1. Verify that the device boots (flashing red LED) to AP mode (flashing white LED).
2. Press and hold the doorbell button and release when the LED begins to blink blue for WPS mode (about 35 seconds).
3. Activate WPS mode on the router. Consult your router’s user guide for more information
4. Wait for the device to connect to the Wi-Fi network. The LED will be solid green when the connection is complete.
5. Enroll the device to the account, once the LED is solid green, by following the steps covered in "Enroll the Wired Doorbell Camera to the Account.”
Enroll the Wired Doorbell Camera to the Account
The Wired Doorbell Camera can be enrolled to a customer account using the website or the A3 Smart Home Mobile App.
Customer website
1. Navigate to the Video Device Setup page by entering the following URL using a web browser: www.alarm.com/addcamera.
2. Enter the MAC address, which is located on the device or packaging, then click Find.
3. Enter a name for the device, then click Install.
4. Follow the on-screen instructions to finish adding the camera. An installation progress bar will appear on the screen.
Test the device to verify it is working as expected once the installation is complete.
A3 Smart Home Mobile App
1. Log in to the A3 Smart Home Mobile App.
2. Tap More.
3. Tap Add Device.
4. Tap Doorbell Camera.
◦ If the device LED is not solid green, tap Wired Doorbell Camera for the installation tutorial. If the device is already connected to Wi-Fi and has a solid green LED, continue to the next step.
5. Tap Enter MAC Address, then enter the camera's MAC address, which is located on the device or packaging.
6. Tap Install for the camera on the Device Found page.
7. Enter a device name, then tap Next.
8. Follow the on-screen instructions to finish adding the camera. The installation progress will appear on the screen.
Test the device, once the installation is complete, to verify it is working as expected.

Troubleshooting
1. If you have issues connecting the camera to the account, reboot the camera and try again.
2. If issues persist, reset the camera to factory defaults. Press and hold the doorbell button until the LED flashes green and red (about 45 seconds), then release the button. The camera will reboot to factory default.
Caution: Prolonged exposure to sunlight in extreme conditions may impact the camera’s performance.
Other Device Install Guides
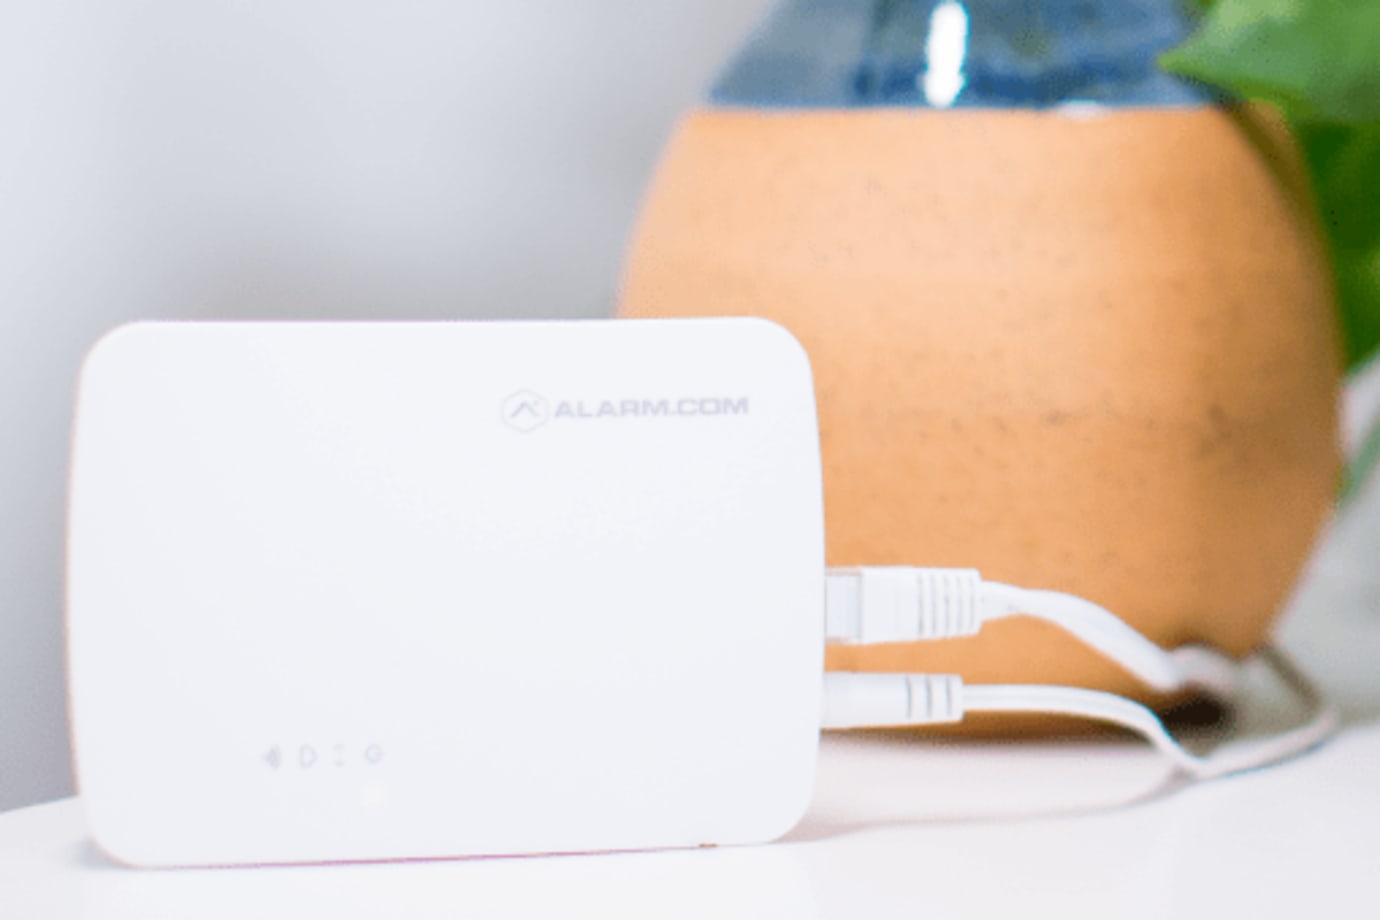
The Smart Gateway provides a dedicated Wi-Fi network for the indoor cameras in your A3 Smart Home system.
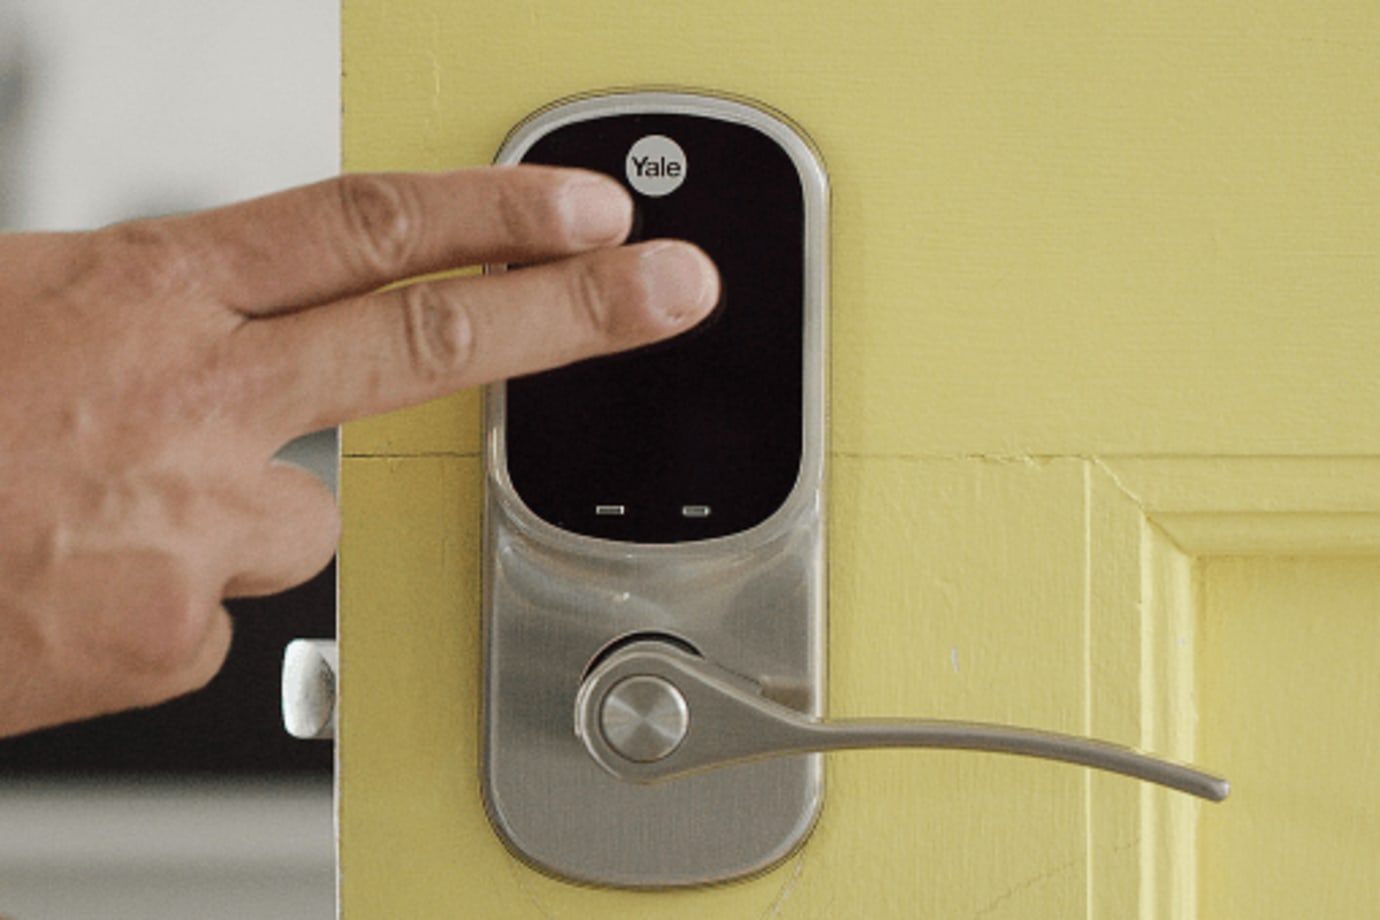
Your keyless Smart Door Lock with a lever lets you conveniently unlock and lock your door with a backlit touchscreen keypad, rather than having to carry around keys that can get lost.
When pressed within range of your panel, the panic button alerts your system to dispatch medical, fire, or police first responders in case of an emergency.
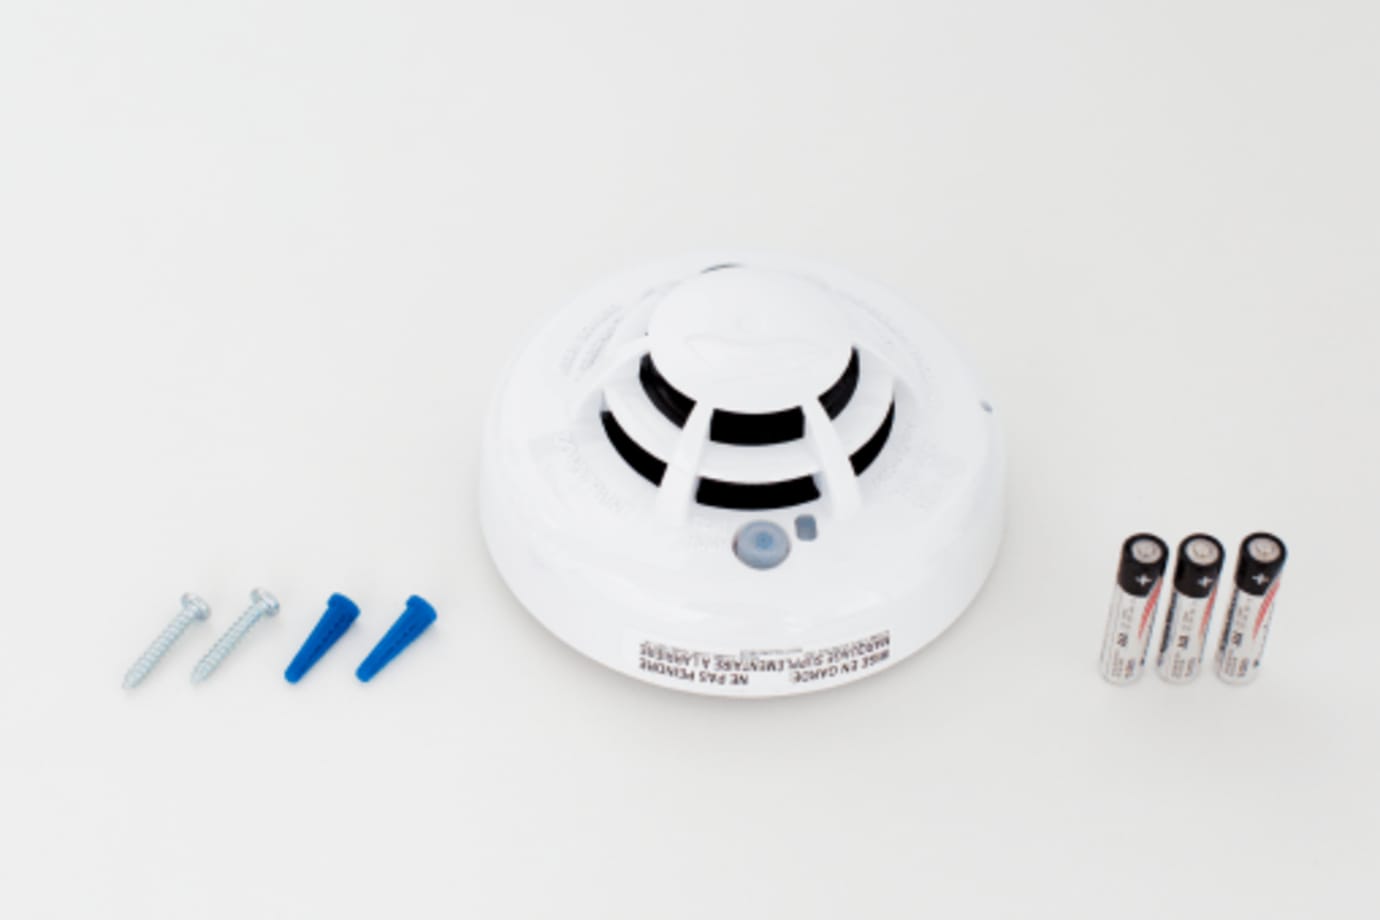
Your smoke detector alerts you to signs of smoke or a rapid rise in high temperatures in the home.
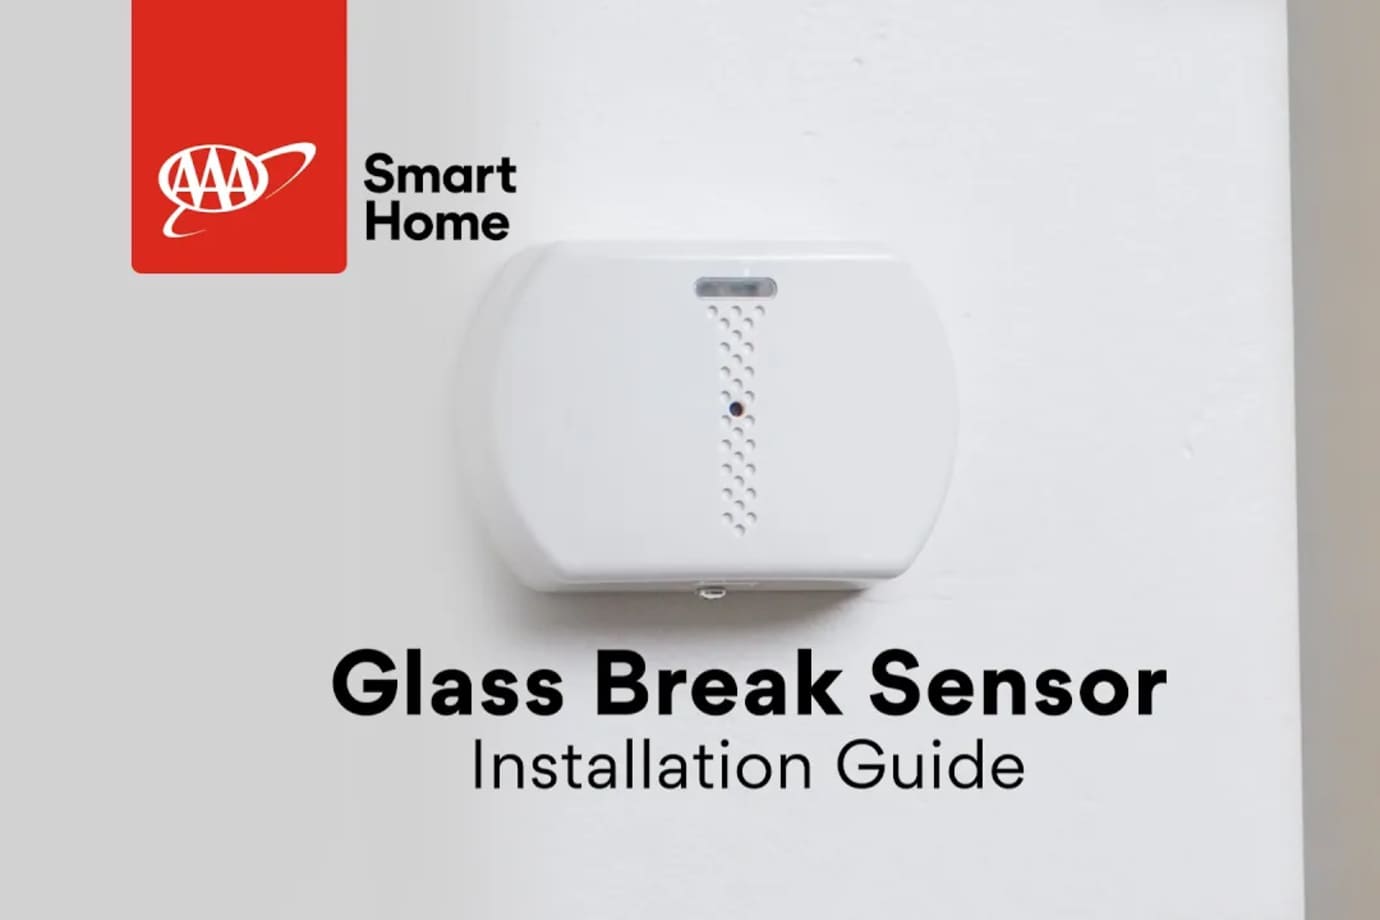
Your glass break sensor is a device that can be used in your home to monitor areas with large glass windows or doors.