How to Wash and Detail Your Car
Learn the best way to clean and detail your car with these helpful tips.

There’s a basic car wash, and then there’s an ultra-thorough car detail. The former usually entails a soapy scrub of the exterior and quick vacuum of the interior, whereas a detail requires all that and much more—think carpet shampooing, crevice cleaning, and waxing. Spoiler alert: The extra work requires more of your time and effort, but when it’s done, you’ll have a looks-like-new ride to show for it.
But detailing your car isn’t just for looks. Regular details can also rid your car’s interior of icky pathogens and help maintain the quality of the exterior, potentially boosting its resale value. “Washing your car regularly will extend the life of the paint,” explains Kyle Kenyon of Kenyon Mobile Detailing in Glendale, Arizona. “In the interior, detailing is going to benefit your health. Like anywhere else you frequent, cars can harbor disease-causing germs.”

What You Need to Detail Your Car
Gather the right supplies for the best results.
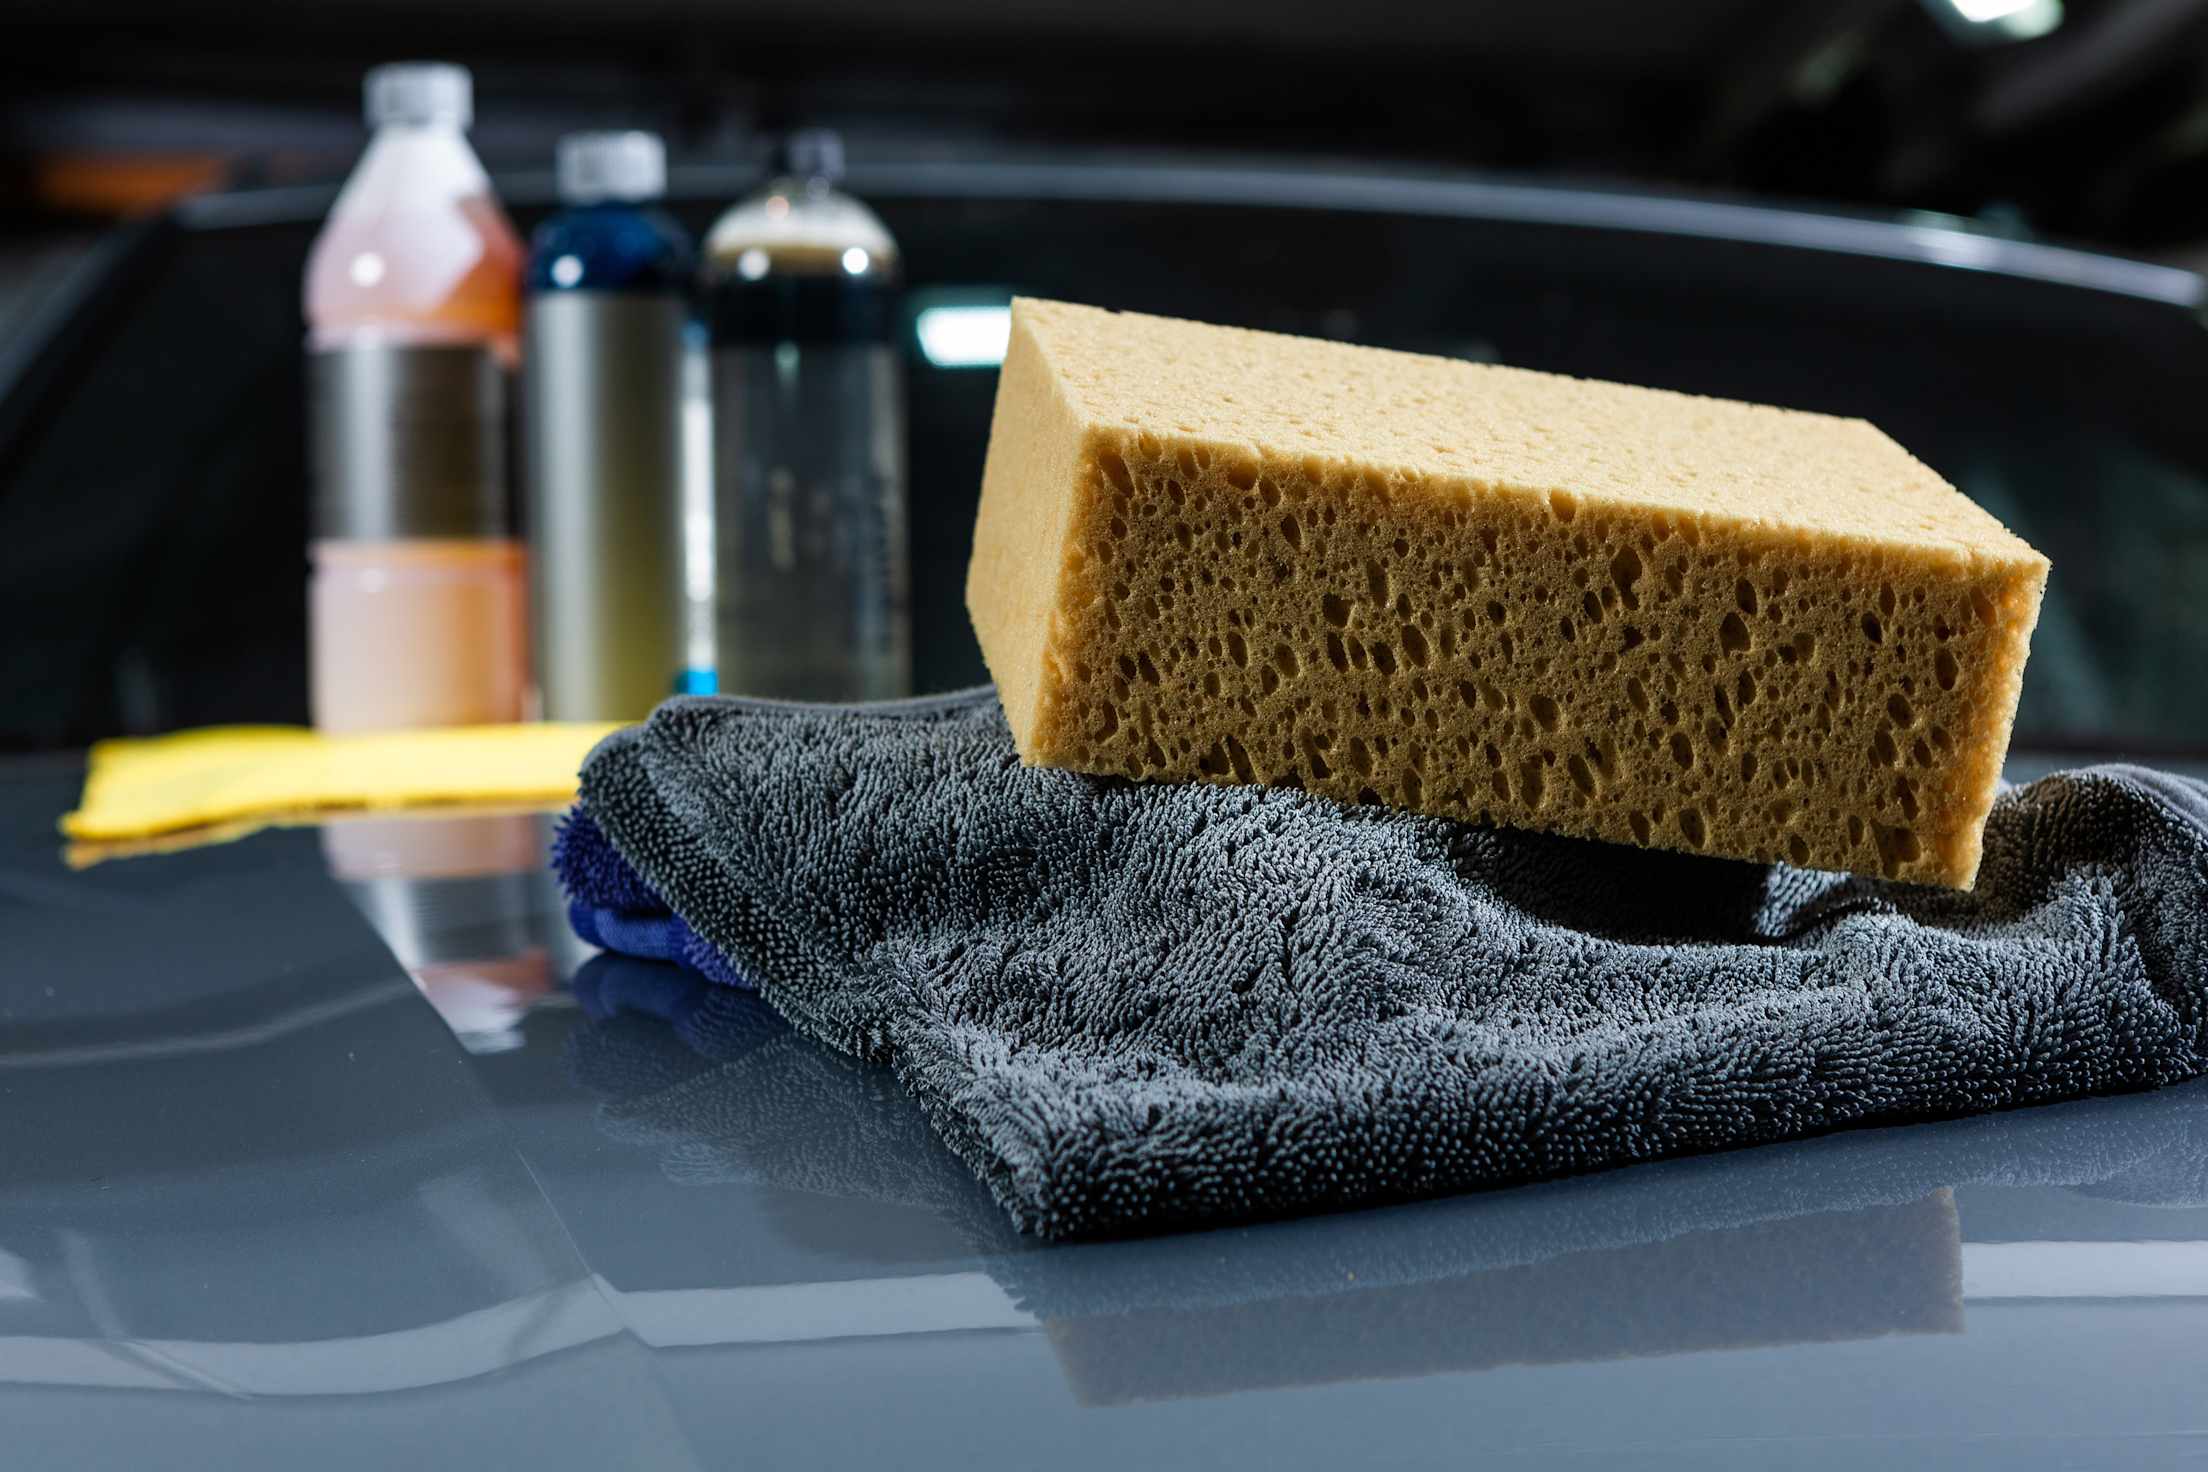
- Car wash soap. To be gentle on the planet, choose a non-toxic, plant-based product that doesn’t contain phosphates, chlorine, or petroleum-based ingredients.
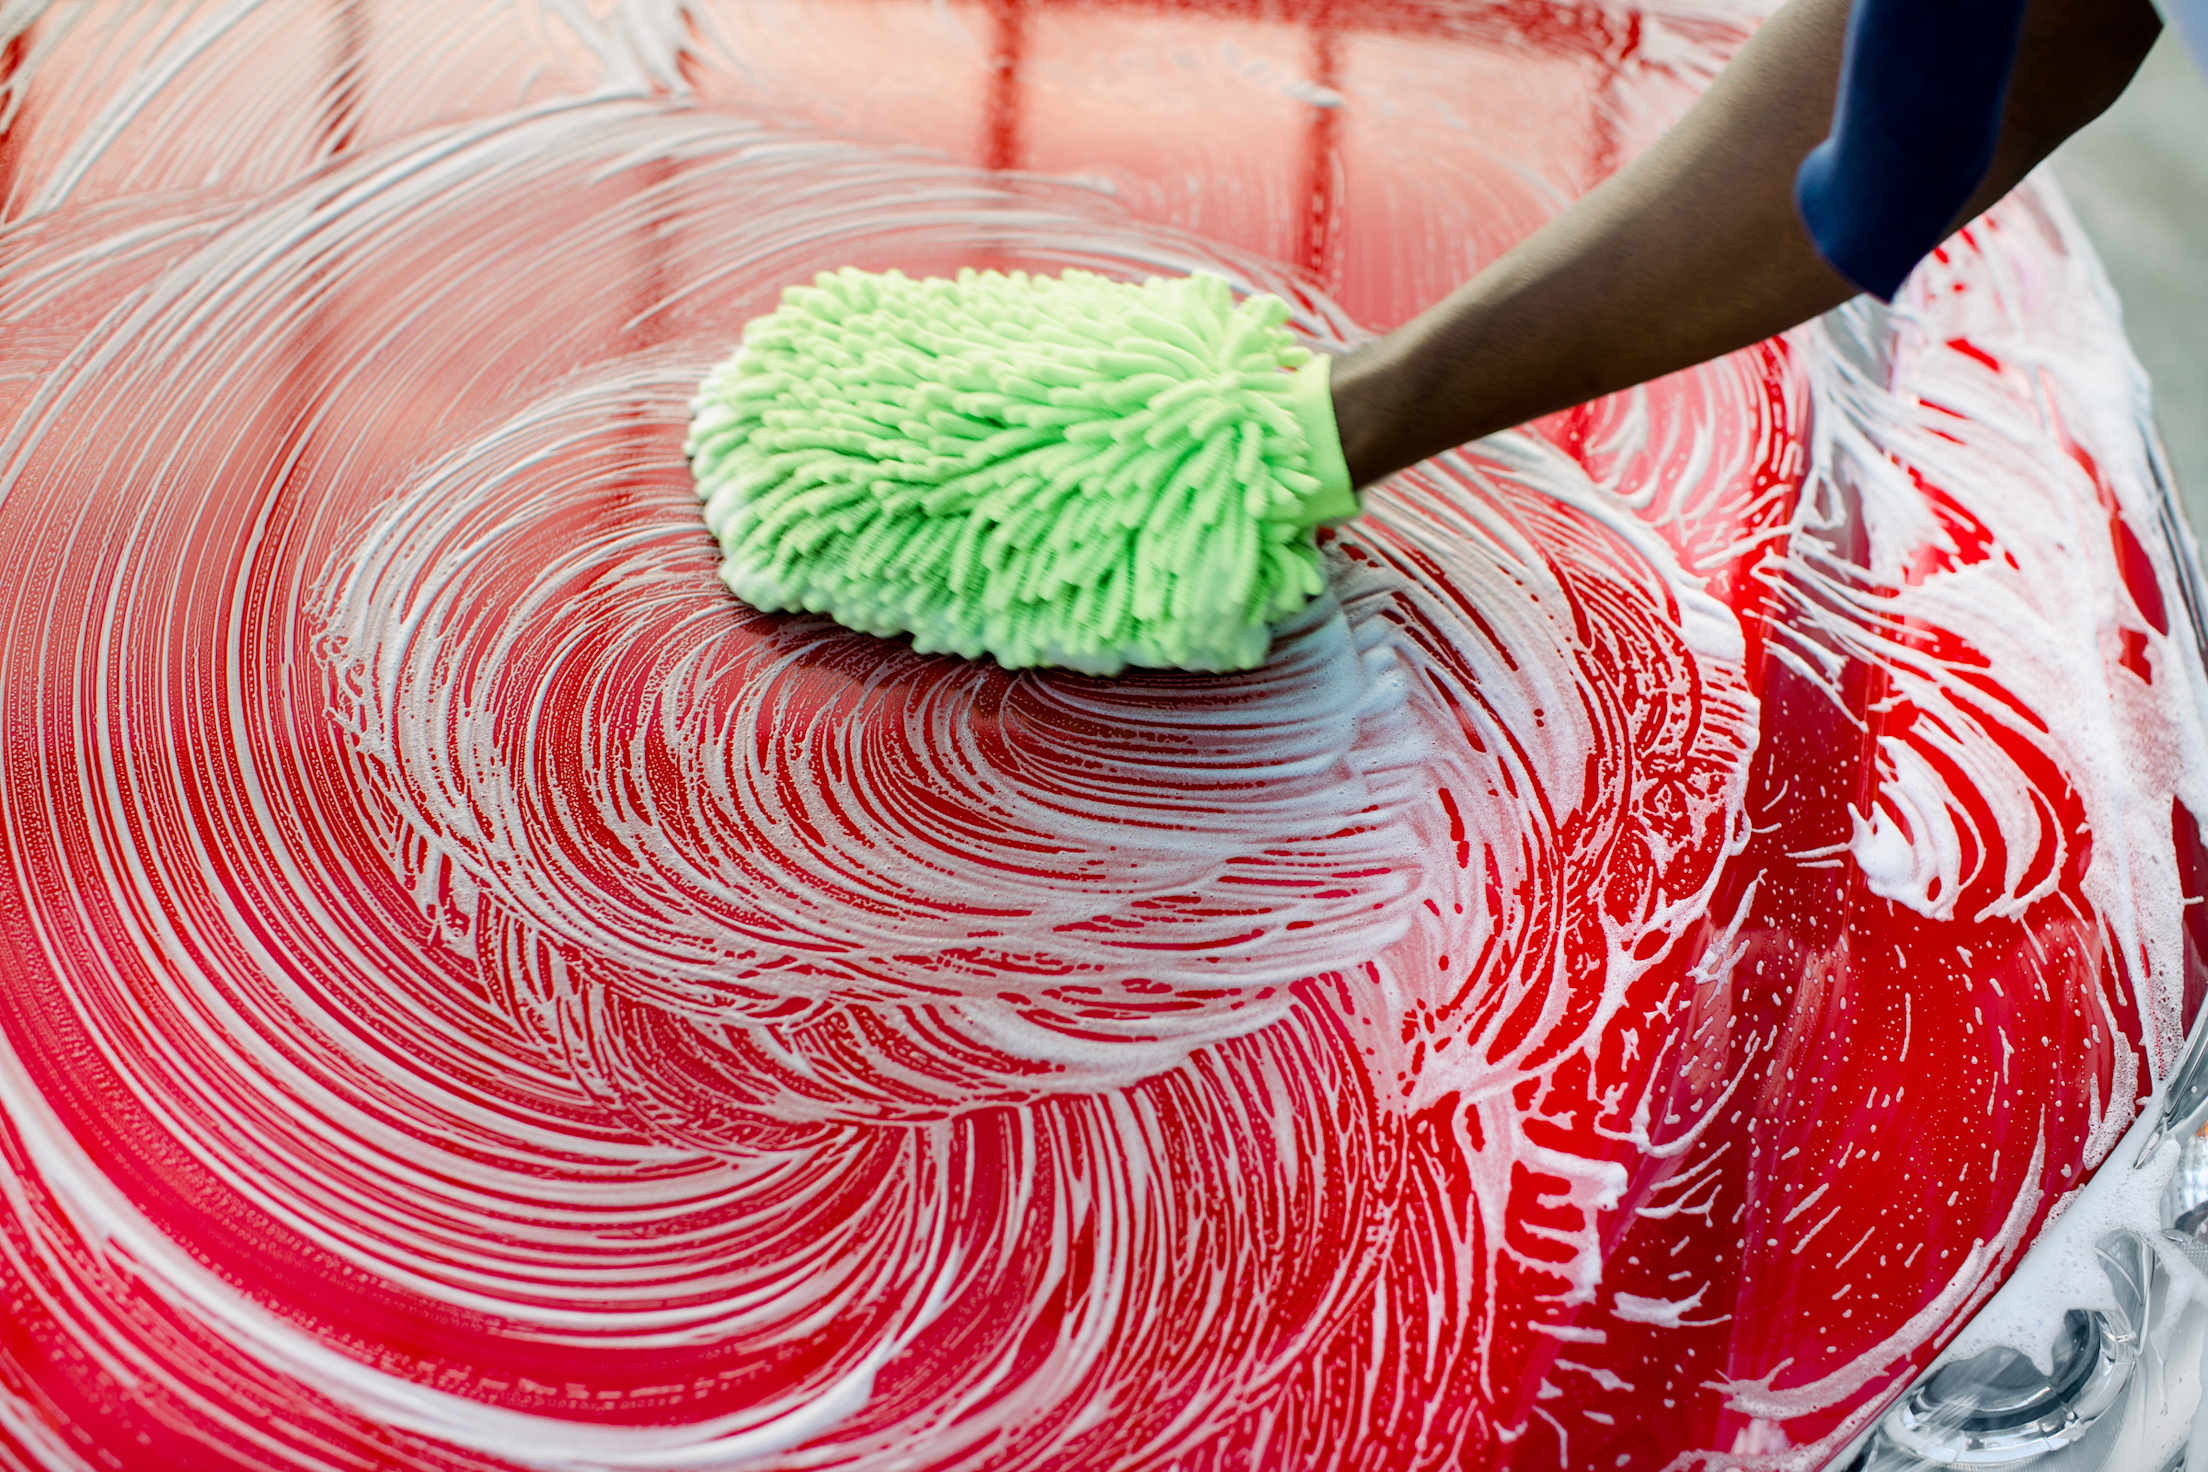
- A soft, natural sponge or lamb’s-wool mitt to suds up your vehicle.
- Bug and tar remover and a nonabrasive cloth to remove deposits on your wheel wells and elsewhere. Buy a non-toxic commercial product or create your own by searching recipes online.
- Microfiber or chamois towels to dry and wax your car.
- Liquid or paste wax.
- Window cleaner or, for a DIY option, mix equal parts vinegar and water in a spray bottle.
- Non-toxic car interior cleaner. Avoid using dish soap and other household cleaners, which can damage interior surfaces and strip the exterior’s protective wax. Make a cleaner yourself by mixing equal parts vinegar and linseed oil.
- A cloth to wipe-down interior surfaces.
- Small brushes, such as a toothbrush or paint brush, for cleaning crevices.
- Surface protector with essential oils for vinyl or leather surfaces.
- A vacuum cleaner with various attachments for getting into little nooks.
- Carpet cleaner.

How to Wash Your Car's Exterior
When washing your car’s exterior, location matters. Opting to suds up and hose down your car in your driveway can cause detergents, oil, grease, heavy metals, and other toxins to flow into the nearest storm drain—and from there, into local lakes and streams, potentially harming fish and aquatic plant life. Your city may even prohibit home car washes to protect waterways or conserve water. Check with your local water department before you wash.
Instead of the driveway, consider a nearby self-serve car wash, which reuse water several times before diverting run-off to a sewer system for proper treatment. Some places, like Southern Nevada and San Mateo, California, even offer coupons to encourage residents to use a commercial car wash.
Automated car washes, alternatively, can be convenient but hard on your paint. Many use abrasive spinning brushes that can leave marks over time. “Anything that hits your car can cause scratches,” explains Kenyon. “Eventually, you might start to see spider-web marks across your car.”
For a proper hand-wash, here’s what to do:
Wash the wheels.
Spray a cloth with bug and tar remover to remove any grit. Once the grit is gone, wash with mild soap or a wheel cleaner, and rinse. (Note: Tire dressings promise a pretty shine but may make it harder for your tires to grip the road, and according to Consumer Reports, may not be that useful when it comes to protecting your tires. Do your research before choosing and applying a tire shine product.)
Wash the body.
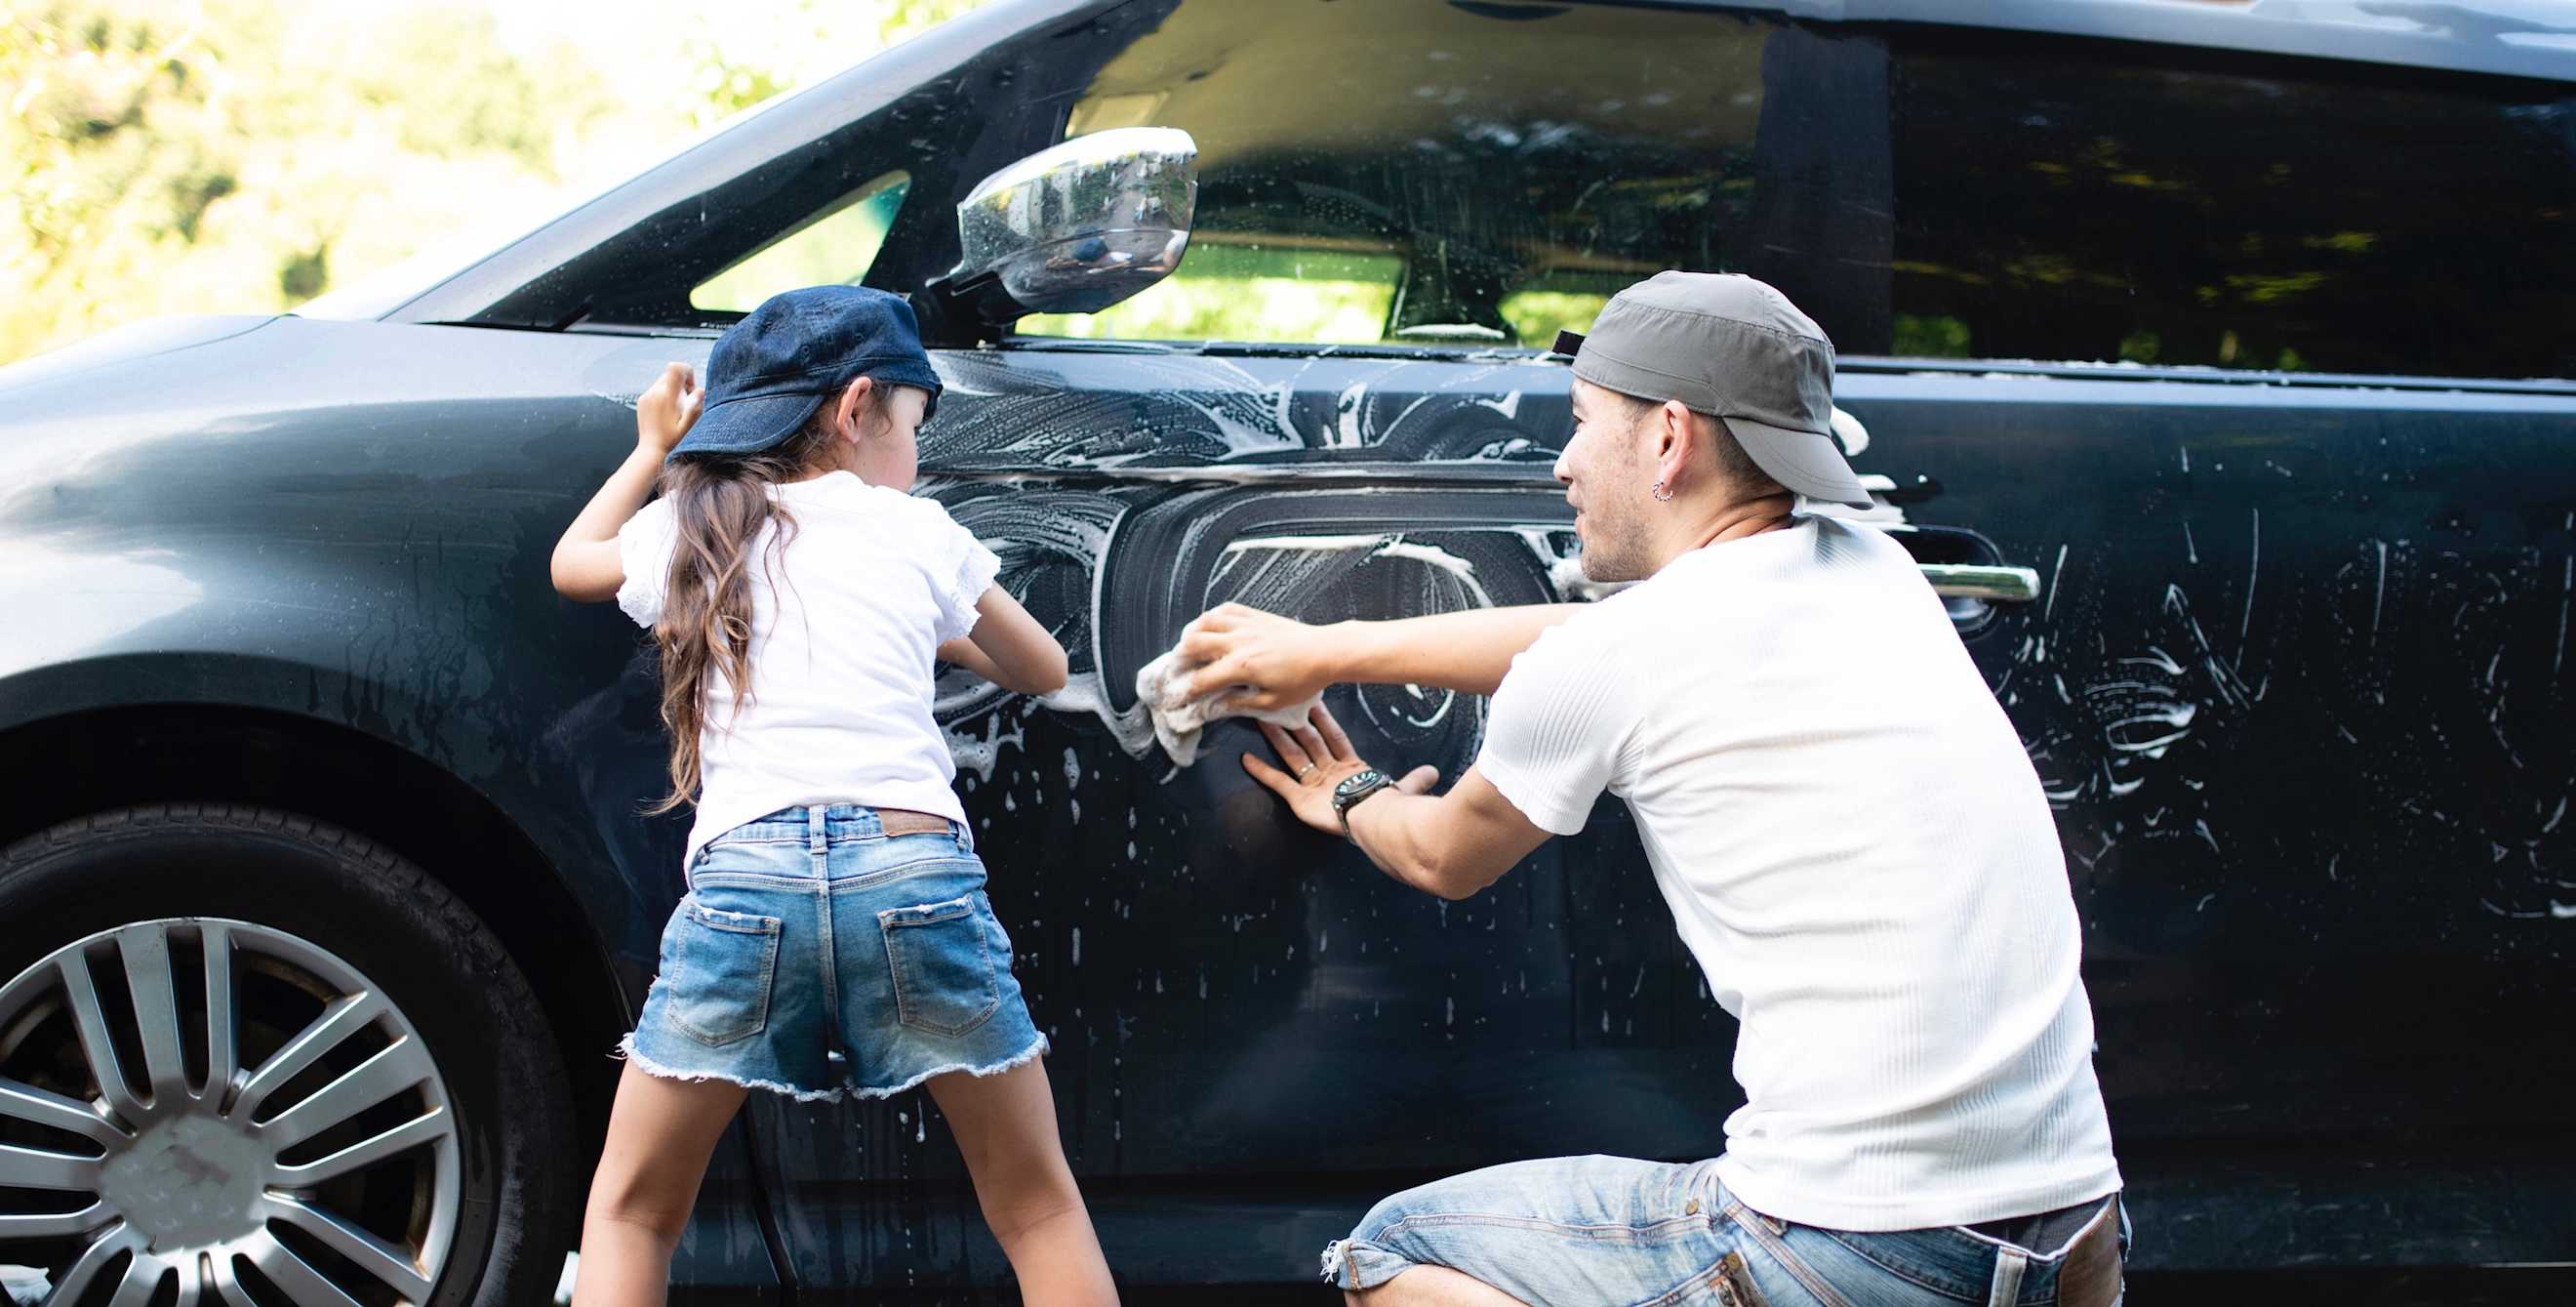
Tackle your car’s body with a product designed for automotive paint. Use a fresh sponge and bucket—not the ones you used on your wheels—to avoid transferring grime, and wash from the top down., If you drop your sponge, rinse it thoroughly to remove any dirt that might scratch the paint.
While your car is wet, run your hand along the body. Does it feel rough? If so, pollutants such as dirt particles, brake dust, and industrial fallout have accumulated, which can degrade the surface. To remove the grit without leaving a scratch, buy a clay bar kit for $20 to $25. Cover the area you plan to tackle first with a lubricating spray (sometimes included in the kit) and rub the bar along the body, including glass and chrome parts, to remove stuck-on debris. Follow your kit’s instructions for best results. Rinse and use a chamois to dry.

How to Clean and Detail Inside Your Car
Declutter as much as possible, and remove any remaining items and debris. Don’t forget to check crannies for things like pens and loose change.
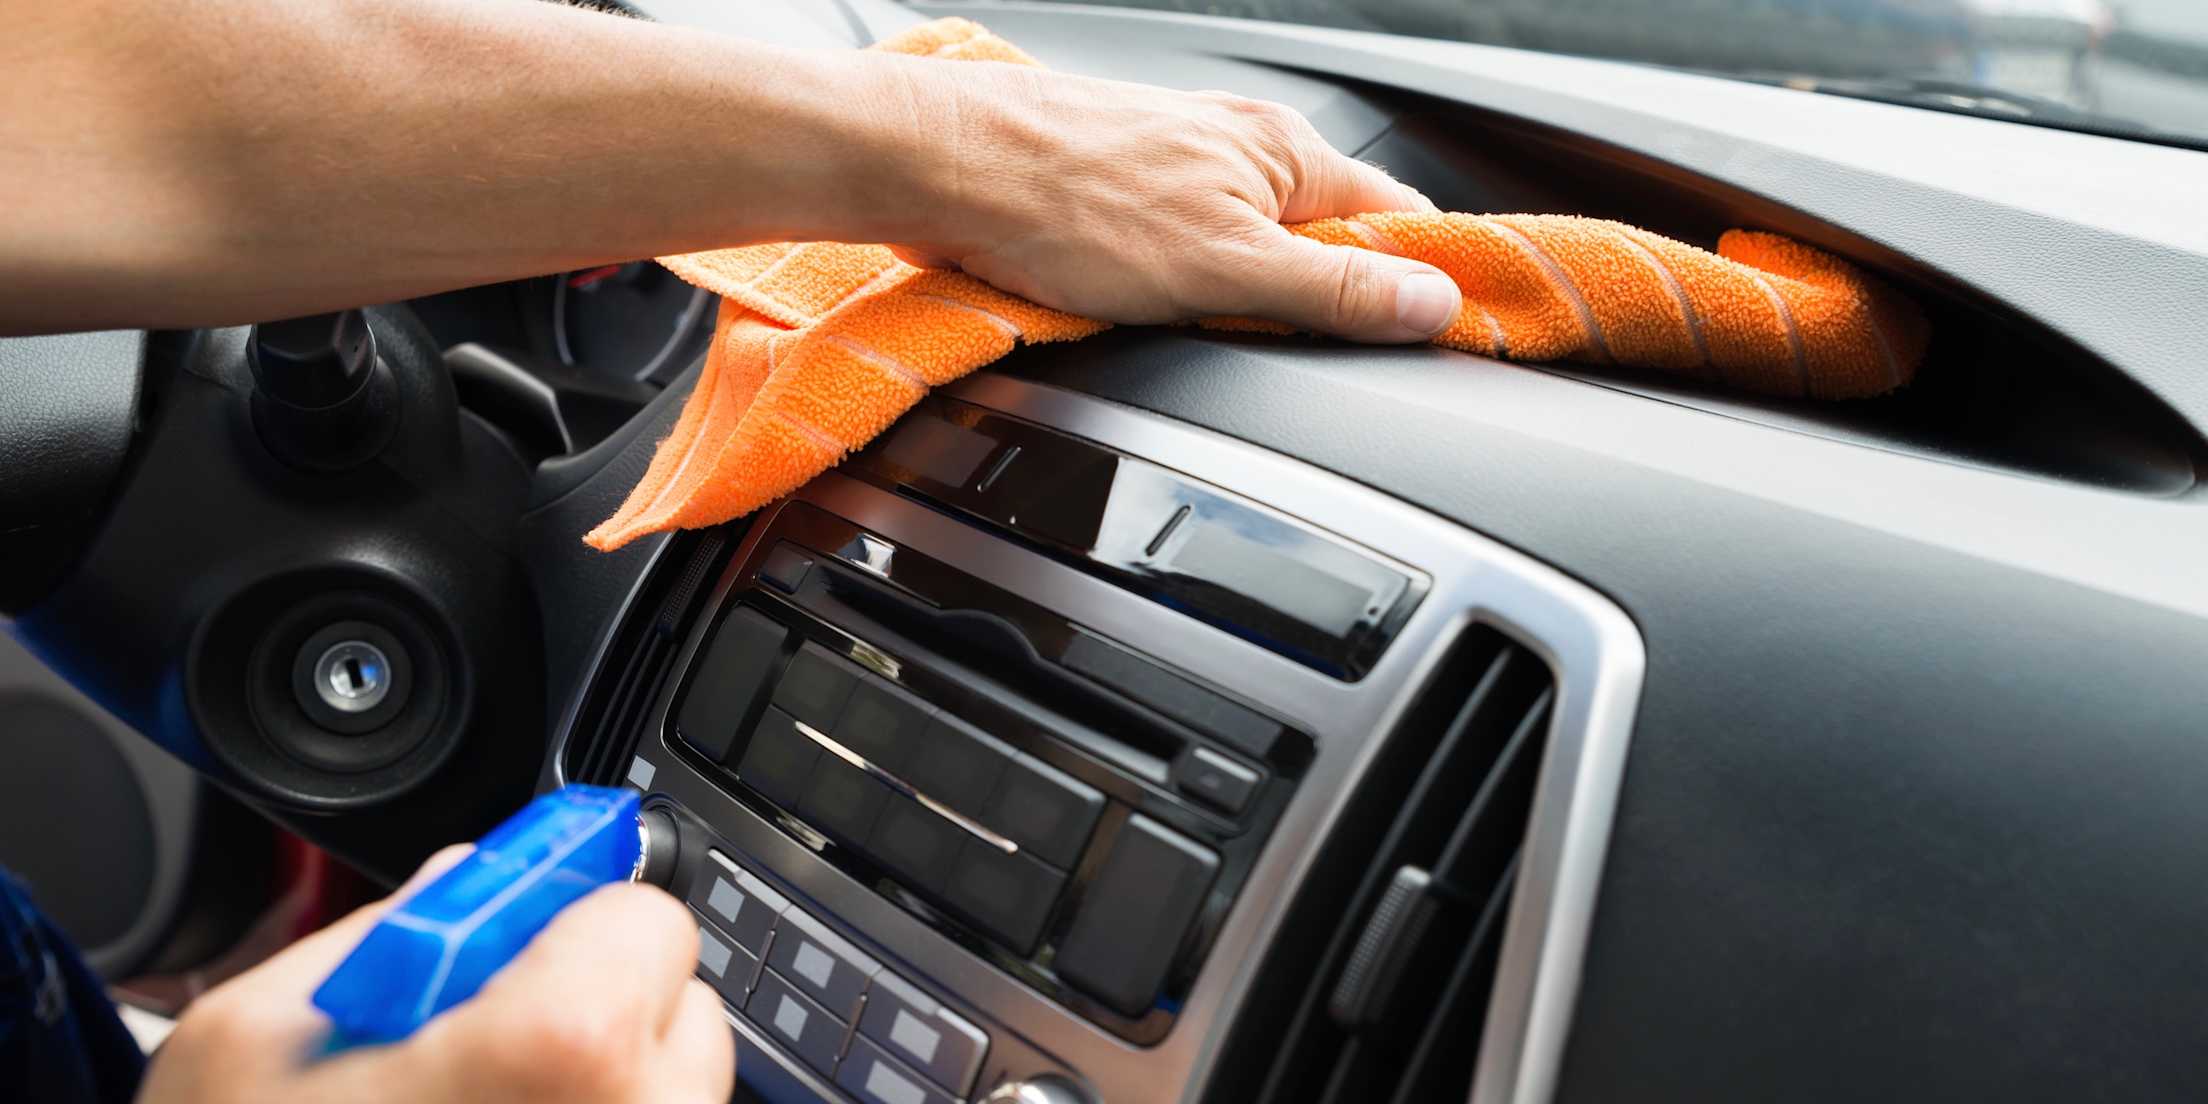
Grab a cloth and wipe down the dashboard, console, door panels, and other surfaces. Avoid products with petroleum and silicones that can dry out the interior surfaces, warns Devon Davidson of MARS of Billings, a detailing provider that also teaches people to care for their vehicles. Also, skip anything that contains ammonia, which can bleach plastic.
Next, vacuum carpets, upholstery, and floor mats. Use the crevice attachment to get those hard-to-reach places. Then, spray carpets and seats with a foaming carpet and upholstery cleaner, which can be vacuumed after drying. Don’t shy from testing out various vacuum attachments to get the best suction. “When you’re vacuuming or shampooing your car, you need friction, so use a brush,” Kenyon says. “A scraper can pull out pet hair.”
Need an even deeper clean? Rent a steam cleaner from your local grocery or hardware store. And if you have leather seats, consider a high-quality conditioner. “With leather, it’s important to keep the surface moisturized,” says Kenyon. “Doing so once or twice a month will extend the life of your leather.” He suggests products that contain essential oils.
Finally, open your car doors to wash the jambs with soapy water, using a brush to remove tough stains. Clean the insides of the windows with a glass cleaner.
How to Add the Finishing Touches
A few final steps take a DIY detail to the next level.
Hit the trunk.
Clear your trunk and vacuum out any accumulated dirt and detritus. Now’s also a great time to refresh your emergency car kit. Here’s a list of essentials to keep in your car.
Defog those peepers.
Grungy headlights aren’t just unsightly—they can compromise your safety. Consider buying a headlight restoration kit to remove haze, restore clarity, and protect your headlights from UV damage.
Shine on.
Wax your car to protect the paint against both UV damage and deposits like bird droppings, which can be corrosive. Natural carnauba waxes offer a deeper shine, while polymer waxes tend to last longer. Whichever you choose, follow product instructions and wax your car in a shady spot, using a microfiber cloth.
When to Leave It to the Pros
A pro can buff out scratches and help to prevent weather-related damage to your car’s exterior. “In the wintertime in Montana, calcium chloride from streets can get on the paint, wheels, and the chrome trim,” Davidson explains. “If you don’t wash it off, it pits and tarnishes that chrome. We can put a sacrificial layer of ceramic coating on every surface so the calcium chloride won’t stick.”
The pros can also chase away pesky imperfections like hard water spots and tree sap damage. “It really does make a difference. We recommend twice a year details, if people can afford the expense,” Davidson says.
They can also save you time too. If you want a really sharp-looking car but don't want to give up a Saturday for the job, AAA Car Care Plus facilities can get it done for you.
Make smart choices, whether you're buying, selling, insuring, maintaining, or repairing a vehicle.