16 Things Every Homeowner Should Know How to Do
Handle these simple repairs and improvements yourself to keep your home safe, comfortable, and healthy.

All that sheltering in place—and staring at the same walls while working, studying, and playing at home—is prompting folks to spruce up their digs. In 2020, Americans spent nearly $440 billion on home improvement products, an 11 percent increase over the year before. As it turns out, even the least handy people among us are capable of doing some routine maintenance. Although the tasks may sound daunting at first, many minor repairs are relatively easy, and the supplies you’ll need can often be had for less than $25 at hardware stores. Here’s a roundup of fixes and updates that almost anyone with a basic tool kit (and perhaps a peek at YouTube) can handle. Yes, even you.
1. Recaulk a bathtub.
Caulking—the stuff that creates a watertight seal between the tub and the wall—isn’t meant to last much longer than five years, especially if your bathroom is particularly humid. You can redo it in a weekend. Cover the drain with a rag, spray on some caulk remover, and use a thin knife or razor blade to carefully scrape off the old caulking, which you can put in the trash. Clean the newly exposed area with bleach or vinegar, then place painter’s tape in straight lines to delineate where the caulking should go. Choose a waterproof latex mixture. Use a caulking gun to apply it evenly along the tub’s edges and corners. Run your finger or an edging tool over the soft caulk, pressing it in. Peel off the painter’s tape while the caulking is still wet, and let it cure for at least a day before exposing it to any water.
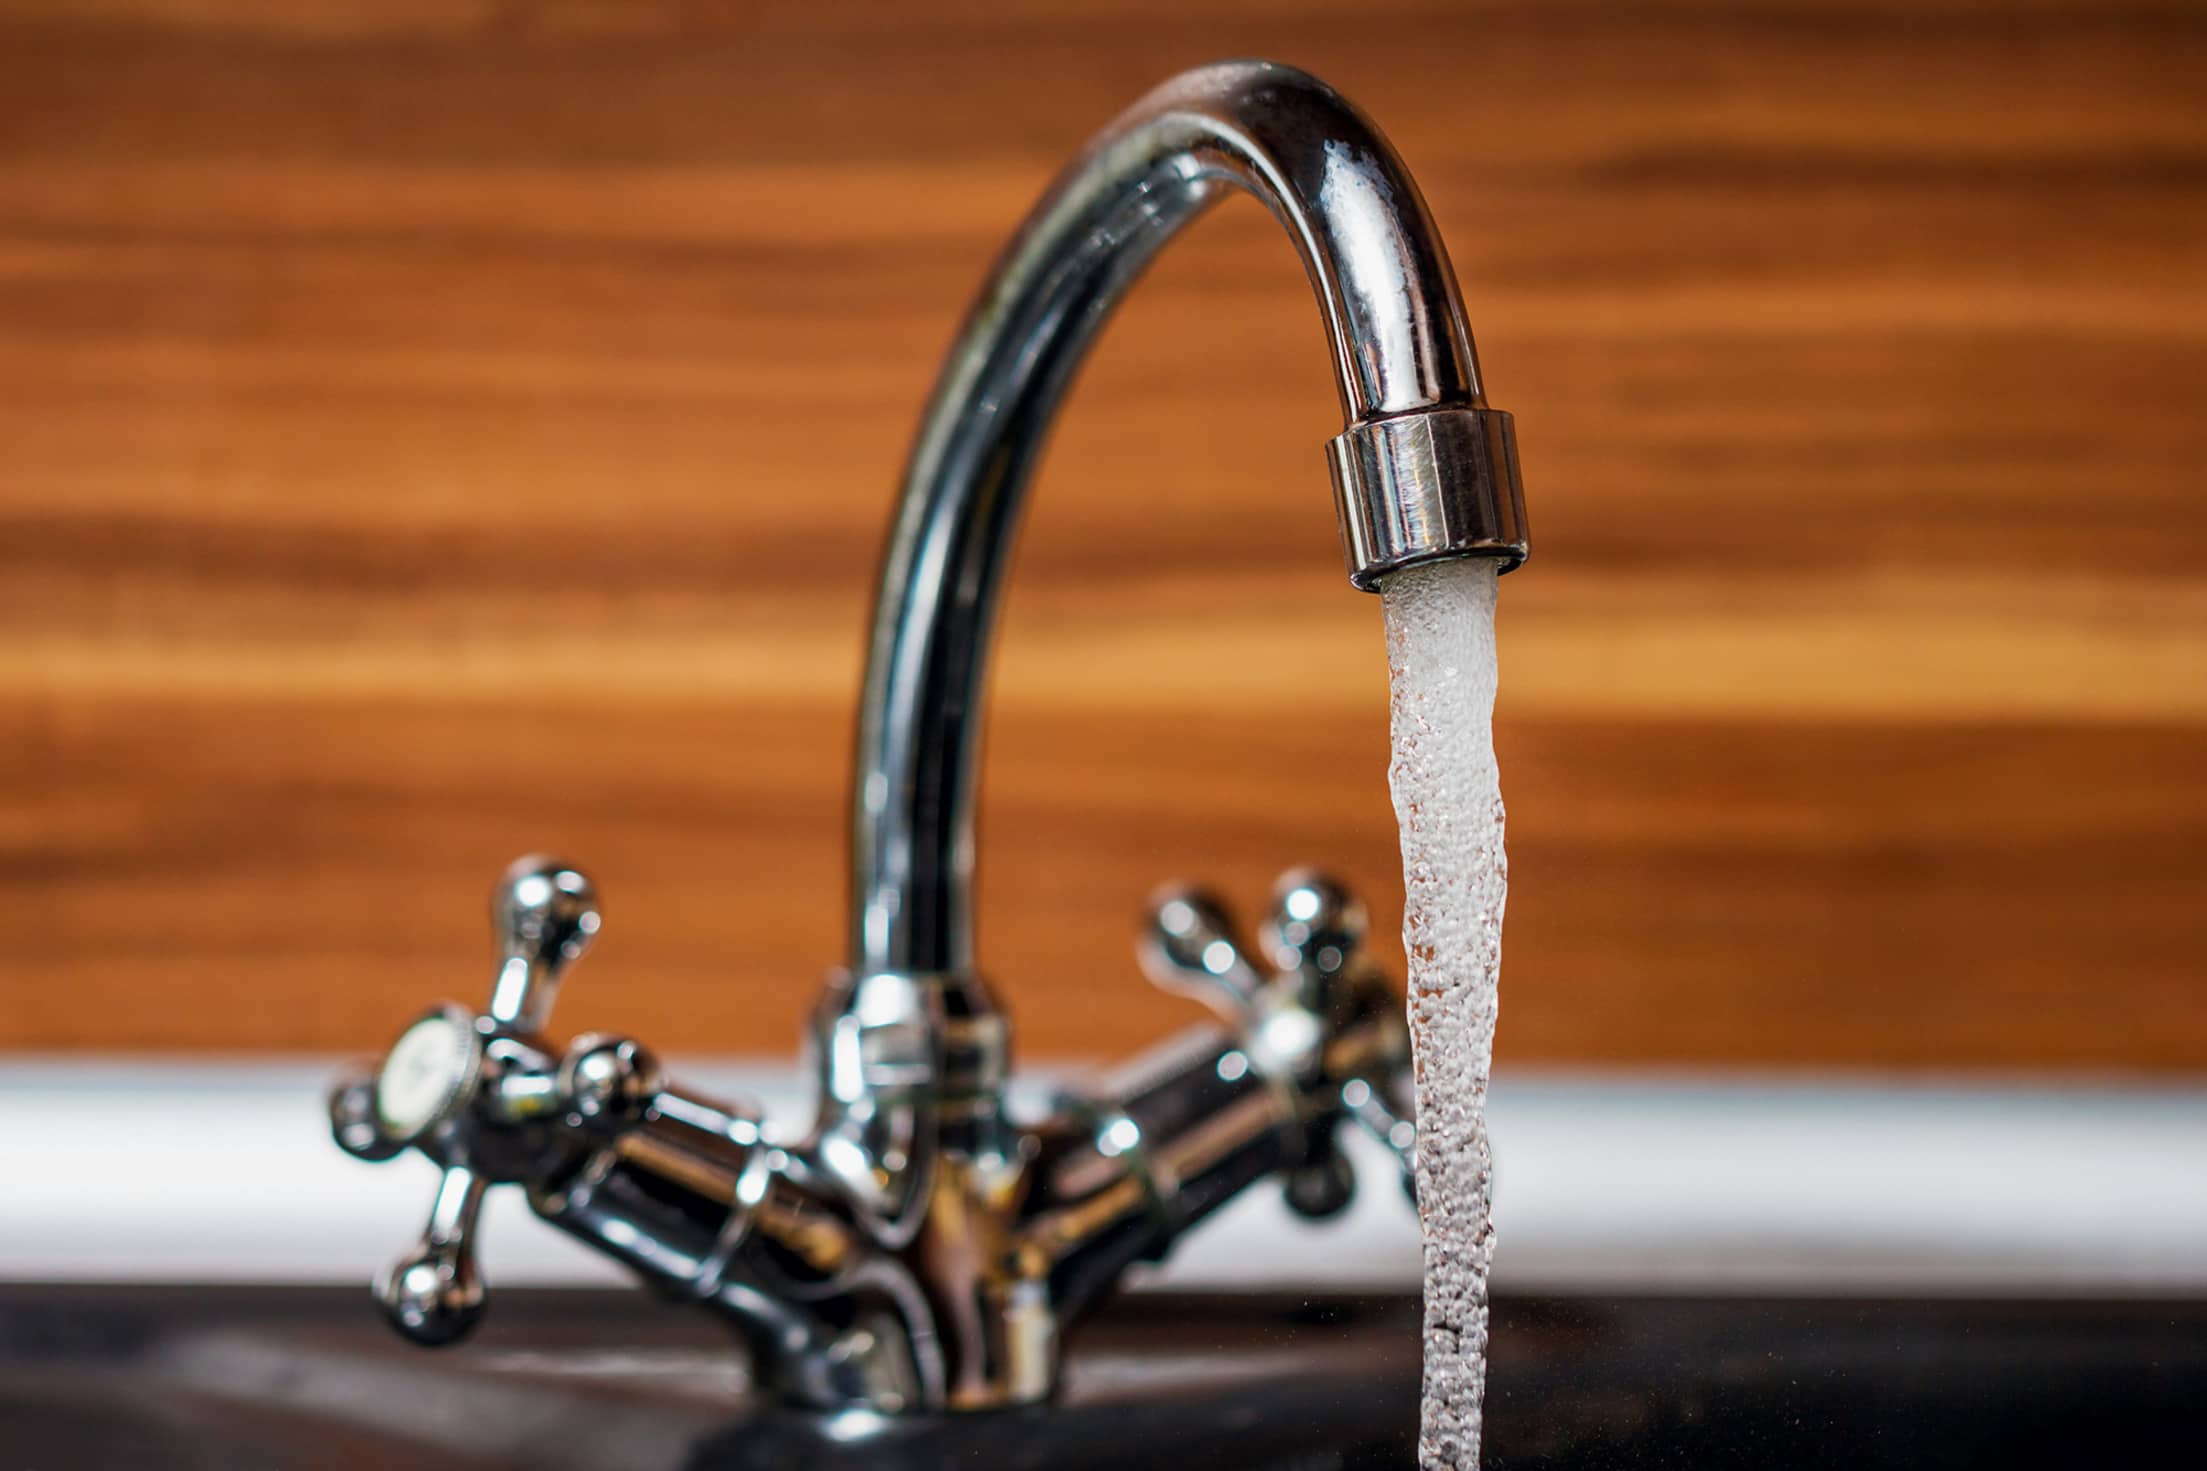
2. Fix a leaky faucet.
You do not need to call a plumber to stop that torturous drip-drip sound. It’s normal for a faucet’s seals and washers to degrade over time. To replace them, shut off the water, using the stopcock under the sink or the valve on your home’s water meter, then run the tap for a minute or two to empty the pipes. Remove the faucet, taking notes or smartphone pictures along the way to make reassembly easier. Replace the worn-out washers and seals with new ones—or use plumber’s tape to reseal—and tighten any loose connectors. Not sure what size or type to buy? Take the old parts to the hardware store and pick out comparable replacements.
3. Stop a running toilet.
Does your commode sound like a babbling brook long after you flush? You want to tackle this problem quickly: A running toilet can waste up to 200 gallons of water a day. (If you can’t repair it right away, shut off the tank’s water supply by closing the valve near its base.) The solution may be as straightforward as swapping out a worn part, such as the rubber flapper inside the tank. Press on the flapper; if the water stops draining, this is the problem. To replace the flapper, unhook it from the flush lever. Hook the new flapper’s chain to the lever, and place the flapper so that it covers the flush valve, as before. Not the issue? Try adjusting the flush mechanism, untangling or loosening the chain, clearing the fill tube of any blockage, and ensuring the float’s hinge has not rusted and is operating freely.

4. Relight a pilot light.
In older homes, water and wall heaters, furnaces, fireplaces, and stoves may run on gas. The little flames in their pilot lights—which ignite the gas when you turn on your appliances—aren’t supposed to go out, but sometimes they do. You can relight them yourself. Turn off the appliance and wait a couple of minutes for any lingering gas to dissipate. (If you continue to smell gas, do not proceed; there may be a leak. Evacuate and call your gas provider immediately.) Find the pilot light. Turn its valve to the pilot position, or open the valve by pushing the reset button, if your appliance is equipped with one. Use a lighter or a long match to revive the extinguished flame. After the flame is relit, continue holding down the button to keep the valve open for about 30 seconds, then let go.
5. Patch up drywall.
You may be surprised to learn how easy it is to fix a small hole, crack, or ding. Start by picking up a wallrepair patch kit that contains a mesh adhesive patch, a tub of spackling paste, a putty knife, a sponge, and sandpaper. Next, cover the floor to protect it. Place the mesh over the wall damage, eliminating ridges or air bubbles and cutting away any loose strings. Use the putty knife to apply a flat, thin coat of spackling paste to hold the mesh in place. Smooth its texture with a damp sponge, or wait until the area dries, then sand it to the desired finish. If you can still see a dent after the mixture dries—which could take up to a day—add another coat of spackling paste. Paint the repaired spot to match the rest of the wall.

6. Clean a dryer vent.
A clogged dryer vent pipe, or duct, is a fire hazard, so you want to perform this very manageable task at least once a year. First, buy a dryer vent cleaning kit. Its brush should attach to a household drill, which speeds up the job, but you can also wield it manually. After brushing the flexible or rigid tube, vacuum up any lint that may have fallen down it. Remember to clear the back of the dryer as well. If it’s been years since it was last cleaned, the vent may be too clogged to clear completely. In that case, the entire hose should be replaced.
7. Replace air filters.
The air filters in your home’s climate-control system should be changed at least four times a year, or twice if you have a whole-house filter. (Yes, you read that correctly.) If you’ve fallen behind schedule, don’t fret: Replacing air filters is a simple task. First, locate the return vent, which is usually on an indoor wall or ceiling. Loosen the bolt using its little levers, or a coin or a screwdriver, and open the vent. Take out the dirty filter and snap in a new one of the same size, then close the vent. Why change filters so often? To catch the tiny particles—mold spores, pet dander, pollen grains—that diminish indoor air quality and force your climate-control machinery to work harder. Routinely changing filters will make your system last longer and can save you up to 15 percent on your energy bills too.

8. Install a security camera.
The ability to monitor your property remotely can give you peace of mind. Choose a spot near entry doors, windows, stairs, a porch, or the driveway and mount the camera with a drill or a screwdriver. A video doorbell is another option: Note whether your existing doorbell is wired to a mechanical chime; if it isn’t, you may need an adapter. Next, run a Wi-Fi speed test at the doorstep to confirm that your network has the required upload and download capabilities. Check to see whether there’s any glare or obstacle blocking the field of view, and make adjustments as needed. See something fishy going on? “A modern home security system should have an accompanying app that lets you call for help on your smartphone,” says Gulbin Hoeberechts, senior vice president of marketing and sales for AAA Smart Home Security.
Smart Tip: AAA Members save an average of 15 percent with AAA Smart Home Security professional monitoring services.
9. Unstick a door.
A door that sticks can be a sign of a few different issues. Seasonal temperature changes, loose hardware, and shifts in the home’s foundation can all affect alignment. Whatever the cause, address the hinges first: Remove any paint or spacers underneath, fill the frame holes with wood glue or epoxy, and replace the screws. The strike plate—opposite the doorknob, where the bolt goes into the jamb—may need tightening too. If that doesn’t solve the problem, identify which part of the door is sticking. Remove the door, sand down that spot, touch up the paint, and reattach the door. Is the door squeaking? Apply WD-40 to its hinges.
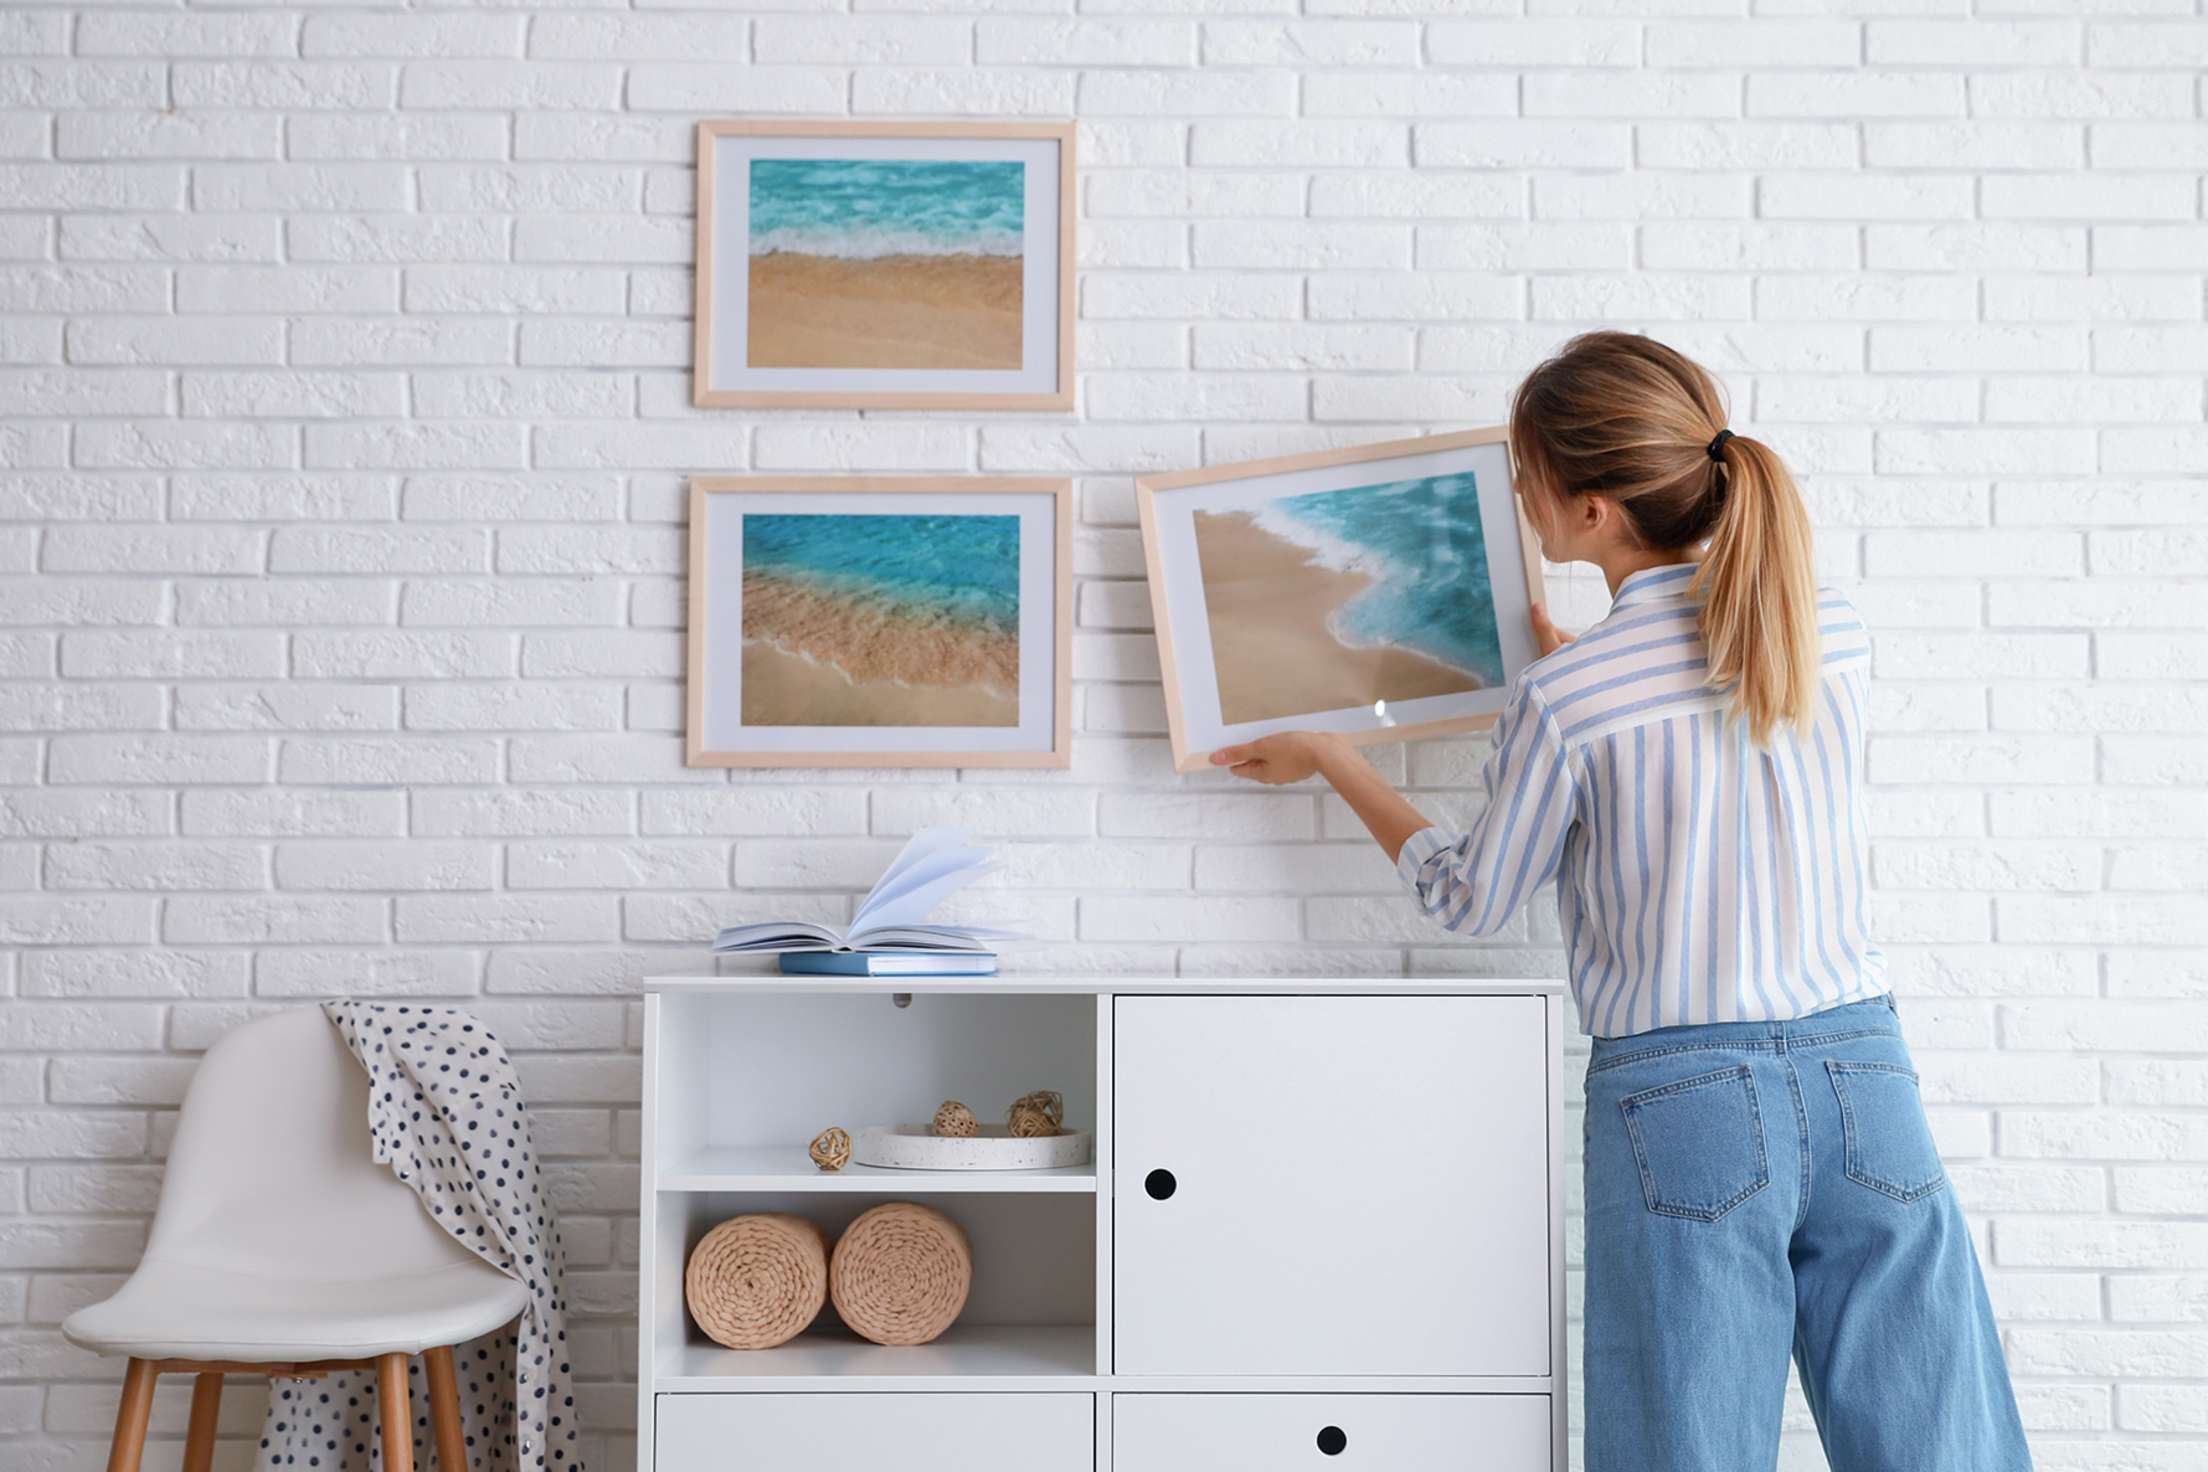
10. Hang art safely.
Perfectly placed artwork and photos can help personalize your space. For best results, you’ll need a sharp pencil, a hammer, a measuring tape, and nails (or picture hangers or adhesive hooks). If your piece is heavy, use a stud finder to locate a sturdy place. With the pencil, mark a spot 57 inches above the floor or about six to eight inches above furniture. Hammer in your nail and hang your piece by its center wire. No center wire? Fasten one to the back of the frame. Keep safety top of mind: Never hang anything heavy or glass-covered over a bed or a couch, and apply museum putty to a frame’s bottom corners to help prevent the glass from shattering during an earthquake.
11. Update smoke alarms.
When working properly, these devices halve your risk of dying in a home fire. The cardinal rule is to “test smoke alarms once a month, replace their batteries each year, and replace the smoke detectors themselves every decade,” Hoeberechts says. Using a sturdy stepladder and a power drill, install new or replacement detectors on ceilings or high on walls—smoke rises, after all—and at least 10 feet from major appliances, to prevent false alarms. Mount one in every sleeping area. A smart sensor that detects smoke and carbon monoxide can be a good option, Hoeberechts says. “It’s also good to have a fire extinguisher, learn to use it, and practice a fire safety plan with the whole family,” she adds.
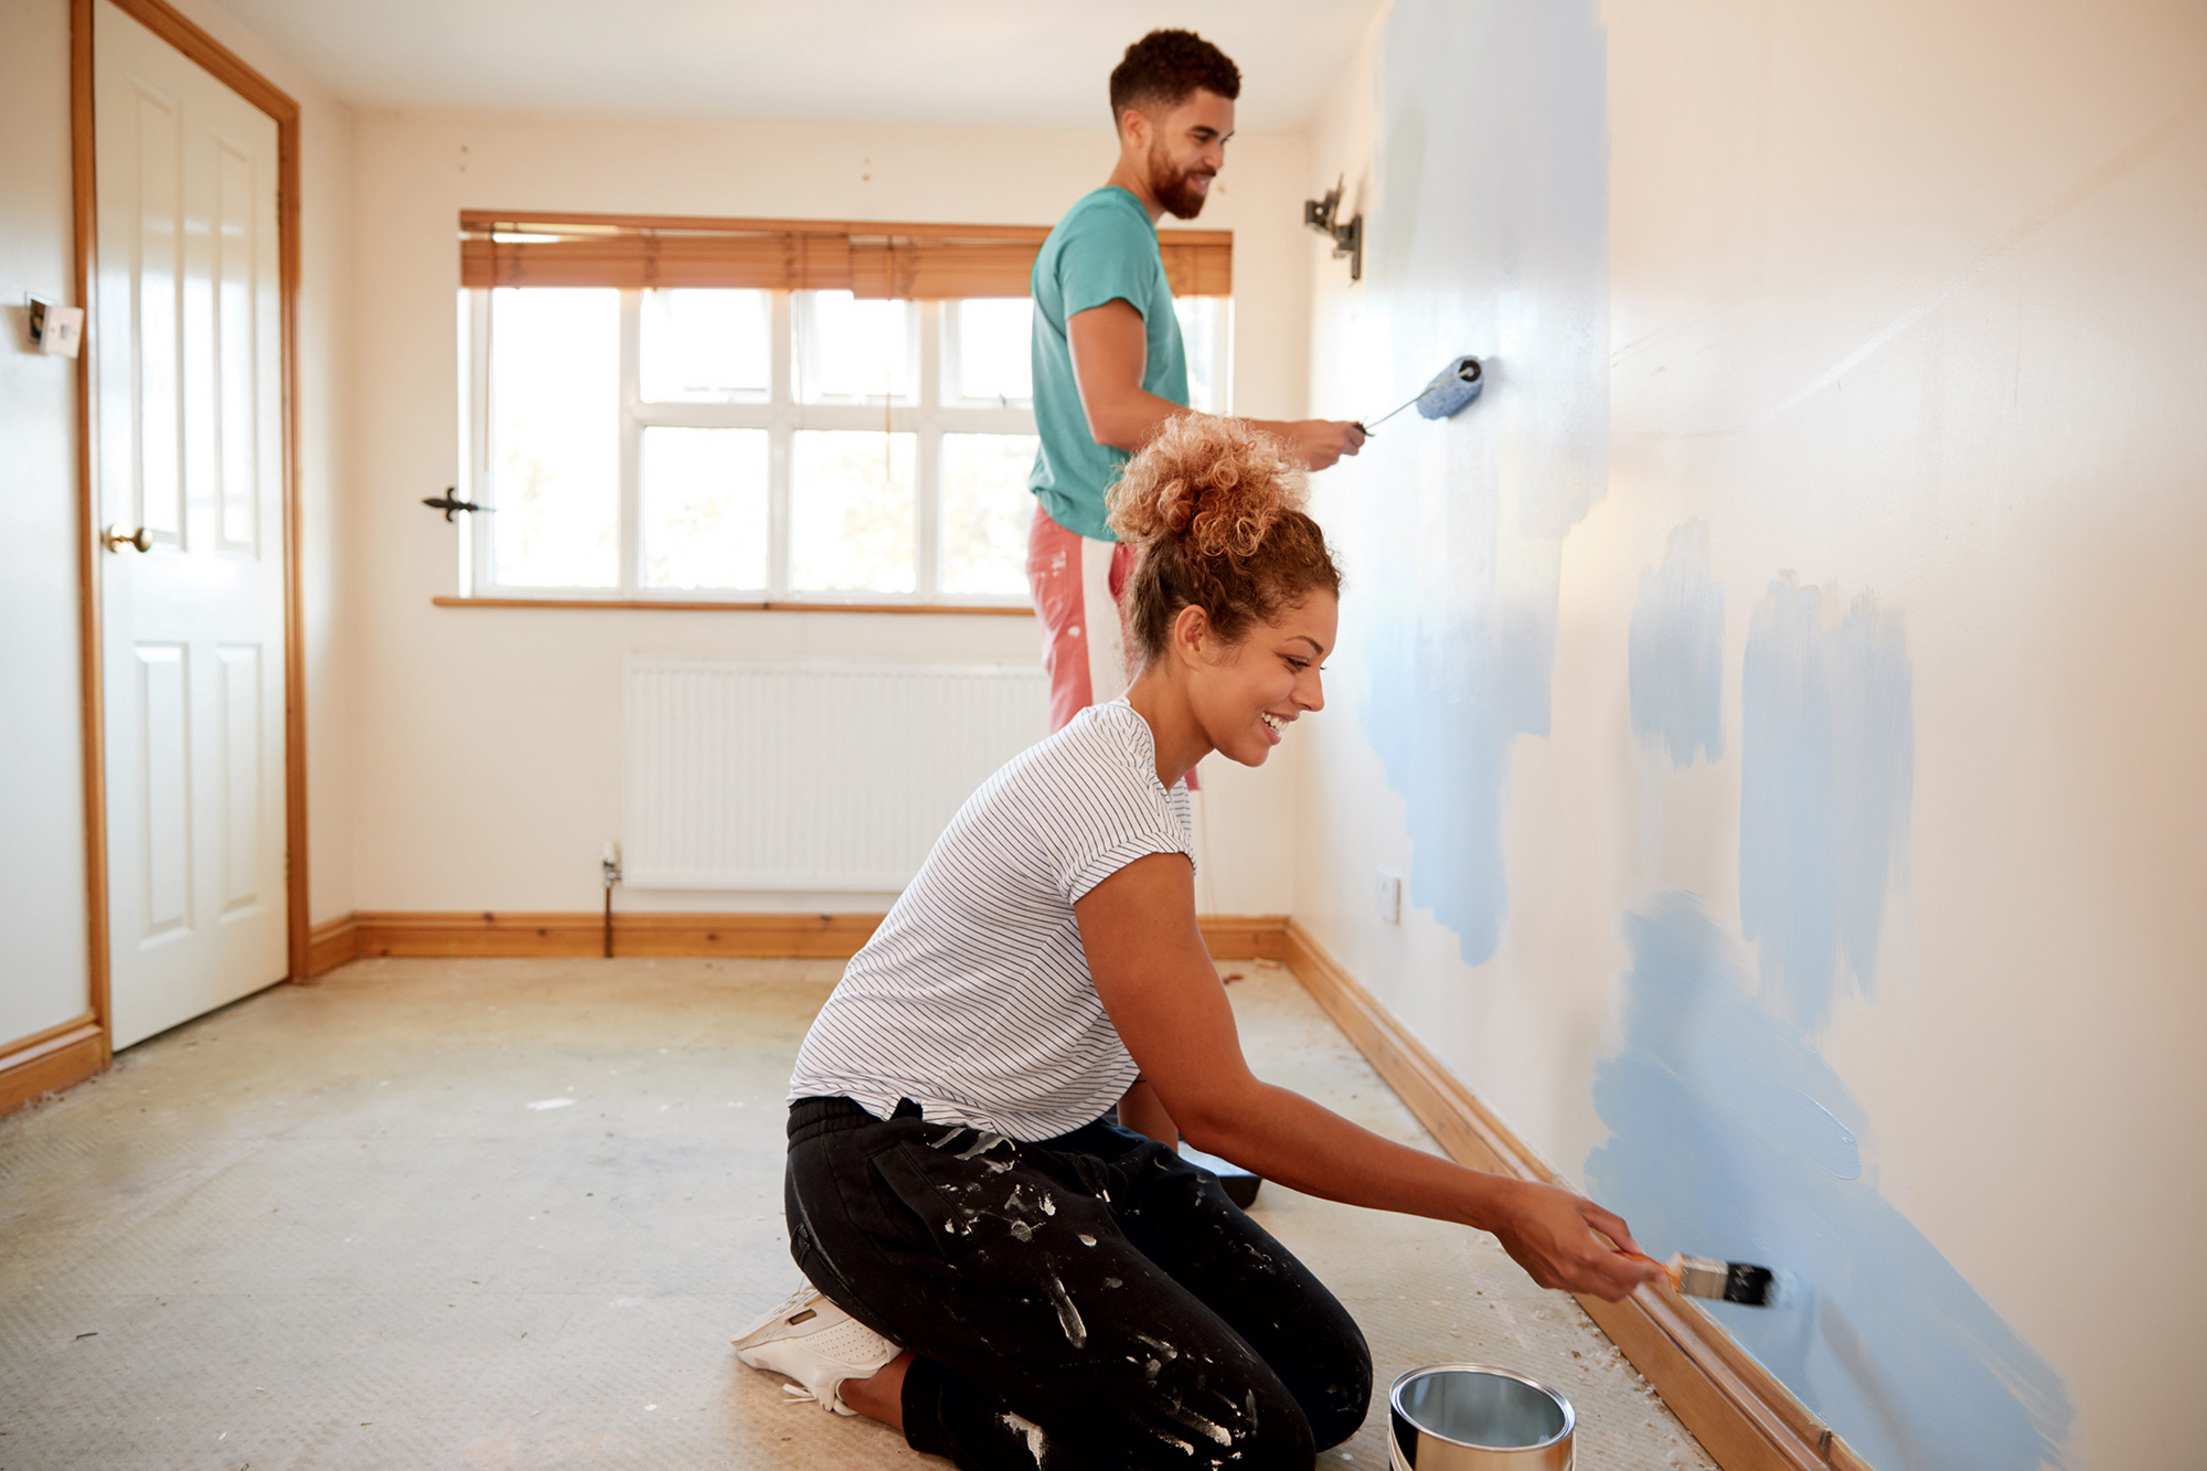
12. Paint a room.
Once you’ve patched the dings or holes in the walls (see No. 4), perhaps you’ll opt to change their color. This is a fairly straightforward task, if you have the proper tools: brushes, rollers, trays, painter’s tape, a drop cloth, and a ladder. Select your shade—bring home swatches from the store or enlist an interior designer or a color consultant to help you decide. Protect your floor, then pour the paint into a tray and start applying it at the walls’ edges and corners, using an angled brush for precision. After that, switch to rollers and cover the rest of the walls, making even, up-and-down strokes for uniform results. Apply as many coats as needed to achieve the tone you’re after—and don’t let anyone touch the wall until the paint dries.
13. Unclog a shower drain.
When hair binds with soap, the mixture can build up and prevent water from passing through pipes. To unclog a shower drain, remove the metal cover—if it’s bolted down, you’ll need a screwdriver—and reach in to clear the blockage. Can’t reach the gunk? Try using a plunger, lining its rim with petroleum jelly for a tighter seal. Place the plunger over the drain and push down on the handle repeatedly. When you lift the plunger, the backed-up water should start to subside. No dice? Other ways to unclog a drain abound, including the wire hanger, boiling water, and vinegar-and-baking soda methods.
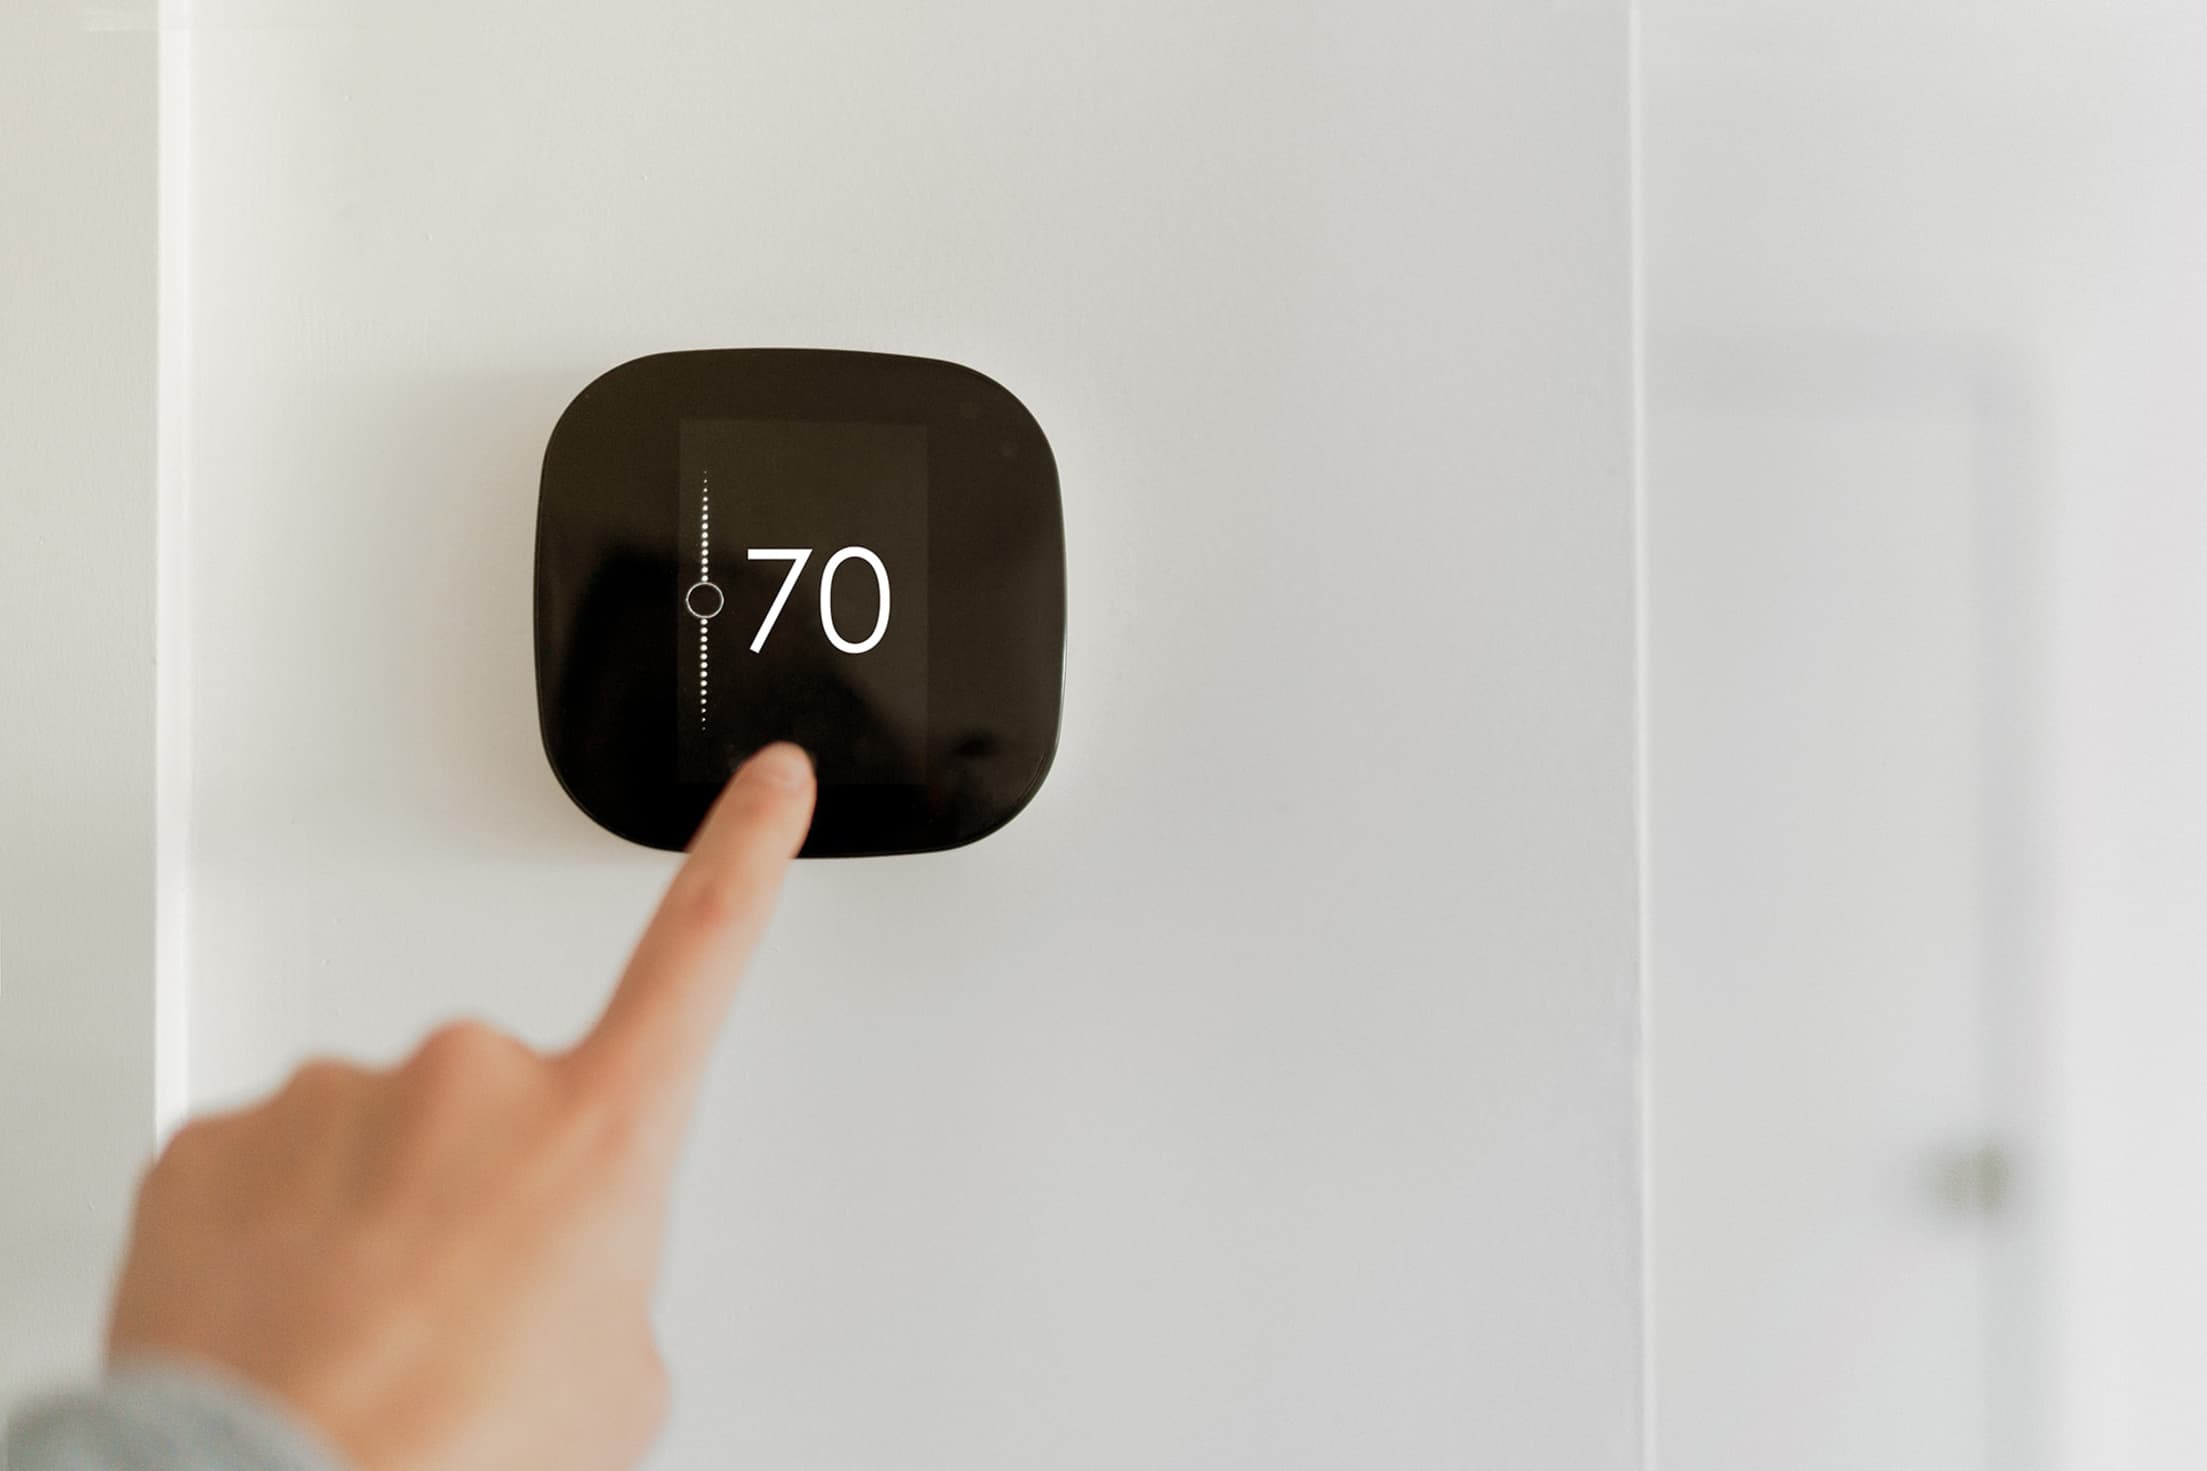
14. Upgrade a thermostat.
“Do a little research before replacing your thermostat,” Hoeberechts advises. “Take a look at your existing wiring and check for compatibility [with the type of heating and cooling system that’s in your home]. Compare prices, wattage, and features.” Once you’ve picked a winner, turn off the electricity to your old thermostat, then use a screwdriver to detach it from the wall. Label where each of the wires goes before disconnecting them and taping them out of the way. Mount the new thermostat’s base, rethread the wires, and insert batteries if needed. Restore the electricity and program your new thermostat. Befuddled by all the options? Consider a Google Nest or a similar device. “A smart thermostat can help you save energy and money,” Hoeberechts says. One distributor estimates that a smart thermostat can reduce the average home’s energy bills by 25 percent.
15. Deal with a balky lock.
Beyond being annoying, a stubborn door lock poses a security risk. Grab a screwdriver and tighten the hinge and strike plate screws to get the door properly aligned. If that doesn’t get the lock to open and close properly, take the knob apart and lubricate the spring mechanism, the keyhole, and even the key. For a stuck lock, try WD-40 and powdered graphite. It could also be time to replace the doorknob and lock.
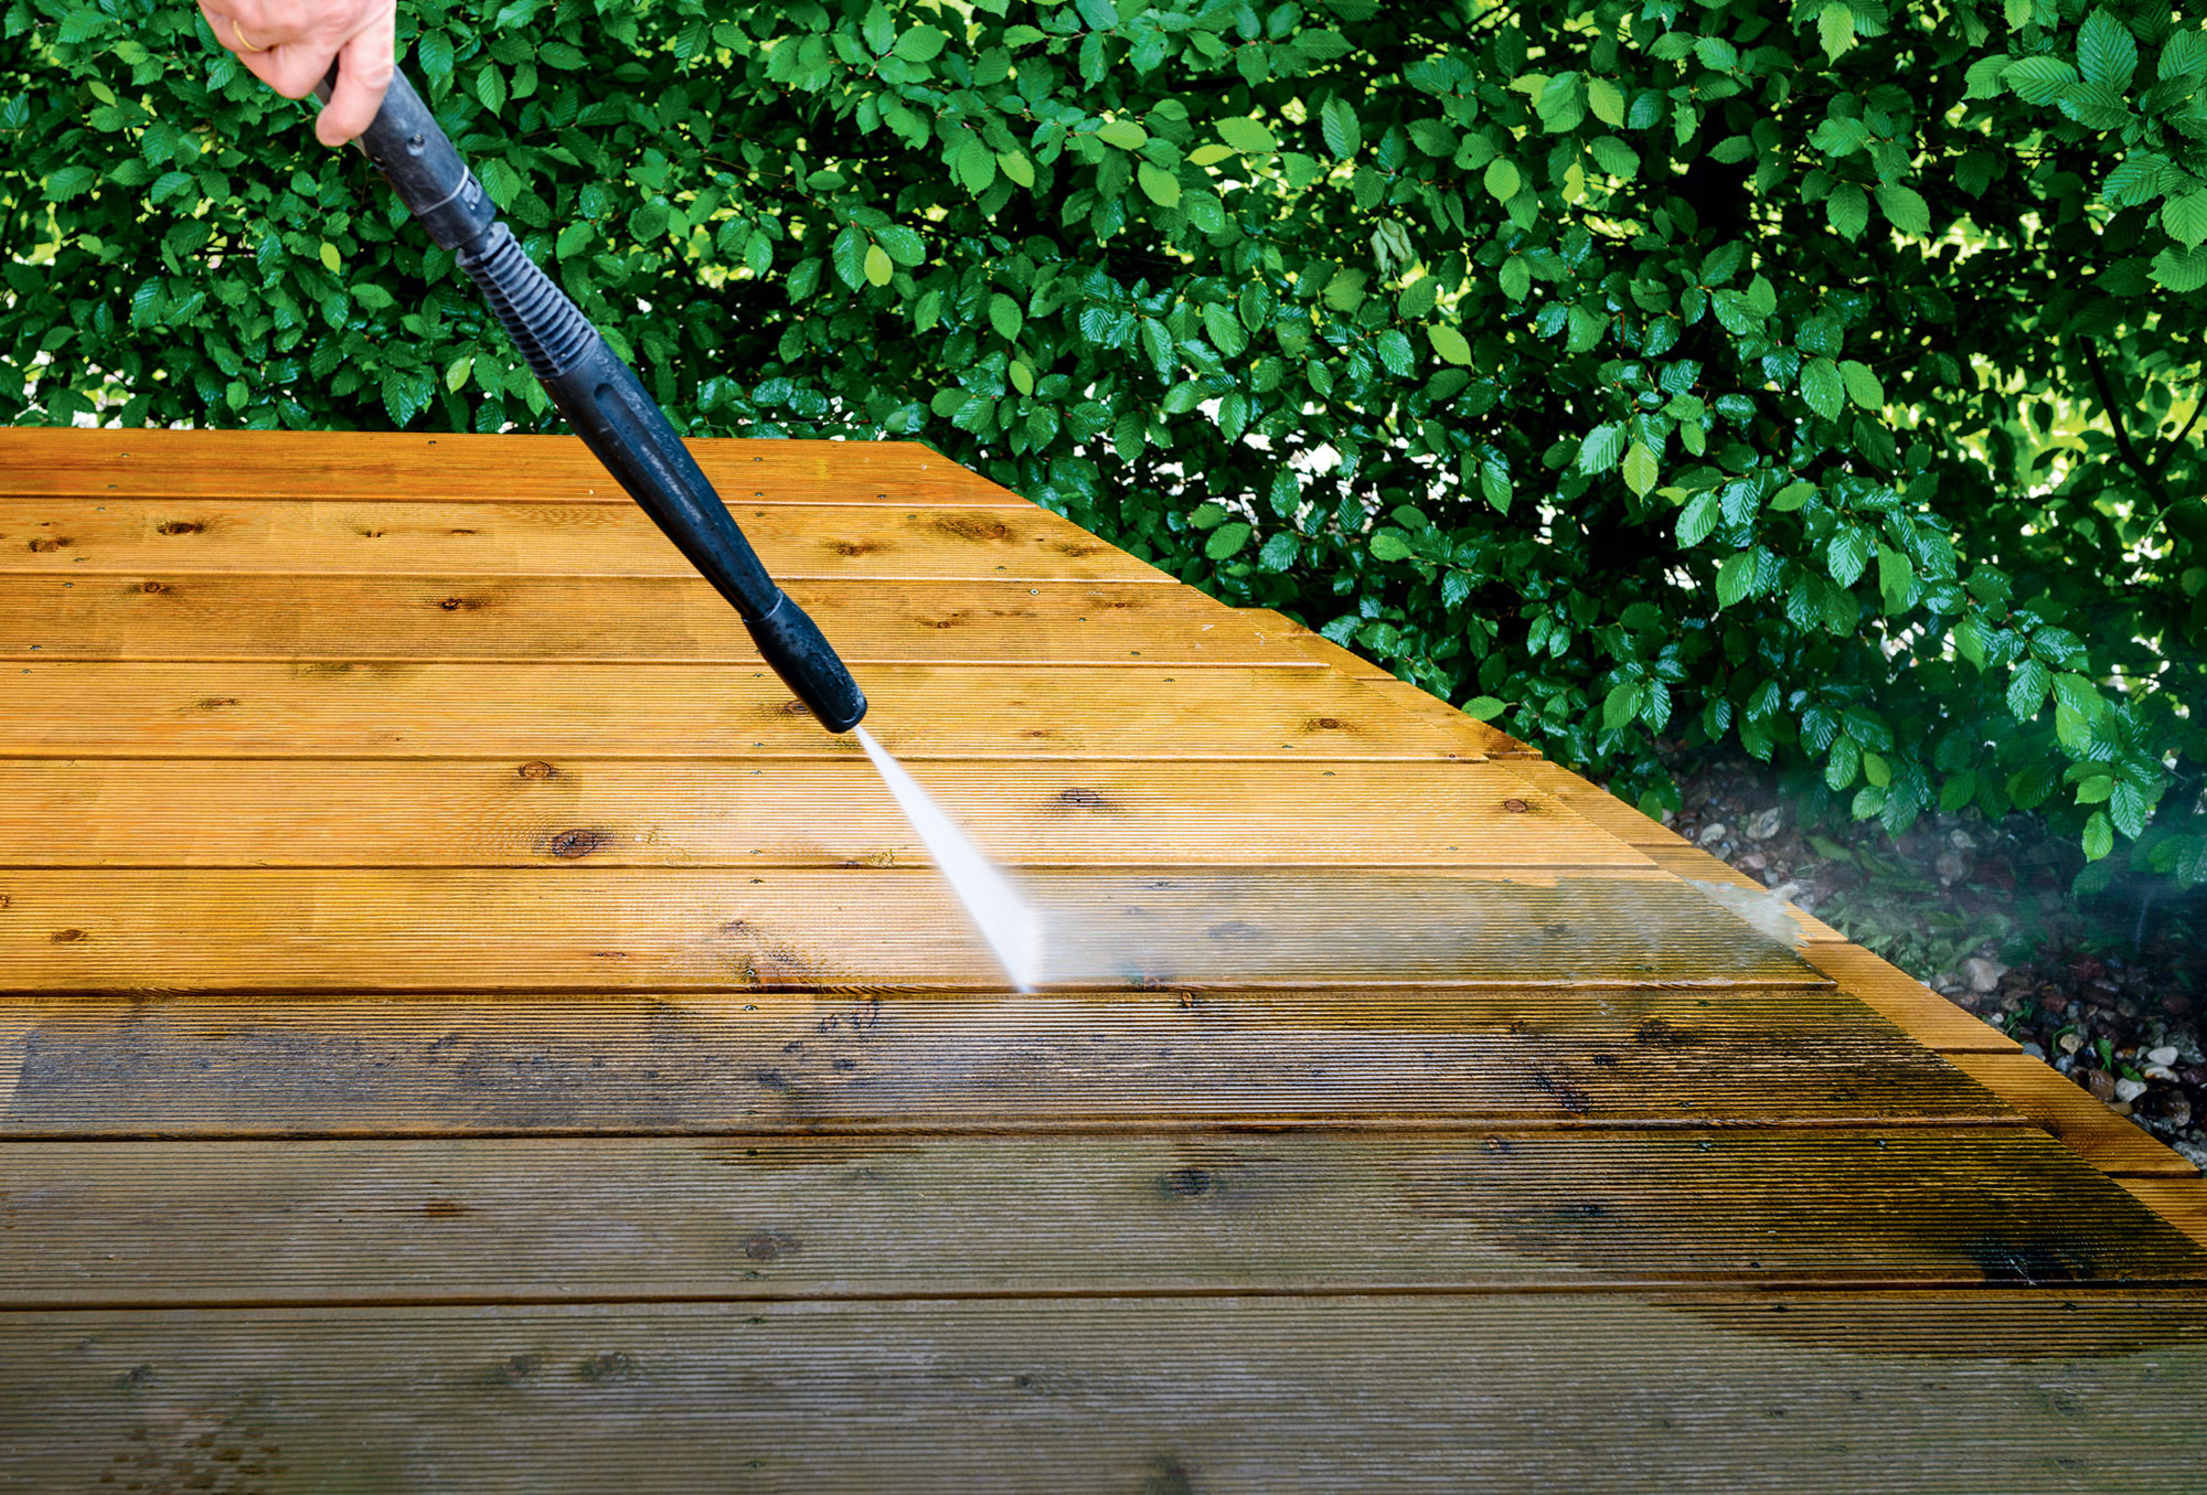
16. Reseal a wooden deck.
How can you tell if a deck needs attention? Sprinkle water on its boards. If the drops bead up, all is well. If they soak in, it’s time to reseal—but wait until the rainy season subsides. Clear away furniture and other items. Sweep away leaves and debris, then apply oxygen bleach and oxalic acid cleaners. Strip off any wood stain that’s easily removed. (A power washer can speed this up.) To retain the deck’s color, opt for a clear sealer; otherwise, choose a hue that complements your home’s exterior. With a paint roller, apply a thin coat; keep a paintbrush handy to even things out. Let the sealer dry before using the deck again.
Whether you own or rent your home, protect your personal property with AAA Insurance.