How to Make a Campfire (and S’mores!)
Ignite your love for campfire cooking.

There are about as many ways to build a campfire as there are outdoorsy people, but most methods share a few basic steps in common that ensure their success. Here’s what the experts recommend.
1. Stake out your spot.
Before you do anything else, confirm that there’s no burn ban in effect where you are. Check with park rangers or campground hosts about local conditions and regulations (such as Spare the Air days in the Bay Area). They can also tell you where to find suitable fuel.
Once you’re cleared to burn, carefully choose an existing fire pit or a cleared area where there’s already been a campfire. Beaches often have good spots. But you obviously can’t just start a fire anywhere. Wherever you are, heed the official signs and use common sense. Make sure your campfire is not too close to trees, shrubs, or other plants or materials that could ignite. Follow Leave No Trace principles to prevent accidental spread or damage.
Also keep in mind that campfires aren’t a necessity. “Campfires are nice once in a while,” says Jeff Wilson, a PBS travel show host who spends at least 10 weeks camping and backpacking each year. “But I’m always surprised at how many people have them even when it's 90 degrees or more. Only have a campfire when it's safe to do so and when conditions permit. Never when windy and rarely when it's hot outside. Your camping neighbors will appreciate it.”
2. Gather your fuel.
If you are allowed to gather firewood on-site, collect a variety of sizes of dry wood. Under no circumstances should you remove bark or branches from living trees.
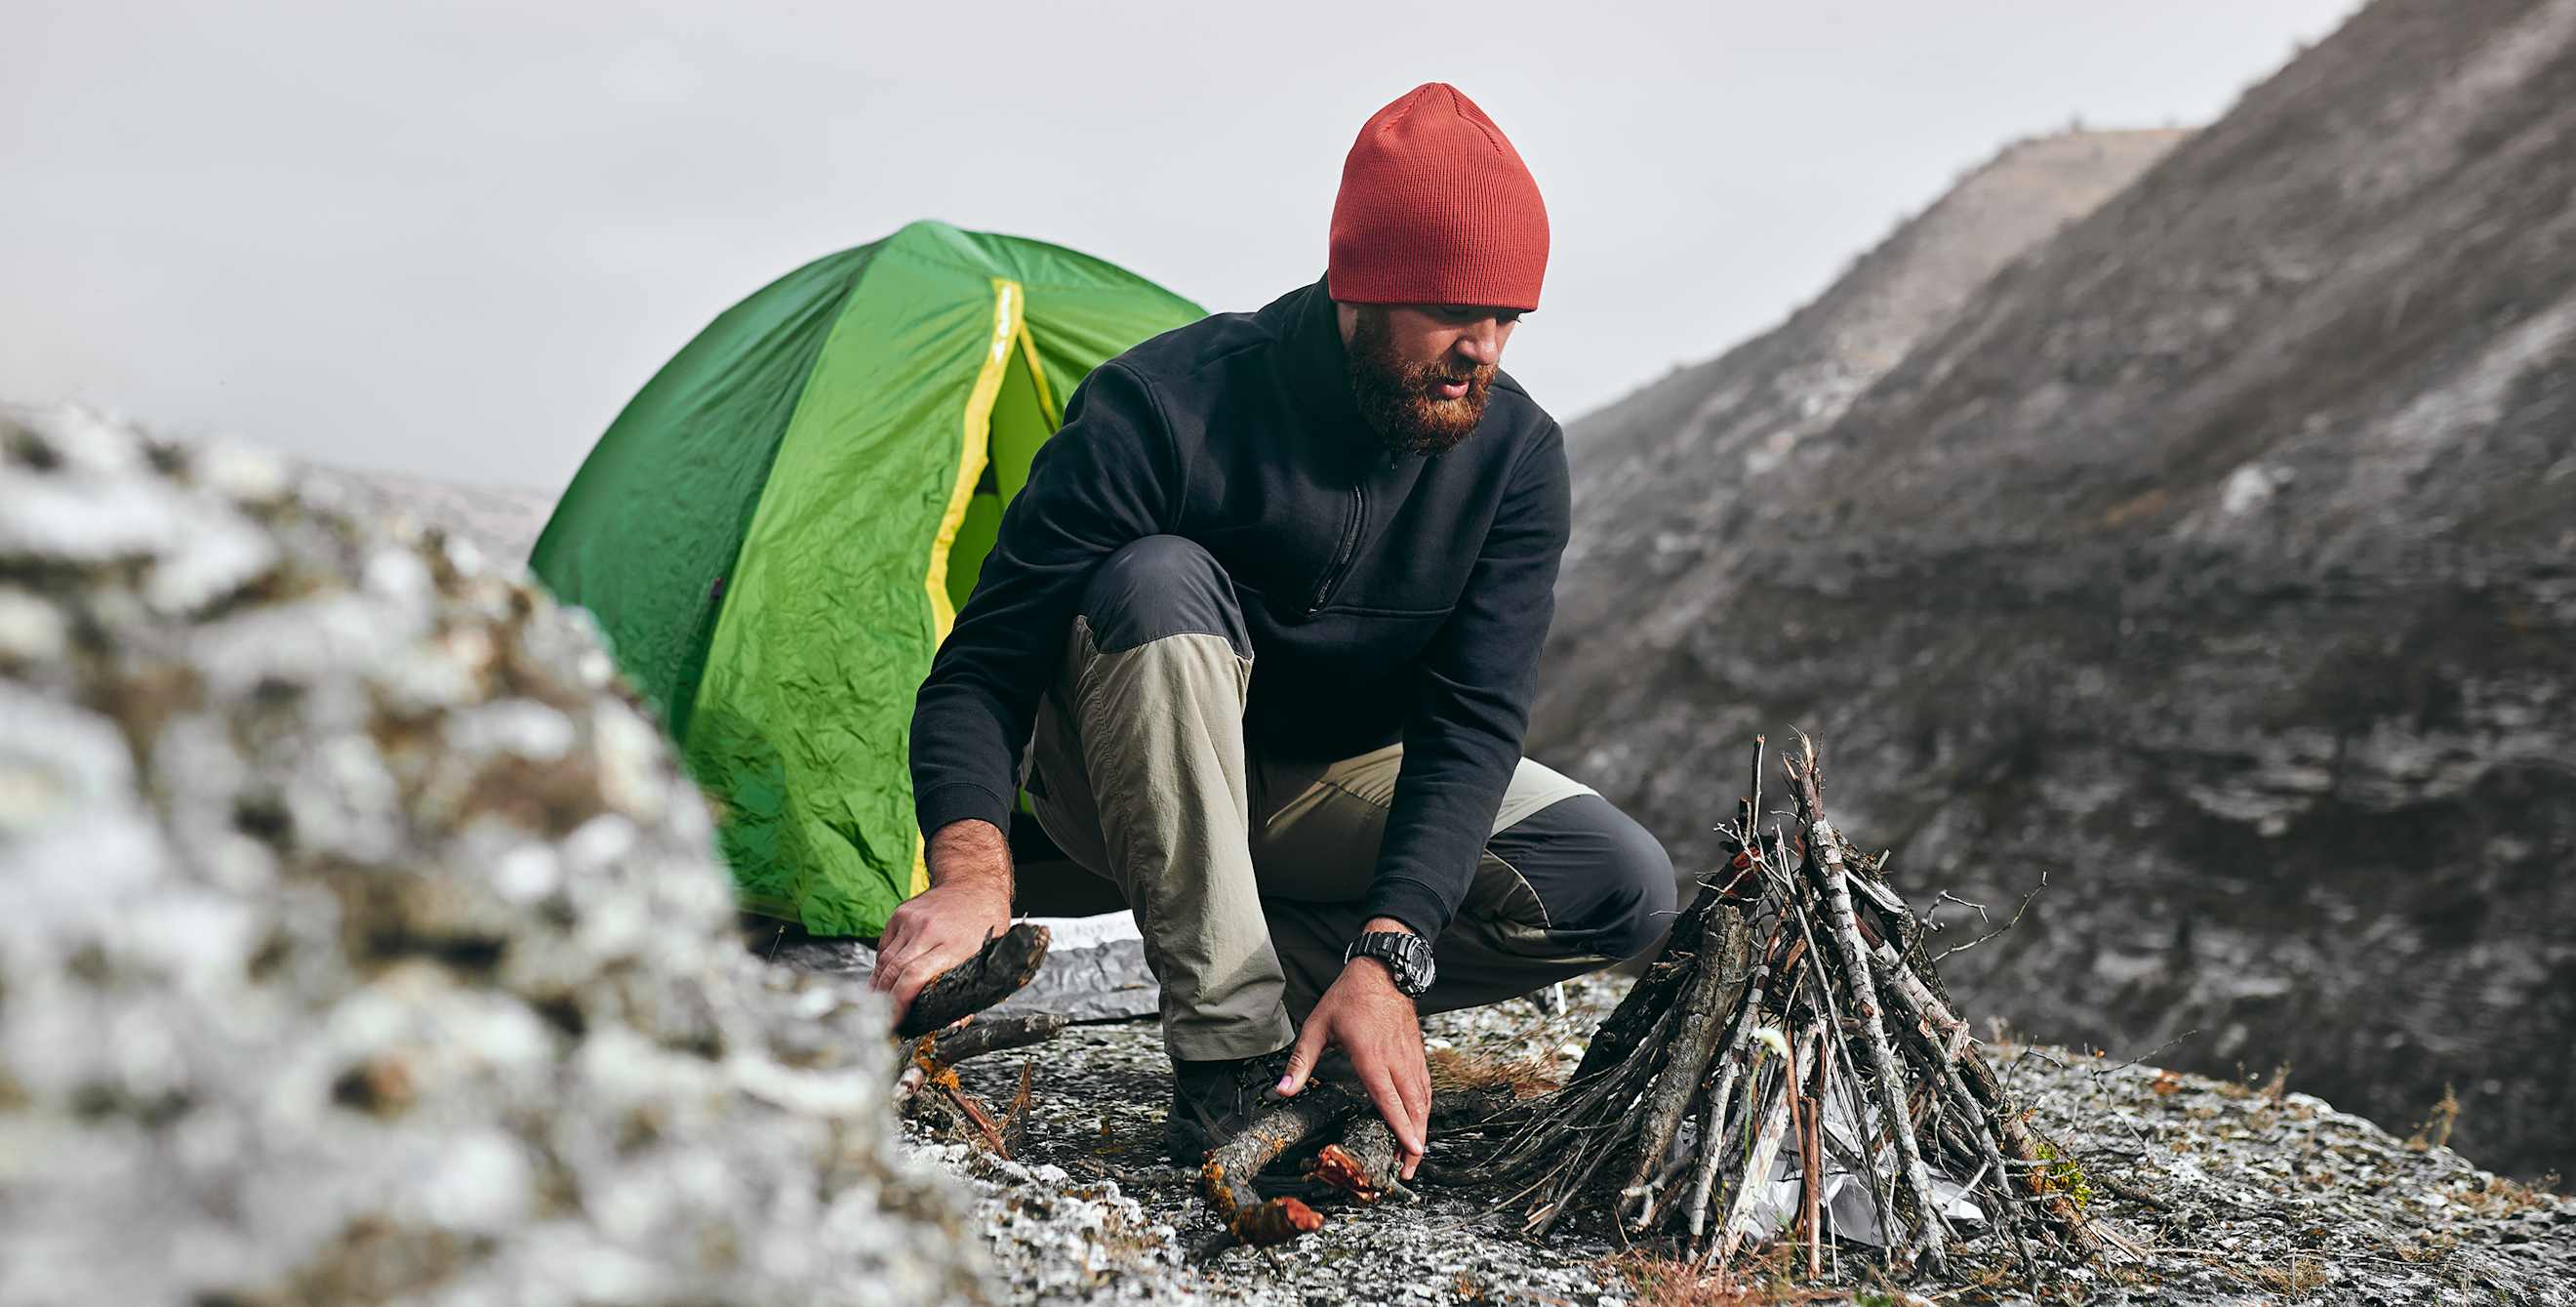
Your fire ignition source can consist of a variety of materials—cardboard, newspaper, dry grass or straw, wood shavings, paper napkins—but whatever you use must be very dry. Pile that fire-starter material in a mound at the center of the firepit. Then, beginning with the smallest twigs or pieces of wood and progressively working your way to larger ones, build your wood pile until it’s about a foot high, leaving plenty of airspace. (Fires need oxygen to burn.)
You can also make things easy by building your wood pile around a homemade or store-bought fire starter. This is a quick way to get your fire going, even in light rain, because it’ll transfer the flame to wood that you stack atop it.
3. Ignite your campfire.
To light your fire, Heather Wicksted, an outdoor-travel blogger, advises placing two handfuls of kindling on top of your fire starter with room for air to flow (it may look like a small bird’s nest).
Next, light your pile and add small pieces of kindling on top one at a time without moving the lit pieces around. “Continue to add the kindling until you’re certain that it’s burning,” Wicksted says. “Patience is key. Keep adding slightly larger pieces of wood, making sure that air can always get at the fire and the coals. Blow gently on the coals as you progress.”
4. Maintain your flame.
Keep your additional fuel nearby and continue to stoke the fire, as needed, ensuring that air can get in to sustain the flames. You may want to add smaller pieces of wood under the larger pieces. You can blow on or fan your fire to feed it more oxygen.
5. Put out your fire.
Ideally, your fire will burn down to white ash. Whether it does or doesn’t, it’s crucial to make sure that it’s completely extinguished, which means cold to the touch. To get it that way, pour lots of water over what’s left of your fire. After you’ve thoroughly doused it, very carefully test it for remaining hot spots.
As Wilson points out, “If you don't have access to plenty of water to put it out, don't start it in the first place.” It’s possible to douse a full fire if need be, but if you’re going to do that, as opposed to drowning a flame that’s nearly out, stand well out of the way of the resulting smoke.

A Chef’s Recipe for the Perfect S’mores
Jerry James Stone, a cookbook author and recipe developer, shares his mouthwatering recipe for making the iconic campfire dessert.
- Start with a whole graham cracker sheet. Break it in half, so you have two squares.
- Add two rectangles of chocolate to one square. Milk chocolate works best, because it has a lower melting point than dark chocolate, making for extra-gooey s'mores.
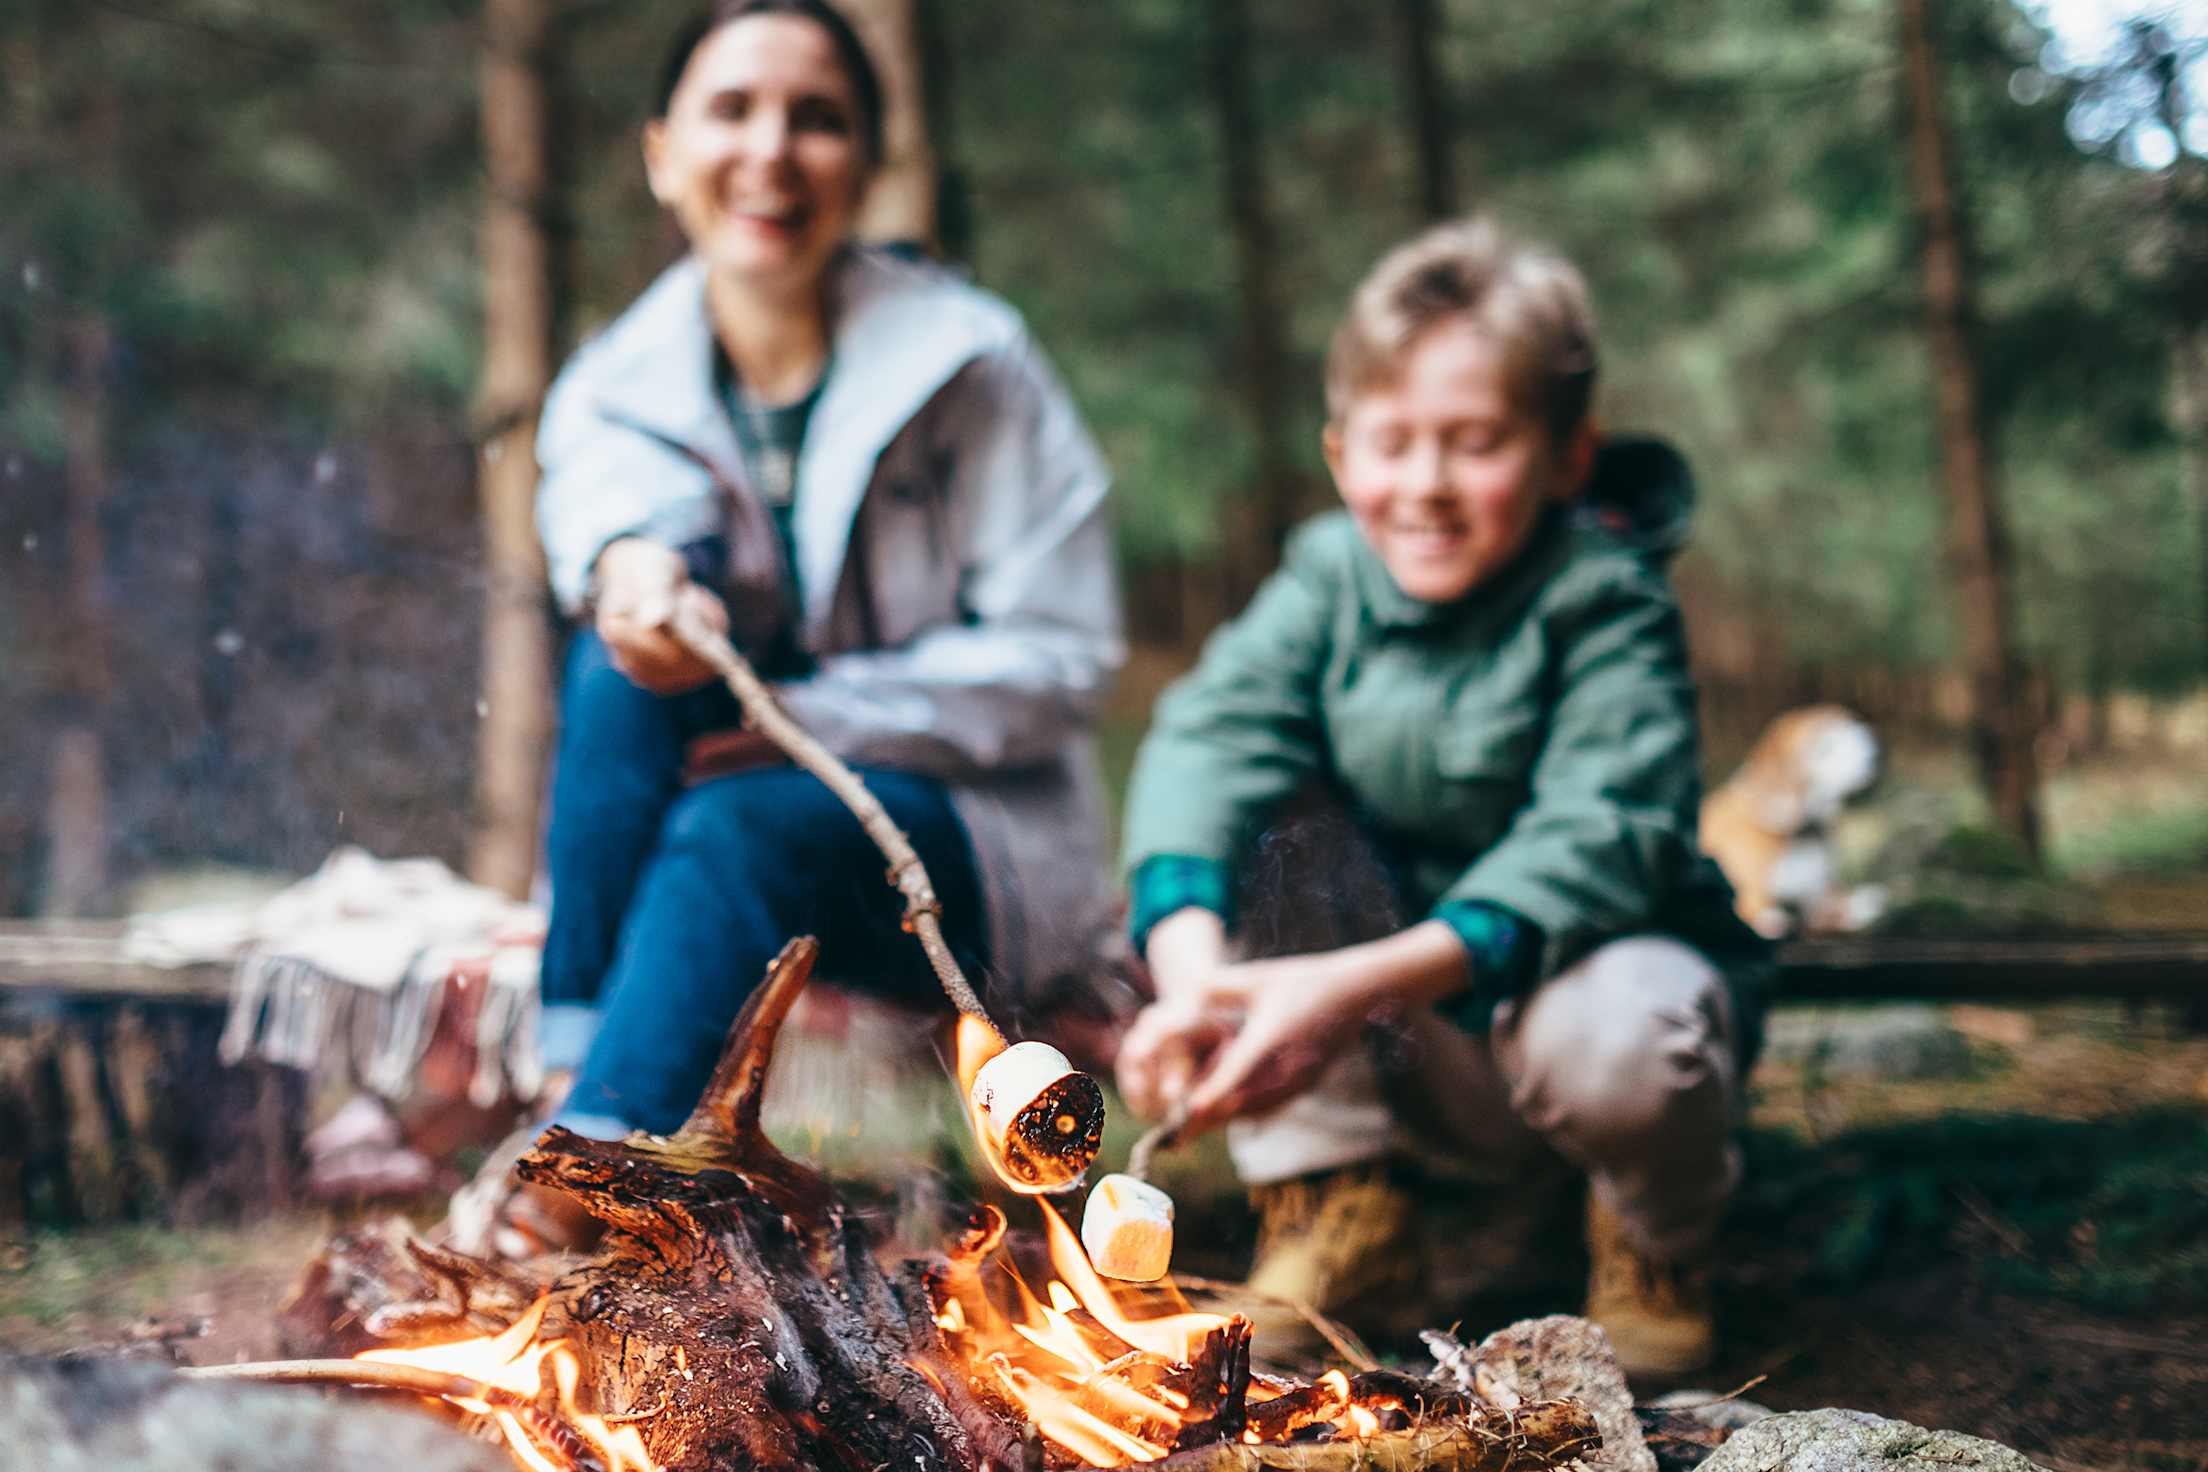
- Place a marshmallow on a 24-inch-long metal skewer. Metal works well because it won’t catch fire, and it transfers heat to the inside of the marshmallow. (For extra deliciousness, try a flavored marshmallow.)
- Hold the marshmallow about six inches from the flame. Toast it, don’t burn it. The marshmallow’s heat is what melts the chocolate, so it should be warm in the middle and golden brown on the outside.
- When the marshmallow is ready—as in gooey and about to fall off the skewer—place it on the chocolate-topped graham cracker square. Use the other graham cracker square to gently press down and slide the marshmallow off the skewer.
- Give the sandwich a good squish, so that the marshmallow fully covers the chocolate to melt it.
- Savor your s’more.