Installing Your Floodlight Camera
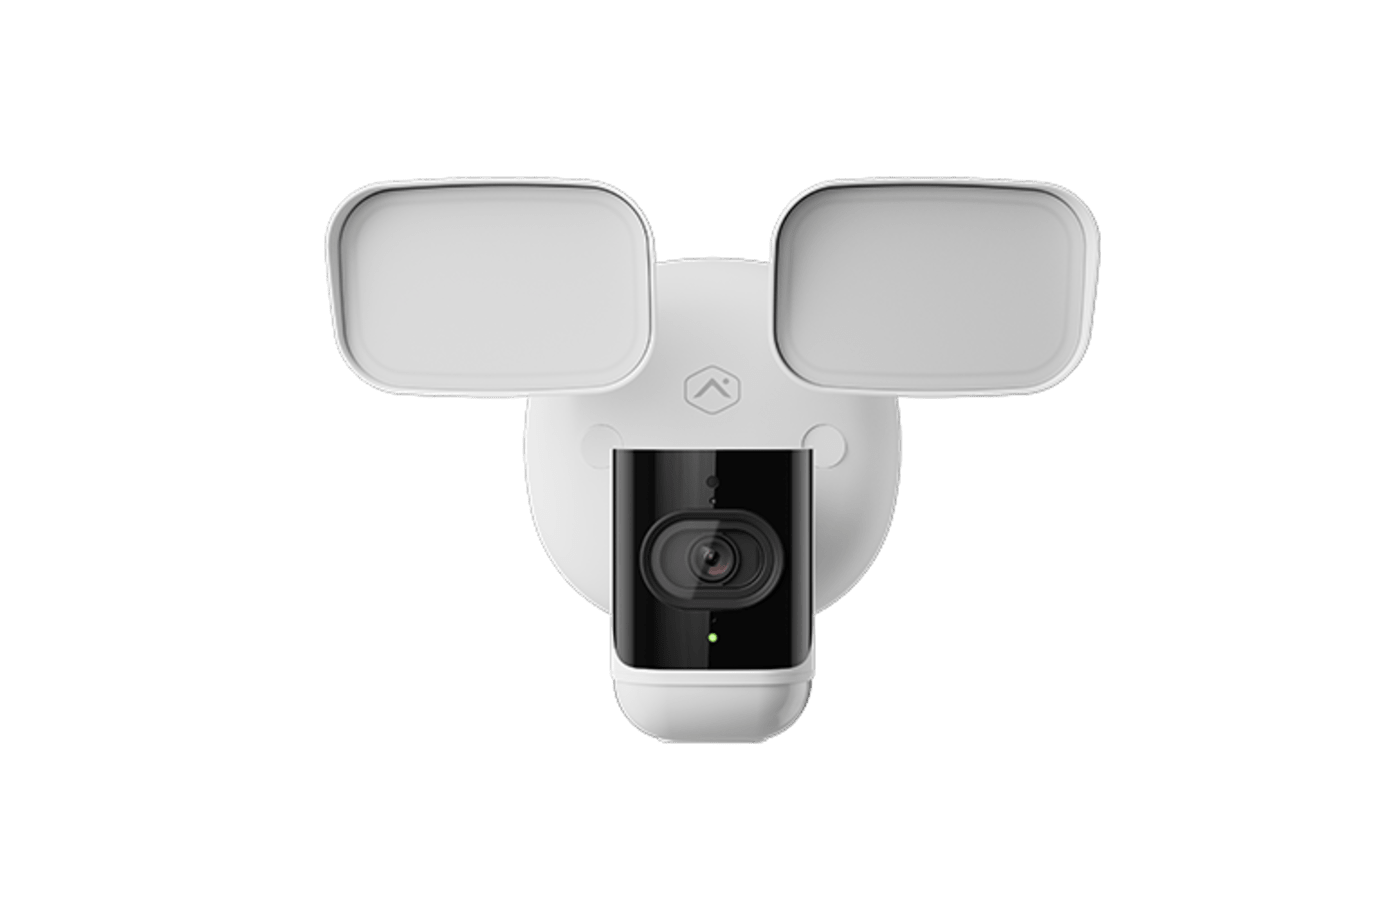
Wired Floodlight Camera Install Guide PDF
Plug-in Floodlight Camera Install Guide PDF
Experience a new level of home security with the Floodlight Camera, combining high-definition video with powerful, customizable LED light settings. Feel confident in your home’s protection, day and night, with advanced motion detection that filters out false alarms and keeps you informed of the activity that matters. With Smart View, you get 24/7 live video access to your property from anywhere, ensuring you never miss a moment.
For installation support and to activate, please call a Smart Home Security Pro at (877) 998–1457.
Installation Parts
- Wired Floodlight Camera
- Mounting bracket
- Screws (12)
- Wire nuts (3)
- Weather caps (2)
- Camera base to mounting bracket grounding wire and nut
- Plug-in Floodlight Camera
- Mounting bracket
- Screws (12)
- Wire nuts (3)
- Weather caps (2)
- Camera base to mounting bracket grounding wire and nut
Tools Required
- Ladder
- Drill
- Pencil
- Wi-Fi connection to broadband (Cable, DSL, or Fiber Optic) internet
- A computer, tablet, or smartphone with WiFi
Installation Precautions
Wired Floodlight Camera
- Caution: There is a risk of electrical shock when installing the Wired Floodlight Camera.
- Ensure the power is off at the circuit breaker before doing any work. Ensure you follow local safety codes for installation. In certain locations, a professional electrician must perform the installation.
- Connect the fixture to a 100-240VAC 50/60 Hz power source. Wire connection should be using gauge range 14-18 AWG and rated to Min. temperature 80°C.
- Ensure you follow local safety codes.
- Ensure the unit is properly grounded.
Plug-In Floodlight Camera
- Ensure the unit is properly grounded.
Installation Considerations
If replacing an existing floodlight, the new Wired Floodlight Camera can be mounted in its place. If a new location is desired, we recommend installing the Plug-in Floodlight Camera.
Choose a location
- The Wired Floodlight Camera must be installed on a weatherproof junction box.
- For best results, we recommend a junction box that meets these specifications (junction box not included):
-A 4-inch round/square junction box (the base of the 729 is 5.9 inches)
-Weatherproof
-Outdoor rated
- Remove any existing light fixture and metal bracket on the junction box.
- For optimal PIR motion detection performance, it is recommended to install the Plug-In Floodlight camera at a height of 8 feet with the camera pointed downward at a 30* angle.
Check WiFi Speed
Make sure the WiFi at the Floodlight Camera installation location has an upload speed of at least 2Mbps. You can use your smartphone or call a virtual Smart Home Security Pro for more recommendations on how to assess upload speed.
Install the Floodlight Camera
- Unmount the existing lighting. Note: Take a picture and use it for reference for wiring connections, if needed.
- Disconnect existing wires at the junction box.
- Install the floodlight camera bracket to the wall.
- Attach the support wire to the mounting bracket.
- Use the included wire nut to secure the wires together. The black wire is “hot” and white wire is “neutral”. There is also a third wire, usually bare without its own insulation, which is a safety ground wire.
- Align the two holes on the back of the floodlight base with the metal posts on the mounting bracket and push the unit flush.
- Screw in the unit using the captive screws inside it.
- Insert the weatherproof caps.
- Determine location of installation. In order to run the power cable to the nearest outlet, drilling may be necessary.
- Install the floodlight camera bracket to the wall.
- Use the included wire to ground camera to bracket.
- Align the two holes on the back of the floodlight base with the metal posts on the mounting bracket and push the unit flush.
- Screw in the unit using the captive screws inside it.
- Insert the weatherproof caps.
Testing Your Floodlight Camera
Log into your Smart Home Security web account or Smart Home Security mobile app, go to Video in the main menu, and select the Live Video function to see the camera's functionality.
Controlling Your Device
Your Floodlight Camera can be controlled multiple ways with multiple functions. The following list will include some different ways to use your camera(s), depending on your preference.
To stream the camera to your Smart Home Mobile App:
- Log into your Smart Home Mobile App
- Click Video
- Click Live (located in the upper middle)
- Select the cameras you'd like to stream, or Enable all if there are multiple cameras
To stream the camera to your Smart Home Mobile App:
Note: The instructions below apply to all rules except Video Analytics, which helps detect vehicles, humans, and animals. Video Analytics are more suitable for outdoor cameras and will require additional steps. You can refer to the help section of your web account to learn more.
- Log into your Smart Home mobile app.
- Click Video
- Click the settings gear button in the upper right corner.
- Click Recording Rules
- Click + Add Rule
- Click to select the type of rule to create. The types of rules available depend on what is enrolled on your system (e.g., Alarm, Video Motion Detection (VMD), Sensor Opened or Closed, etc.)
- Enter a name for your recording rule
- Configure your rule settings as desired. Rule settings depend on which rule is being created
- Video Clip Recipients, click + Add Recipient and follow the prompts if you'd like to receive notifications
- Verify the recording rule is configured with the desired settings
- Click Save
Other Device Install Guides
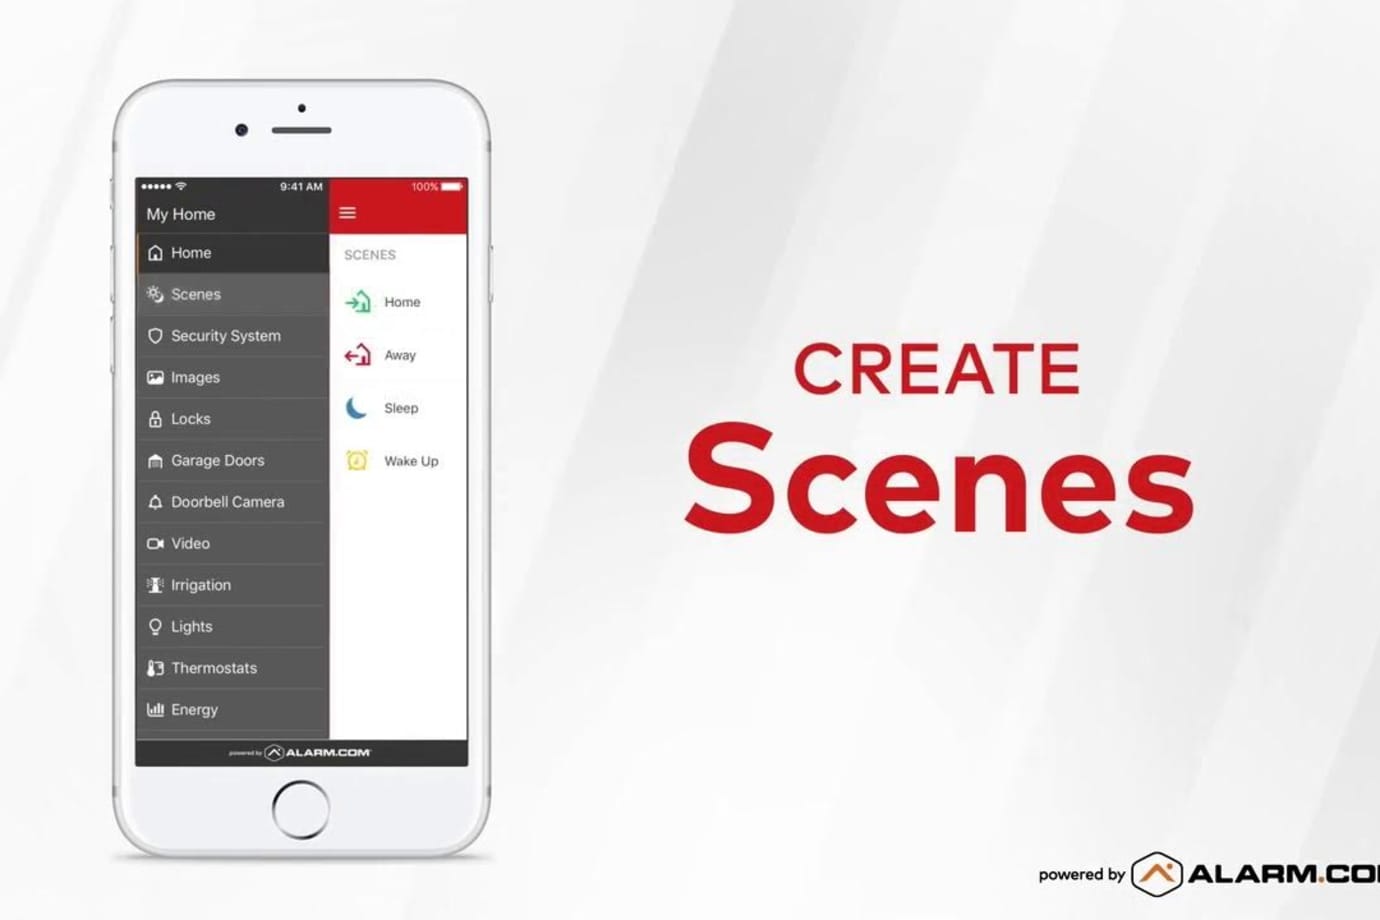
To get the most out of your AAA Smart Home system, finish creating your online account and download the free A3 Smart Home mobile app.
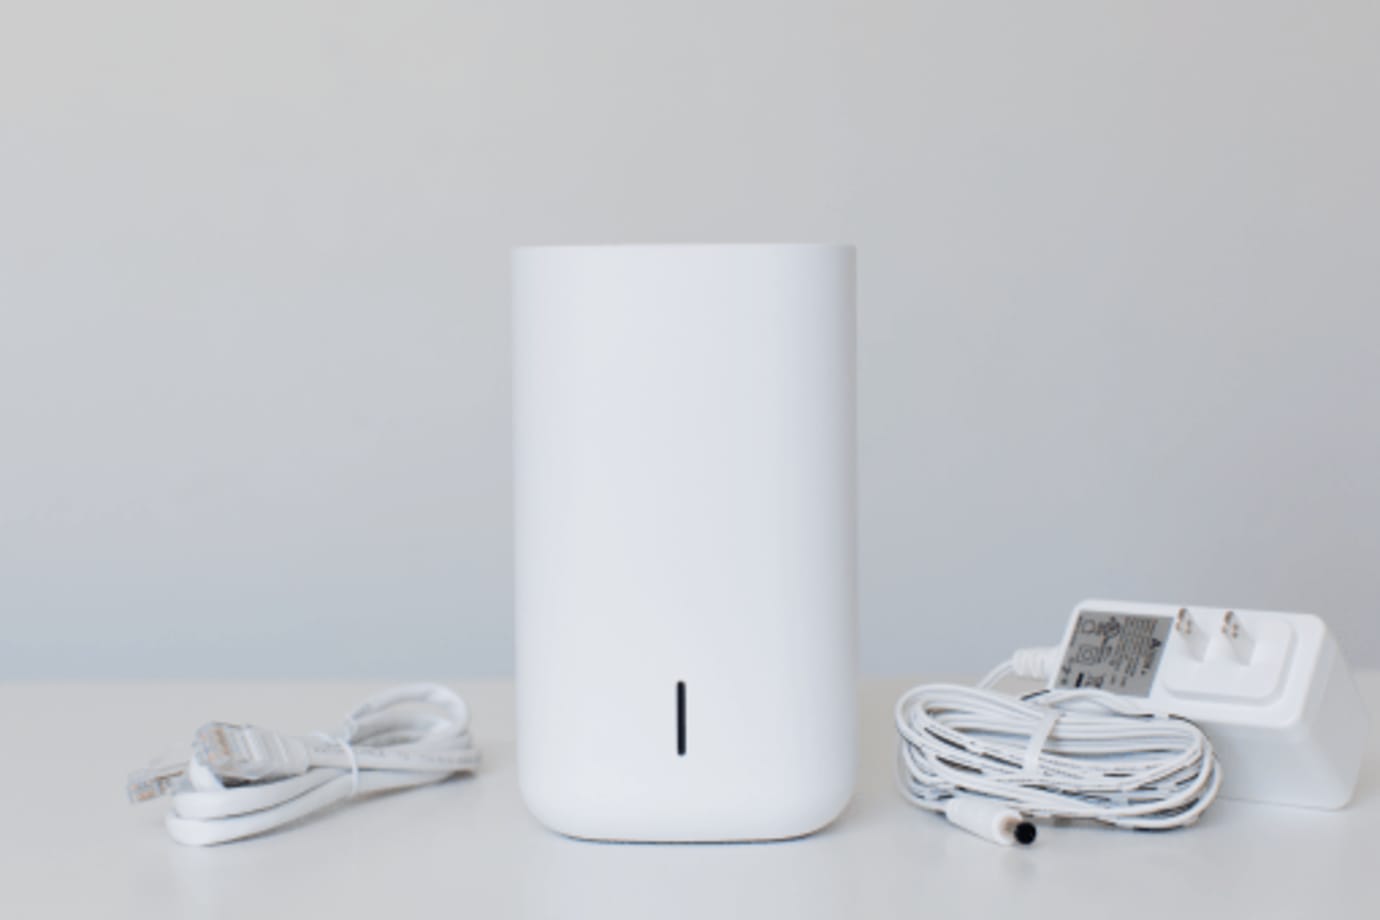
Your Stream Video Recorder enables you to have 24/7 video storage from the cameras included in your security system. You can connect up to 8 video cameras to record continuously, and view your video recordings from your mobile app, or locally from a TV or computer monitor.
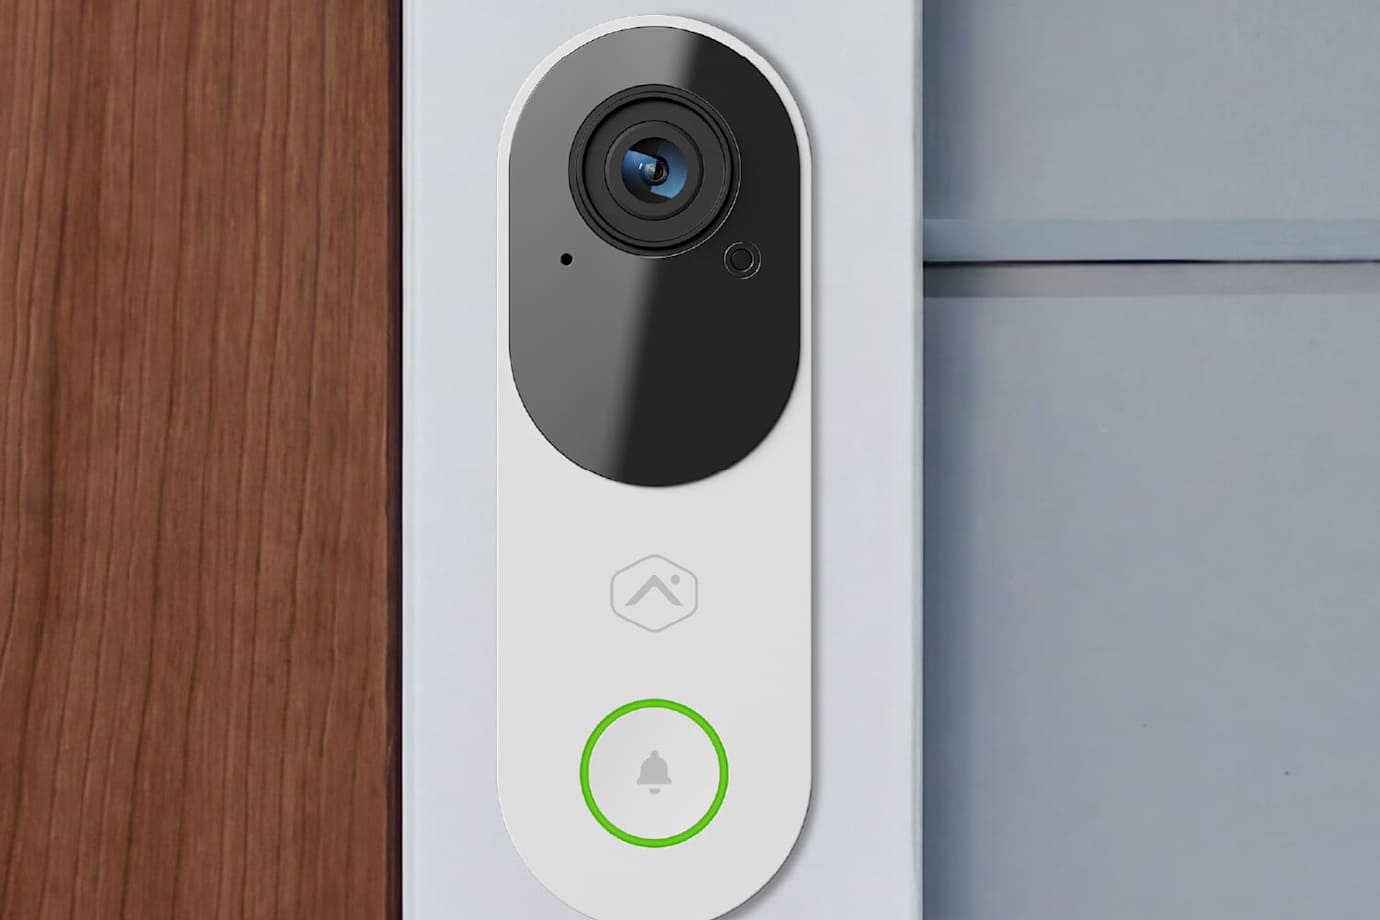
The Touchless HD Video Doorbell offers high resolution video of who or what is at your front door. It is equipped with a tall, portrait field of view and full-duplex audio, so you can also hear, and speak to visitors through your A3 Smart Home app or panel.
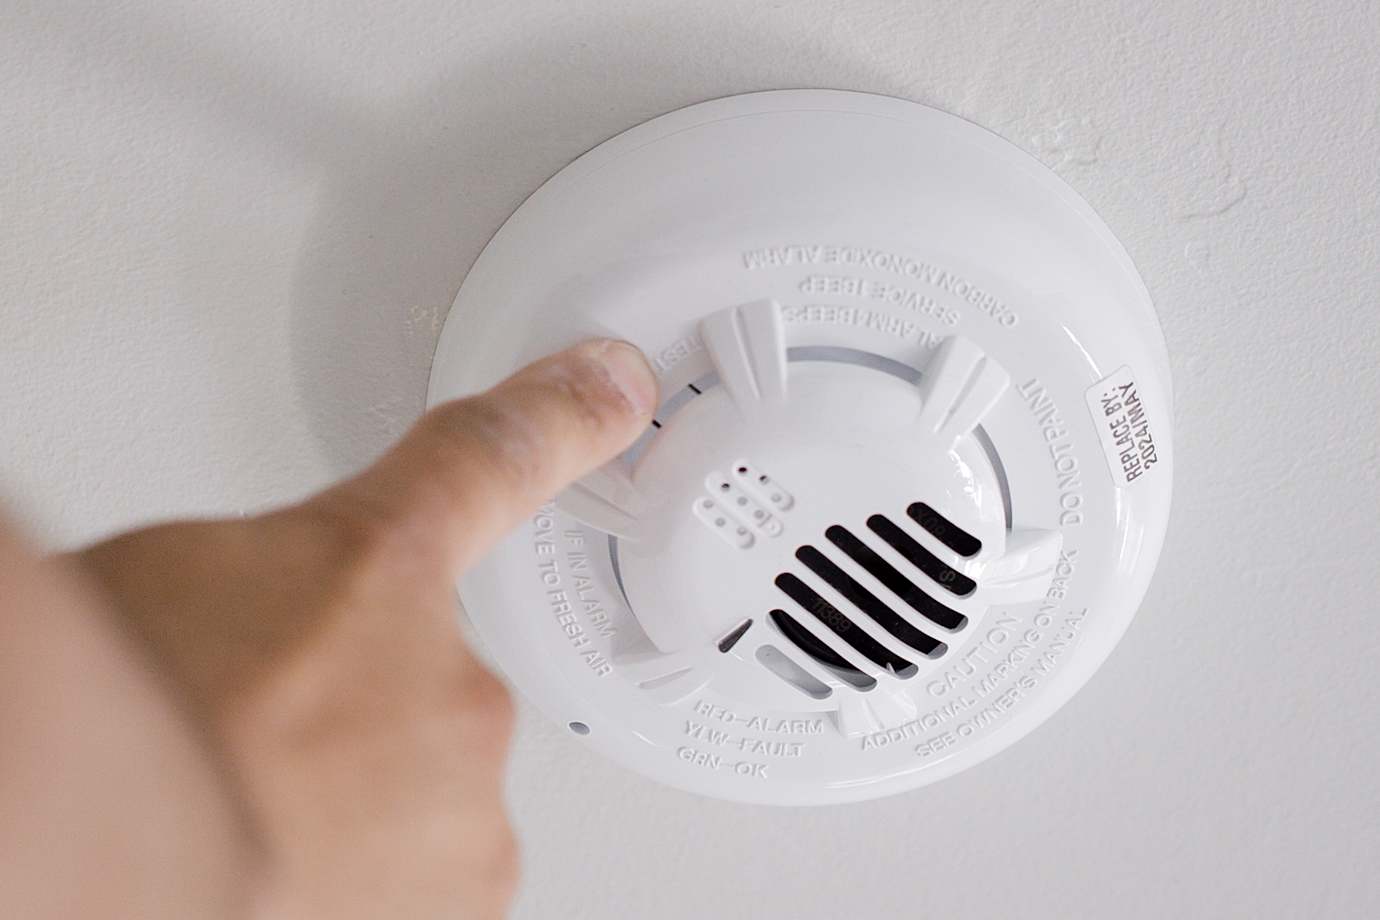
Your carbon detector alerts you to the presence of carbon monoxide in your home.
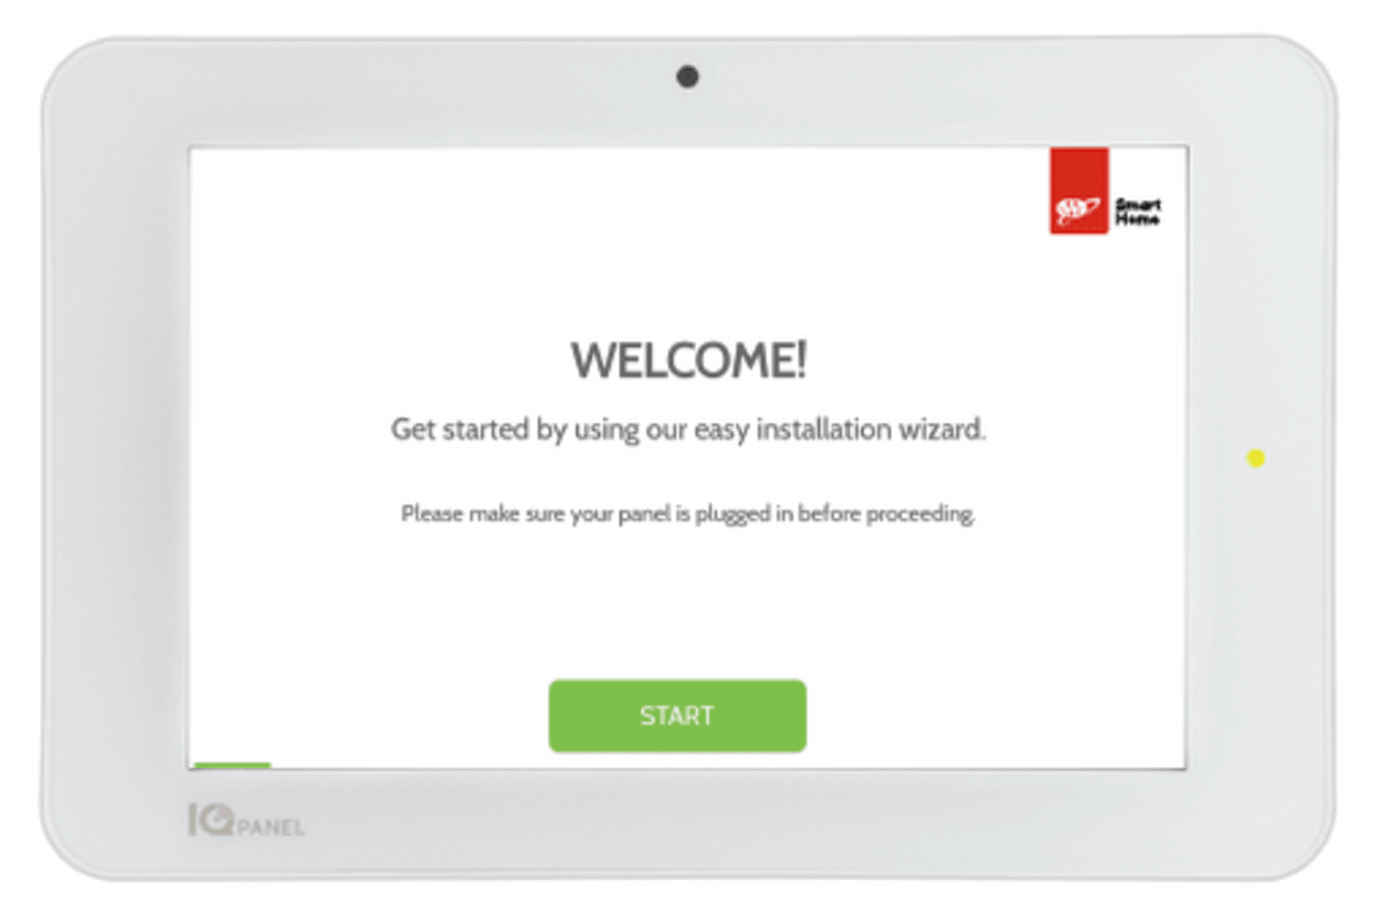
We offer basic and smart home security systems with professional monitoring for as low as $19.99/month. Keep your home safe and get your free quote today.