Installing Your Smart Thermostat Pro
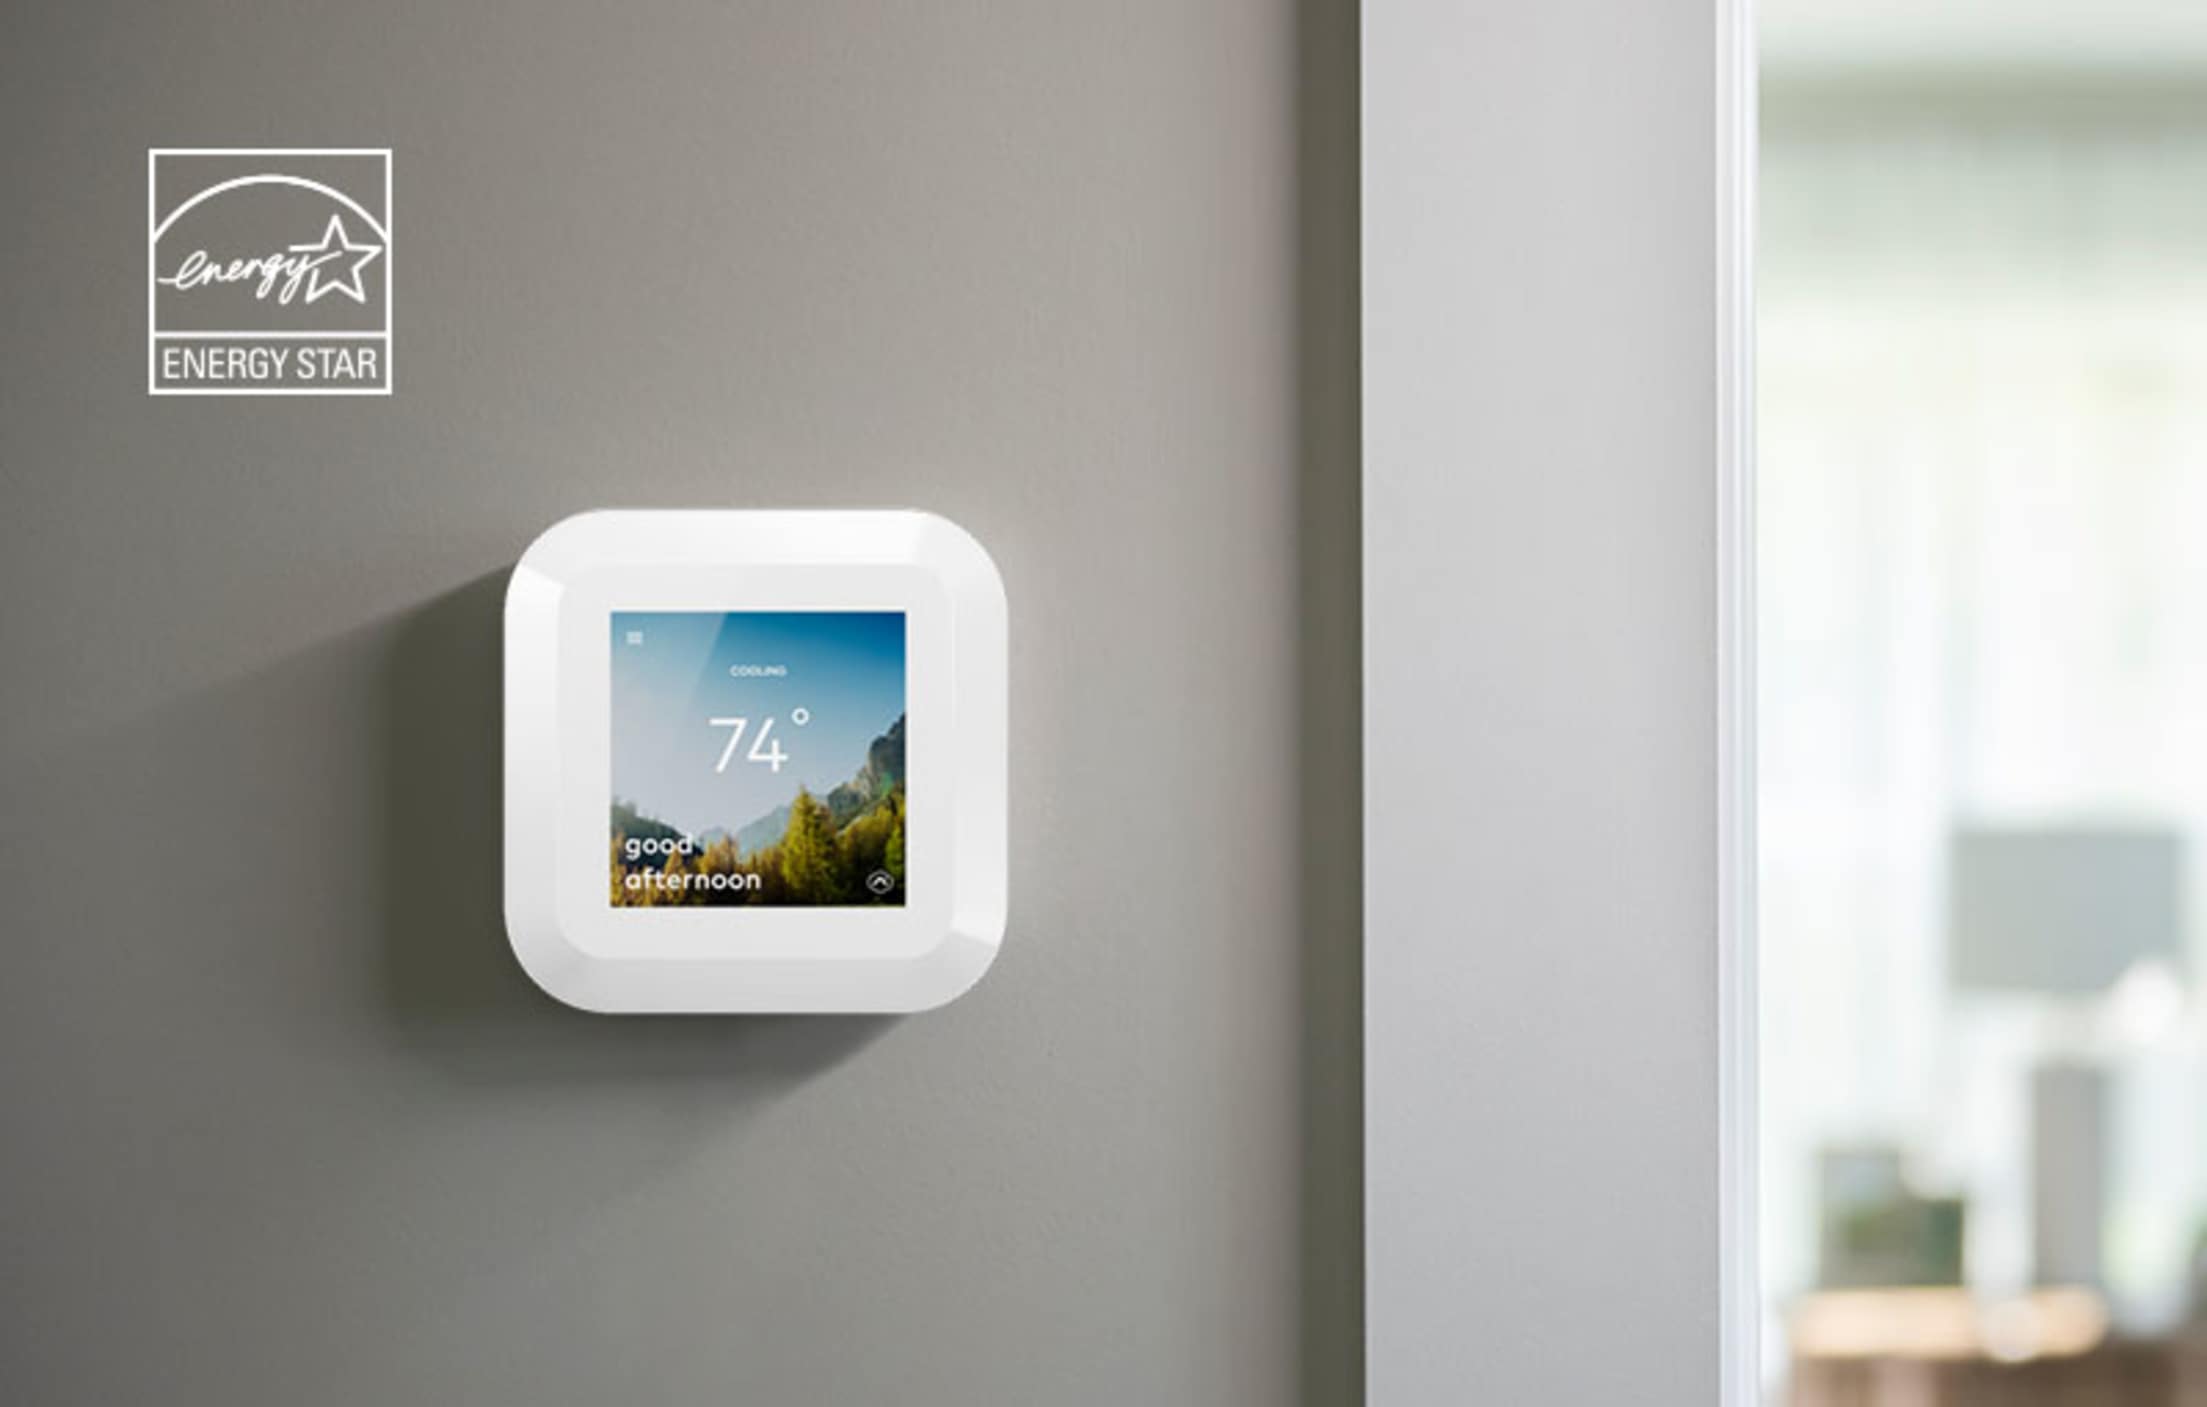
Engineered with an HD display for easy installation and unmatched flexibility. Its Z-Wave Plus compatibility seamlessly integrates into your smart home setup, enabling intuitive automation and energy savings with rebates when you enroll in smart energy programs. Plus, with AAA Smart Home Security integration, rest easy knowing that your HVAC system is responsive to potential hazards, providing a heightened level of safety and peace of mind. Motion Detection captures activity and defaults into energy-saving mode when no activity is detected. Voice assistant capabilities allow for hands-free temperature adjustments. Comprehensive monitoring capabilities keep tabs on your HVAC system's health, from air filter status to system efficiency, providing valuable data to maintain peak performance and prolong equipment lifespan. Control your home comfort from anywhere with the Smart Home app and the Smart Thermostat Pro. For detailed installation instructions, refer to the comprehensive installation guide below.
For installation support and to activate, please call a Smart Home Security Pro at (877) 998–1457.
Installation Parts
- Trim plate
- Thermostat
- Display
- Drywall anchors (2)
- Wall screws (2)
Tools Required
- Phillips screwdriver
- Pencil to mark mounting location
- Power drill – 3/16" (#13) drill bit
- Needle nose pliers
- Camera
Installation Precautions
- Before installing the Smart Thermostat Pro or servicing the HVAC equipment, turn off power to the system.
- Leave power off until you have finished installing or servicing the HVAC equipment.
- Shorting the electric terminals at the control on the heating or cooling system is not recommended. Do not test the system this way.
- When testing the existing system or the new Smart Thermostat Pro do not run the cooling system when it is cold outside as this may harm the compressor. Please wait for mild temperatures before testing the cooling system.
- You must follow all local codes and ordinances for wiring the system.
- The Smart Thermostat Pro should only be powered by a listed Class 2 power supply at 24 VAC (C-wire or wall transformer).
- A current higher than 1 amp to each thermostat terminal may cause damage to the thermostat.
- Verify that the system is 24 VAC. If the old system is labeled as 120 V or 240 V or has wire nuts, the system is high voltage. Do NOT install this thermostat on a high voltage system. Contact a local HVAC professional for help.
Installation Considerations
The Smart Thermostat Pro requires 24 VAC power. There is no option for a battery-powered mode. Power is supplied via a common wire, typically identified as C.
Choose a location
- If replacing an existing thermostat, the new Smart Thermostat Pro can be mounted in its place. If a new location is desired it will be necessary to move the wiring.
- New installations and relocations should follow the accompanying guidelines to ensure the most accurate temperature reading and ease of use.
- Mount on an inside wall, approximately 5 ft. (1.5 m) above the floor in a frequently used room.
- Do not install in locations near appliances or devices that affect the local temperature such as televisions, lamps, or dryers.
- Avoid areas that are exposed to large temperature variances, such as: direct sunlight, near an AC unit, above or below auxiliary heat and air vents, and drafts from windows or exterior doors.
- Be aware of what is on the other side of the wall where the installation is occurring. Do not install on walls adjacent to unheated rooms, stoves, or housing hot water pipes. Exterior walls are also not ideal locations for installation.
- Damp areas will not only affect the humidity reading but could lead to corrosion and shorten the lifespan of the thermostat.
- Install in a location with good air circulation. Stagnant air will not accurately reflect the rate of temperature change in the room.
- Avoid areas behind open doors, corners, and alcoves.
- Wait until construction and painting are finished before installing.
Preparation Instructions
1. If you will add the Smart Thermostat Pro to a Z-Wave network, power on the controller and verify it is communicating.
- If the Z-Wave network supports SmartStart, use MobileTech to scan the QR code found on the Thermostat or the box.
2. Test the existing system.
- Verify that the heating and/or cooling system is operating properly before you try to install the new Smart Thermostat Pro.
- CAUTION: Do not test the system by shorting electric terminals. Do not test the cooling system if it is cold outside, as this may harm the compressor.
3. Turn off power to the HVAC unit.
- Turn all heating and cooling systems off. This can be done at the circuit breaker.
- CAUTION: Do not remove the existing thermostat until power has been turned off at the circuit breaker.
4. Remove the existing thermostat.
- Remove the cover from the existing thermostat. Do not disconnect the wires yet.
- Make sure the wires are identified correctly. If you have an unidentified wire, it may be necessary to identify where the wire connects to the heating or air conditioning equipment.
- CAUTION: Wiring can vary for each manufacturer. Identify all wiring designations before removing it from the existing thermostat.
- Take a picture of the wires before you detach them from the existing thermostat for future reference.
- After all wires are identified and a picture has been taken, disconnect all the wires and remove the existing thermostat. Remember to secure the wires so they do not fall into the wall.
5. Prep wires (if needed).
- Ensure the wires are a proper gauge between 16-24 AWG (1.3 – 0.5 mm)
- Make sure wires have exposed straight ends of the appropriate length.
Installation Instructions
1. Level and mount the Thermostat to the wall with the supplied hardware.
2. Insert the wires into their designated wire terminals.
- IMPORTANT: If you only have one R wire, insert it into RH. Only connect wires to the thermostat that will be used by the system. Inserting wires that are not connected to or used by the HVAC system could cause the Smart Thermostat Pro to operate improperly.
- CAUTION: Do not insert more than one wire into a wire terminal as this will damage the wire terminal. If you only have one R wire, there is no need to physically jump RH and RC. The Thermostat will internally jump the two terminals.
3. After all wires are inserted into the wire terminals, restore power to the HVAC system.
- This will supply 24 VAC power to the Thermostat.
4. Check the Status LED, which will indicate the Thermostat has power.
- If the Status LED is off, it indicates the Thermostat does not have 24 VAC power.
- Visually verify both RH and C are securely inserted into the appropriately labeled terminals.
- Verify the HVAC system has power, this may be identified at the unit.
- Verify the circuit breaker was correctly turned back on.
Display Installation
1. Connect the Display to the Thermostat.Magnets will hold the Display in place.
2. The Display will turn on after being connected.
- If the display does not power on after 30 seconds, verify 24 VAC power is being supplied to the Thermostat from the HVAC system.
Setup
- Follow the on-screen setup wizard to configure the Smart Thermostat Pro and connect it to a Z-Wave network.
Other Device Install Guides
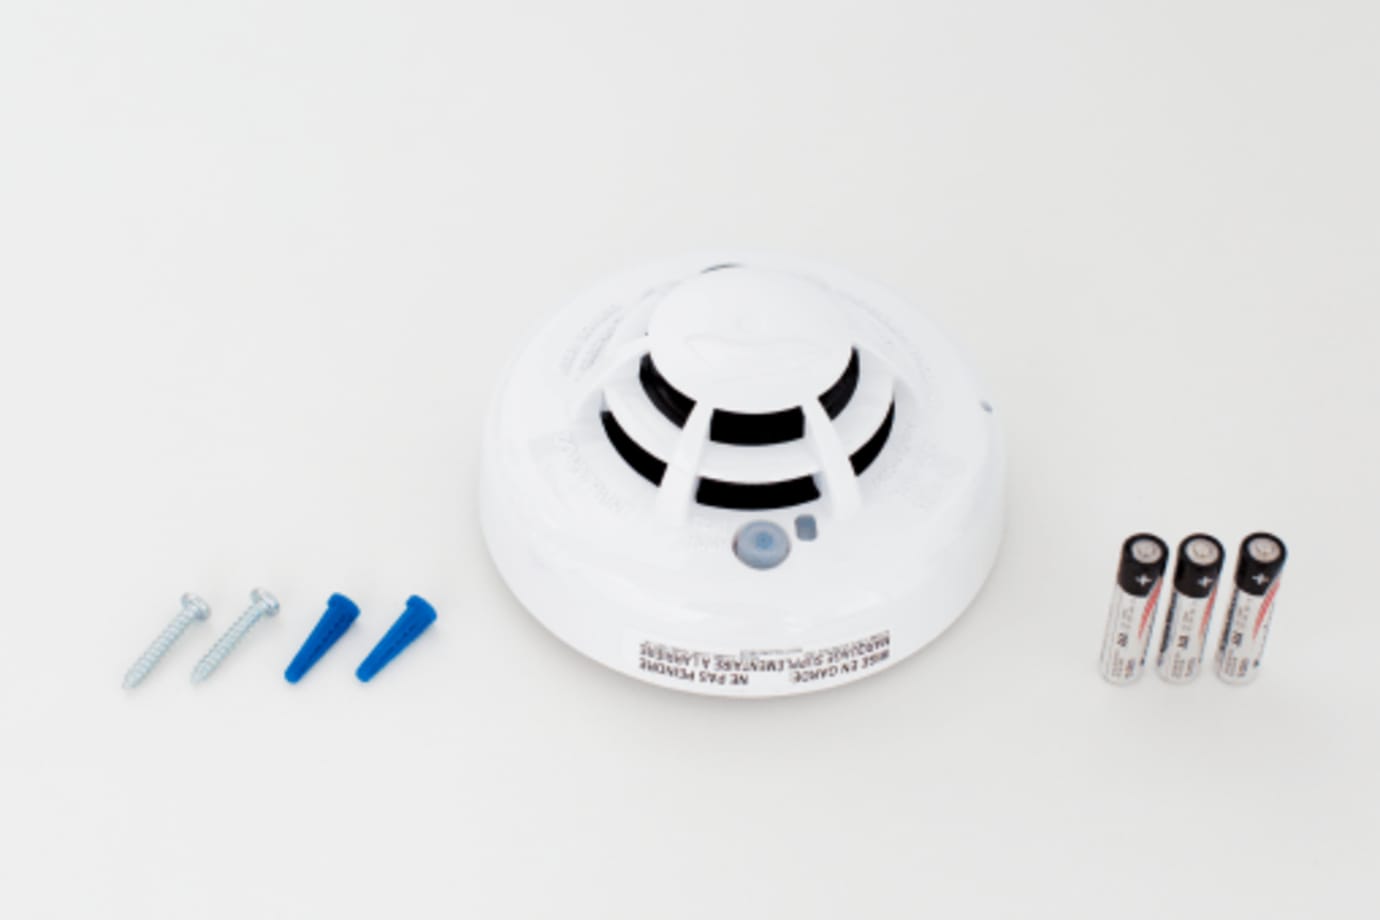
Your smoke detector alerts you to signs of smoke or a rapid rise in high temperatures in the home.
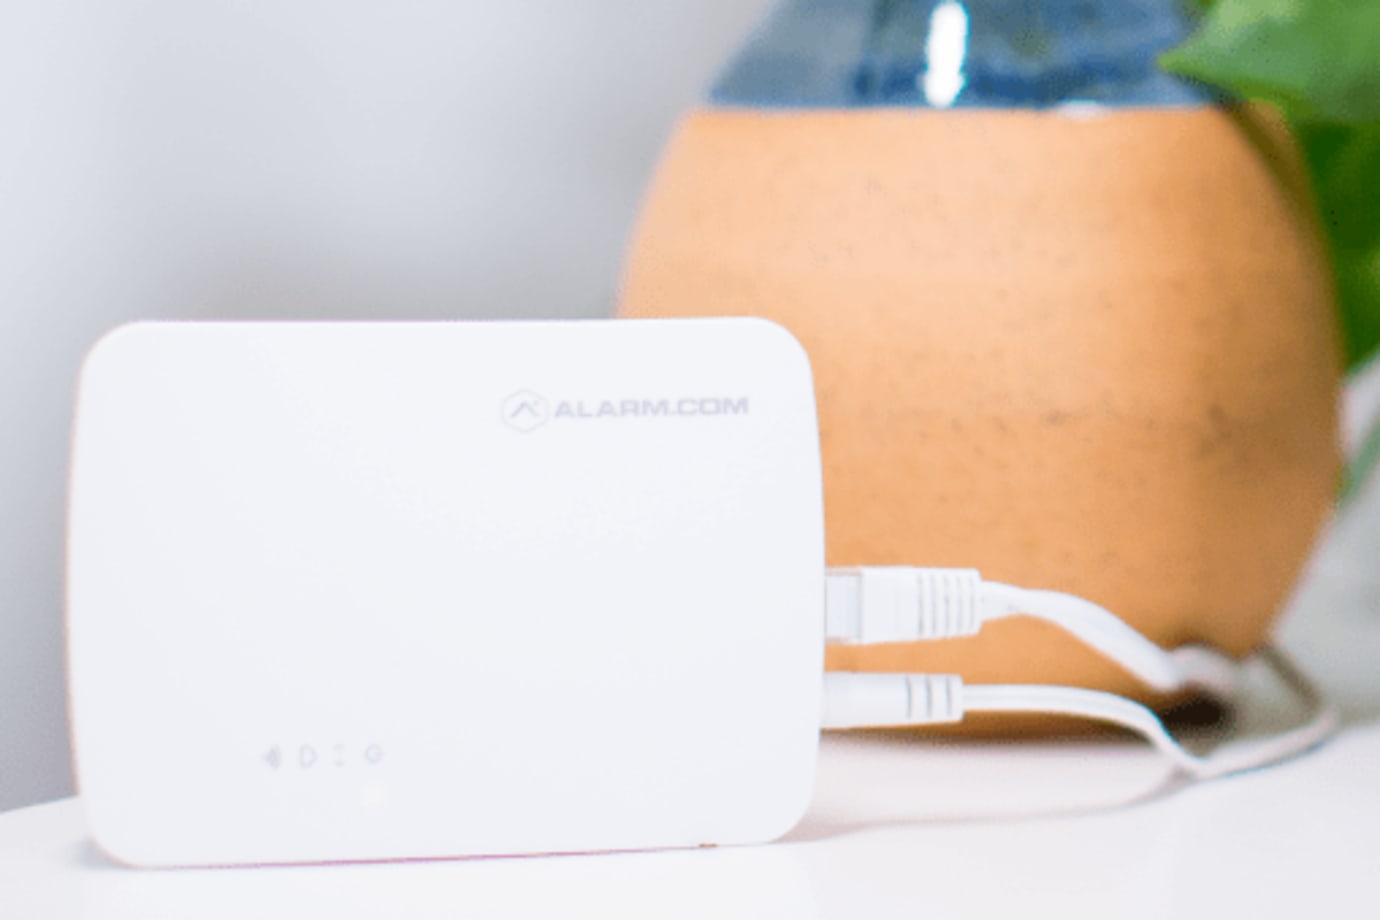
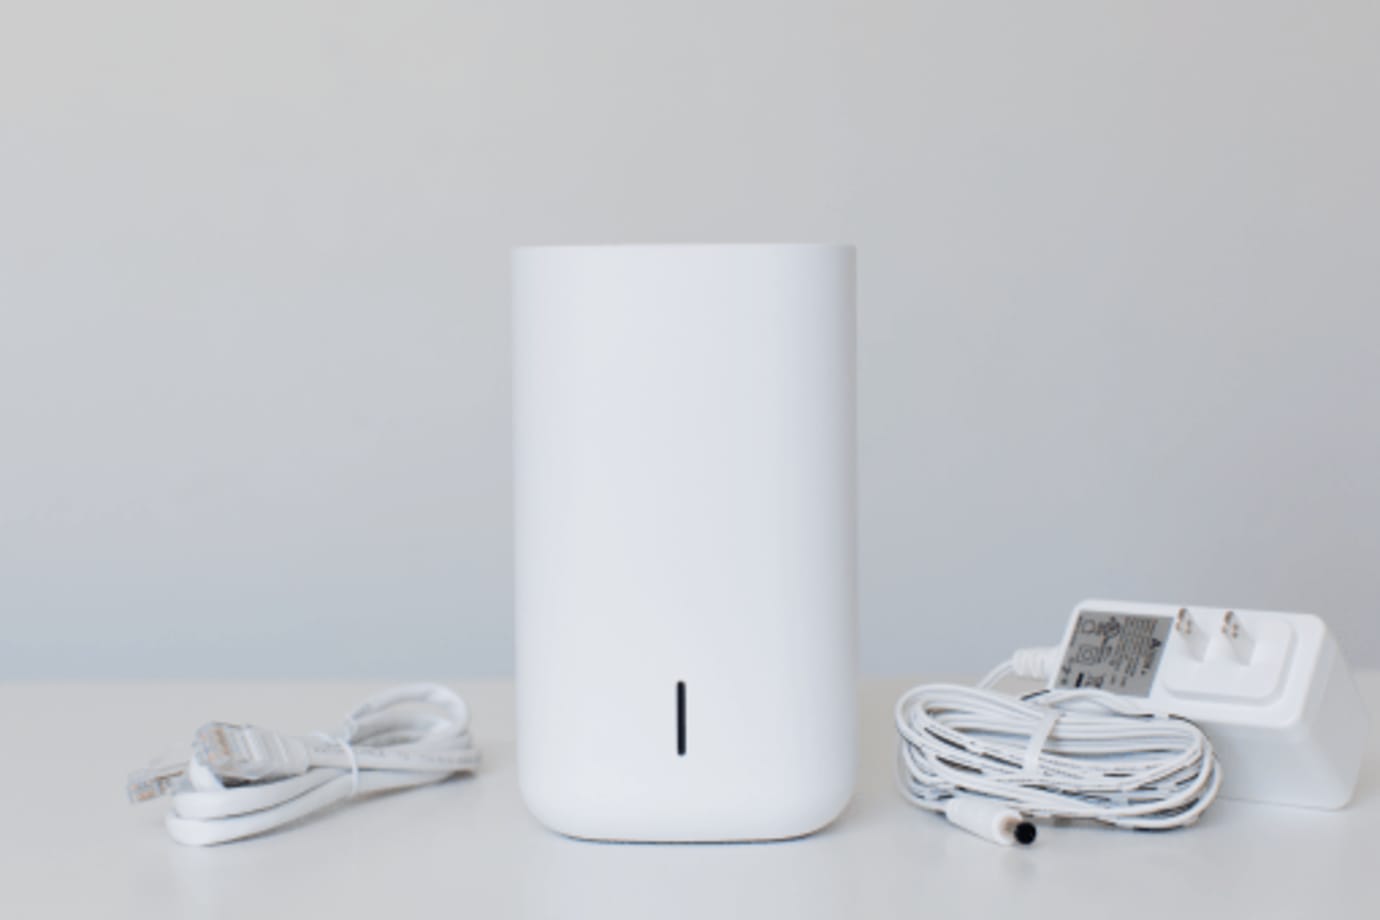
The Smart Gateway provides a dedicated Wi-Fi network for the indoor cameras in your A3 Smart Home system.
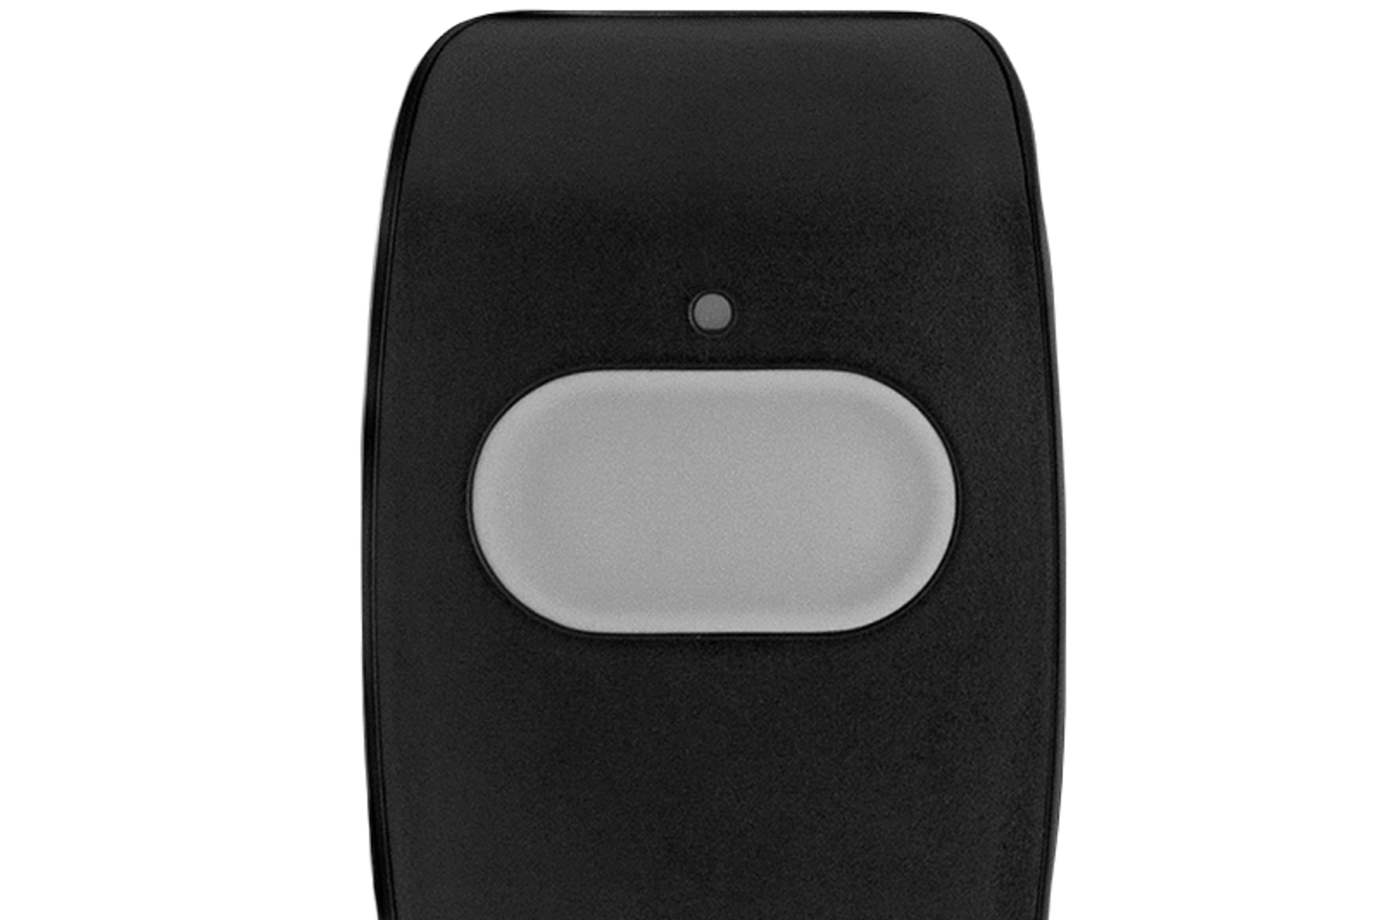
When pressed within range of your panel, the panic button alerts your system to dispatch medical, fire, or police first responders in case of an emergency.
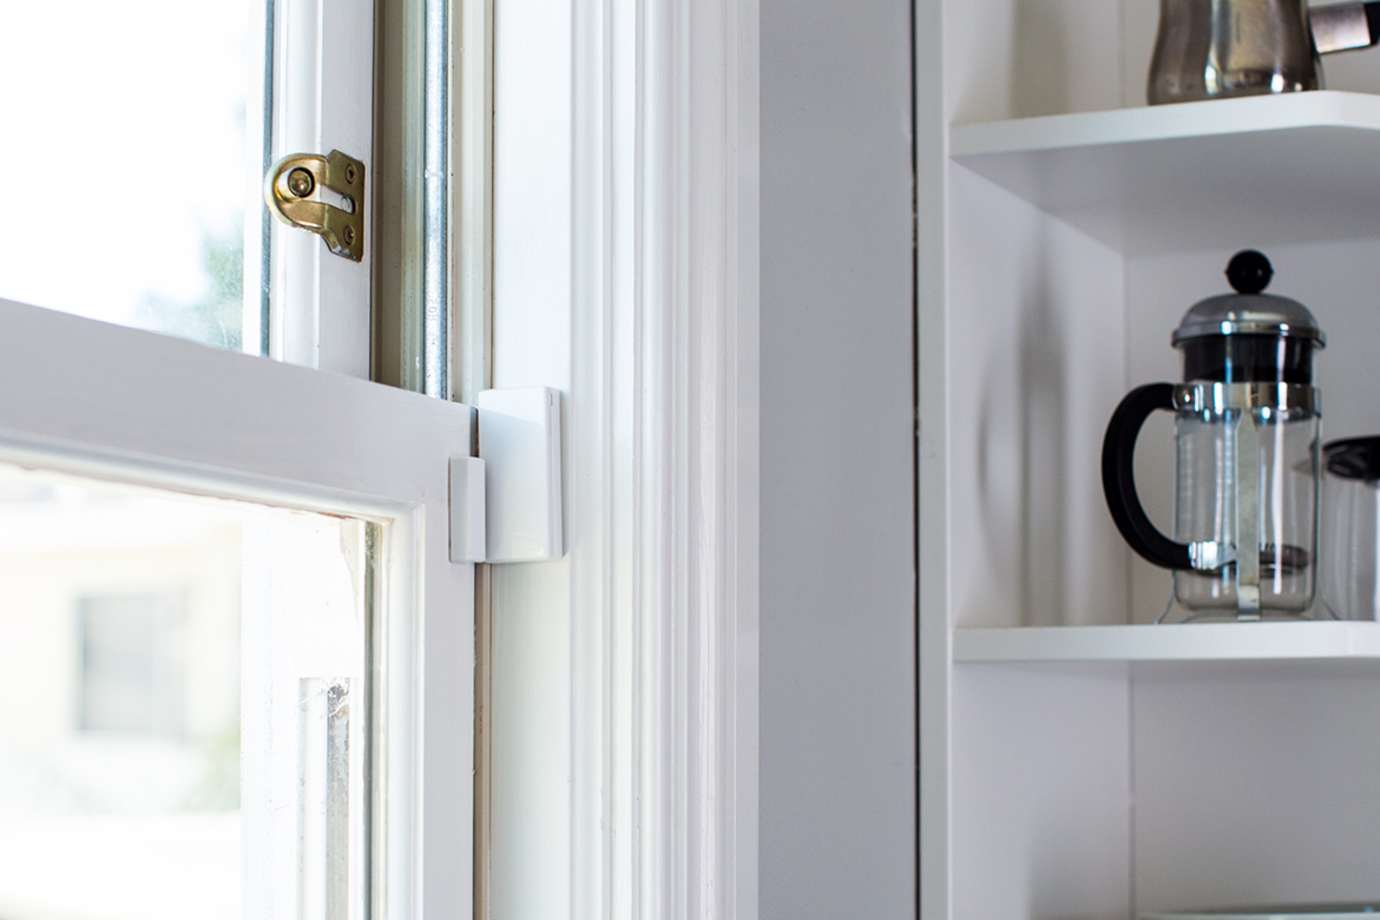
Entry sensors help protect your home's main entry points by alerting you when a door or window are open
Your Stream Video Recorder enables you to have 24/7 video storage from the cameras included in your security system. You can connect up to 8 video cameras to record continuously, and view your video recordings from your mobile app, or locally from a TV or computer monitor.