A low battery alert for the Entry Sensor is one of the most common messages displayed on the control panel. This indicates the sensor battery is below a 50% charge.
Tools required:
- Small flathead screwdriver
- Replacement battery
Steps:
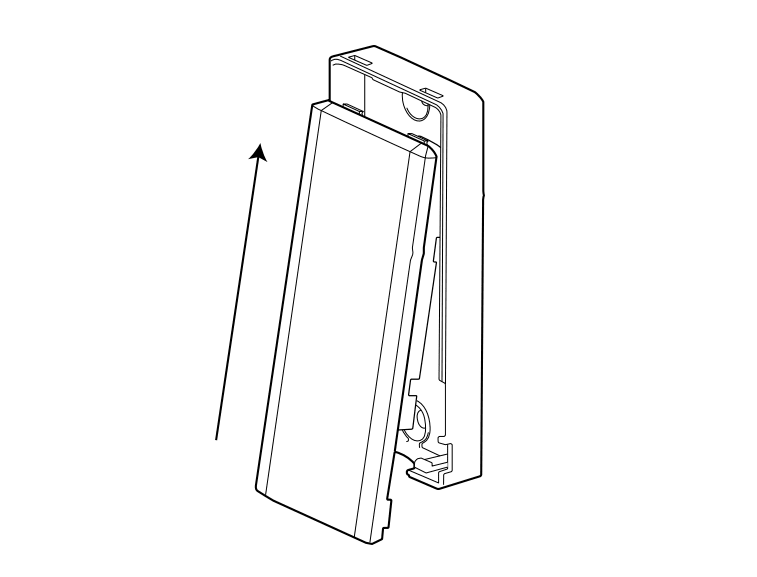
1. Locate the sensor
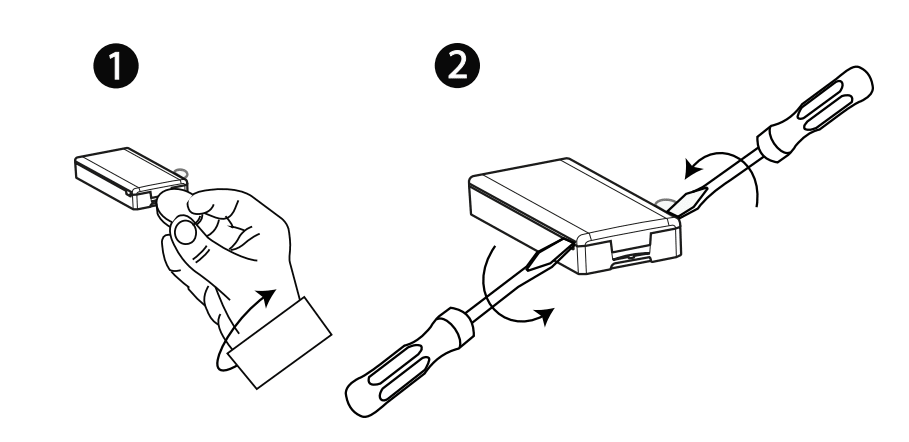
2. Using the screwdriver, find the small notch(es) on the bottom or sides of the sensor.
3. Insert the screwdriver and gently twist to pop off cover.
4. Identify the battery compartment and confirm the type of battery needed.
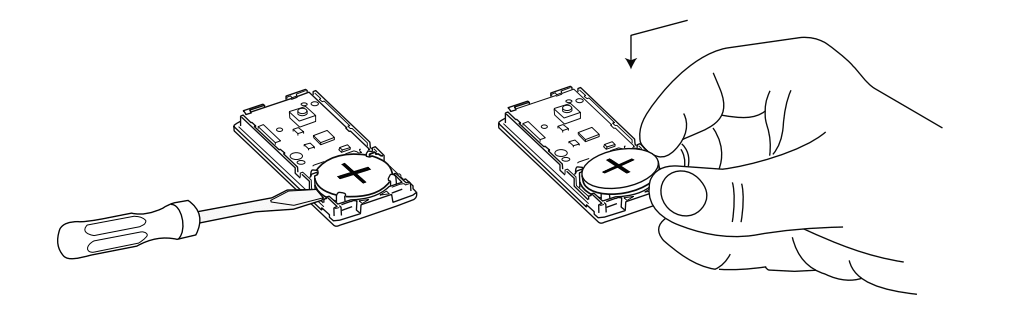
5. Remove the old battery. Leave it out for up to two minutes to drain any residual power.
6. Insert the new battery.
7. Replace the cover by aligning the top first, then pressing down until you hear a click.
8. Check your control panel to verify the low battery condition has cleared.