
Take Car Camping to the Next Level with These Expert Tips
Follow expert tips to choose a the best campsite, set up camp, and cook outdoors.
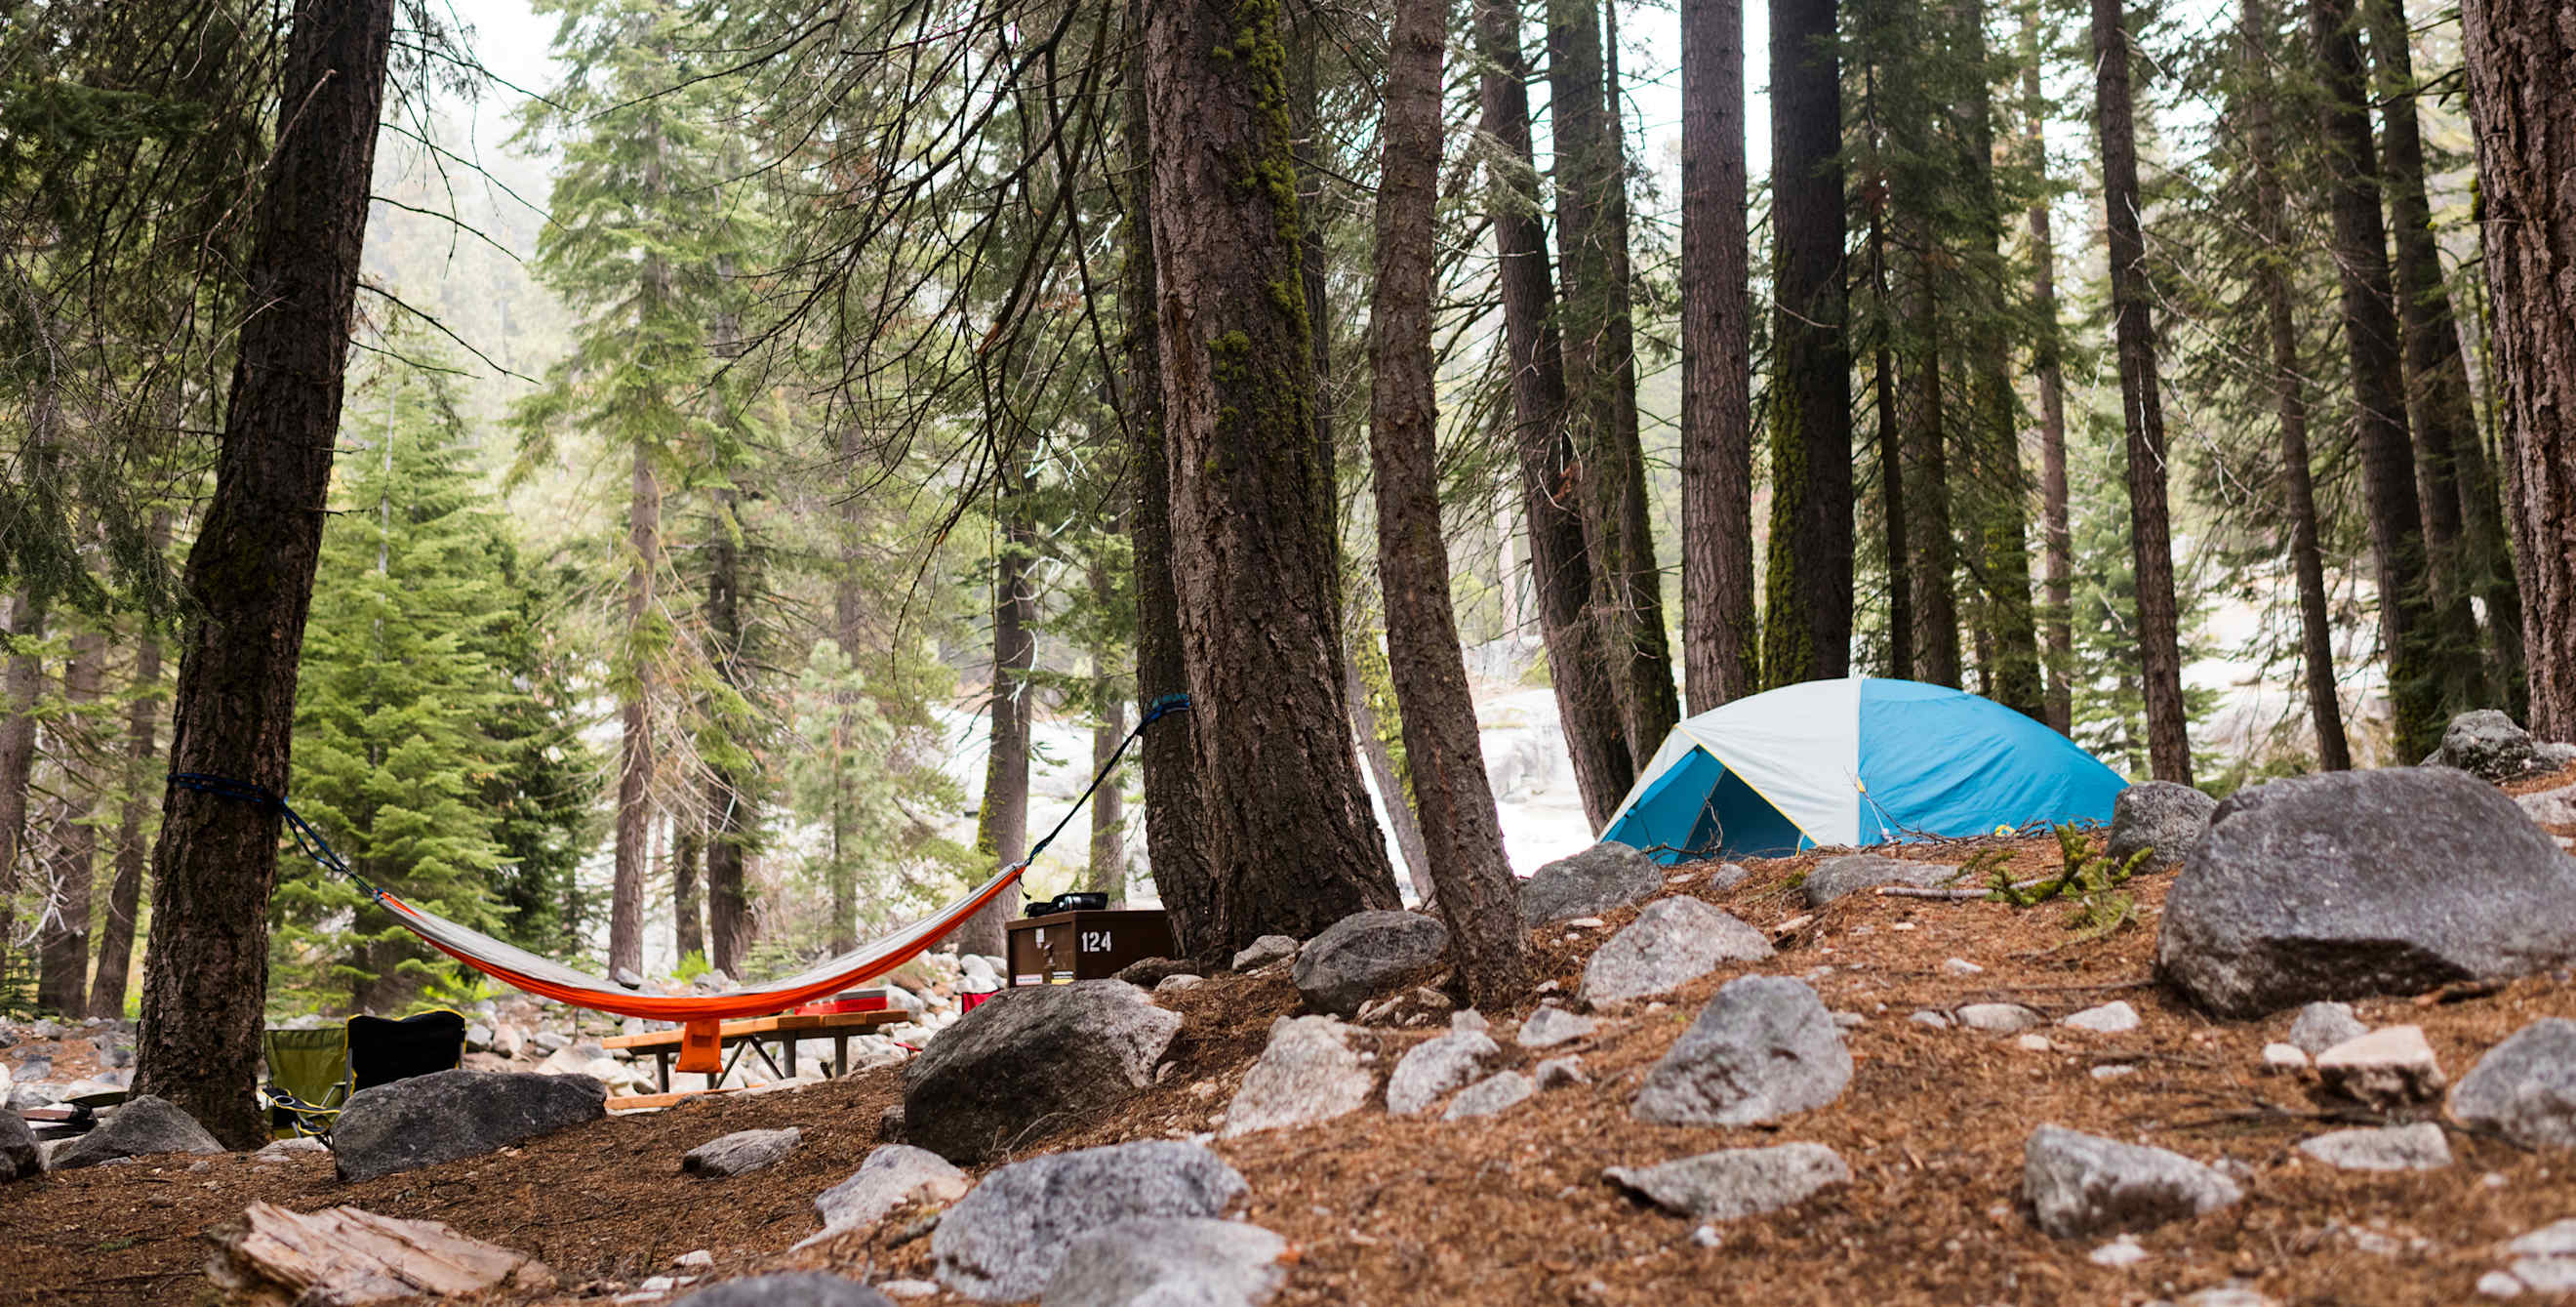
On my first-ever camping trip, it snowed. It wasn’t something we’d been expecting earlier in the week. The mid-October weather in California’s Tahoe National Forest had been much warmer just a few days before, but when you’re high in the Sierra Nevada mountains, anything goes. So instead of reveling in the crimson hues of autumn leaves, we awoke that morning to find our campsite covered in a pristine layer of white. Nearby, stands of cedar, ponderosa pine, and oak trees shone with their own wintry attire, their branches dusted with powdery flakes, while our tents brightened the scene like colorful spurts of paint on an otherwise bare canvas. All except my tent, that is, which now sat collapsed beneath six inches of snowfall.
Thankfully, I hadn’t slept inside. My camping companions, wisely sensing my inexperience and lack of preparation (my tent didn’t even have an outer rainfly to protect it from the elements), had insisted that I share their larger, sturdier shelter instead.
Despite this rocky start, I’ve grown to love camping. In the years since, I’ve pitched my tent among the majestic peaks of Montana’s Many Glacier Valley, slept beneath the richly scented old-growth redwoods of Northern California’s Samuel P. Taylor State Park, and watched in amazement as a small herd of elk wandered through our campground in the early morning hours at Yellowstone National Park.
I’m not alone. The number of people camping in the United States topped 41.76 million in 2019, and it has only been increasing as people look for more opportunities to get outside and frolic in nature. Car camping, including vehicle-accessible tent camping, constitutes a large portion: It offers the convenience of heading out into the wilderness without having to carry everything you need on your back. While that sounds relatively straightforward, there are ways to do it right.
The experts I’ve spoken to are pros at everything from setting up camp to creating the perfect culinary outpost outdoors. They will help you take your car camping excursions to the next level.
There’s no one-size-fits-all when it comes to vehicle-accessible campgrounds. While one campground might be tiny and primitive, another can be spacious and brimming with amenities. Which is right for you? Here are some things to consider.
Get your priorities straight.
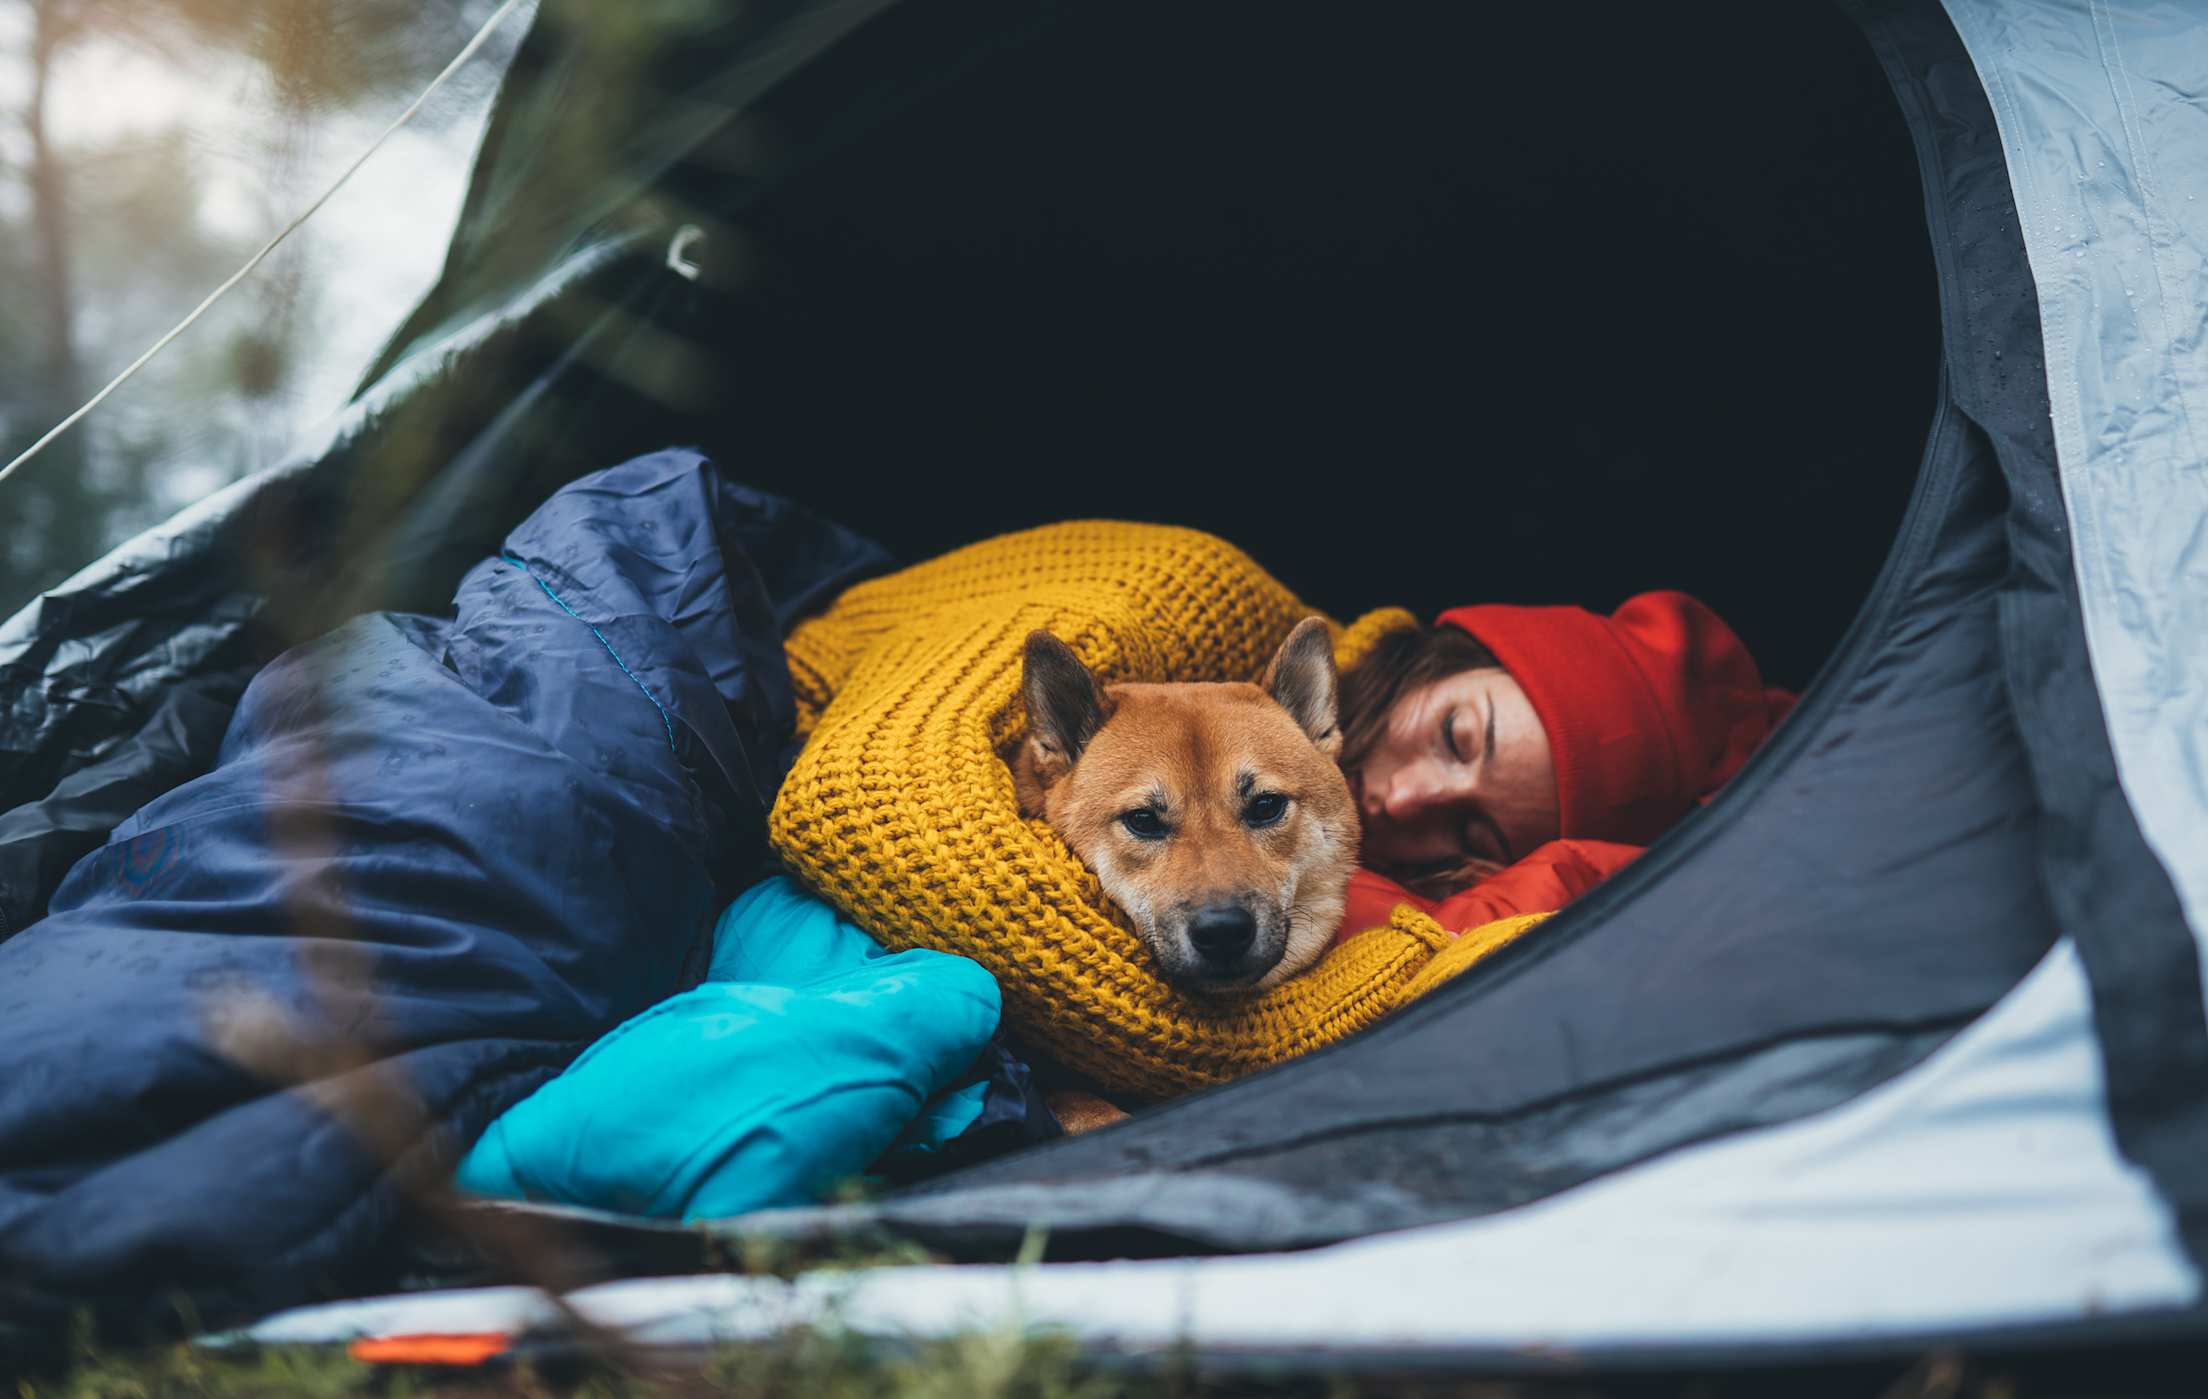
“[Choosing a campground] is really about how you’re planning to spend your days,” says Alexis Jones, a supervising California State Park peace officer. “If hiking is your goal, then maybe look for campgrounds with easy access to trailheads.” Perhaps you’d like to spend afternoons visiting restaurants and museums in a nearby town, or would rather completely unplug at a site that’s much more remote. There are campgrounds that cater to each of these, says Jones.
If you’re planning to bring along your pooch, make sure that your campground allows pets. Safety should also be a consideration. “Some campgrounds aren’t designed for children and animals,” notes Jones. For example, Wright’s Beach campground in California’s Sonoma Beach State Park sits on the sand right next to the Pacific Ocean. It’s a breathtaking location, but one that’s also known for its sneaker waves, enormous swells that can appear without warning (though these waves rarely reach the campground). “You’re better off choosing another location, such as Crystal Cove campground, which offers beach access through an underground tunnel,” Jones says.
Know your options.
Once you decide on what your days might look like, you can choose a campground that best suits your needs. Overnight rates vary but typically run anywhere from free to $35 a night depending on location and amenities, often more for private sites. (And remember, this doesn’t include day-use rates for national and state parks.)
Private Campgrounds
Privately run campgrounds are the priciest but also tend to have the best range of amenities. Most of them take advance reservations as well.
Kampgrounds of America (KOA) is a franchise network of nearly 500 privately owned campgrounds throughout the United States and Canada. They’re known for their array of creature comforts—coin-operated laundry facilities, hot showers, and general stores stocked with easy-to-forget items such as Band-Aids and bug spray. KOA campgrounds are broken up into three different categories: KOA Journey, a range of roadside locales that cater to long-distance travelers; KOA Resort, all-inclusive campgrounds where you can dine on pizza at an on-site café, swim in an in-ground pool, and enjoy organized activities such as outdoor movie nights; and KOA Holiday, a sort of hybrid of the two.
Hipcamp offers more personalized private camping experiences. This online marketplace pulls together a range of unique camping experiences on private lands across North America, from horse ranches to sculpture gardens. Depending on your interests, you might find yourself lazing in a hammock overlooking a vineyard one day and feeding baby goats the next.
State Parks, Forests, and Public Campgrounds
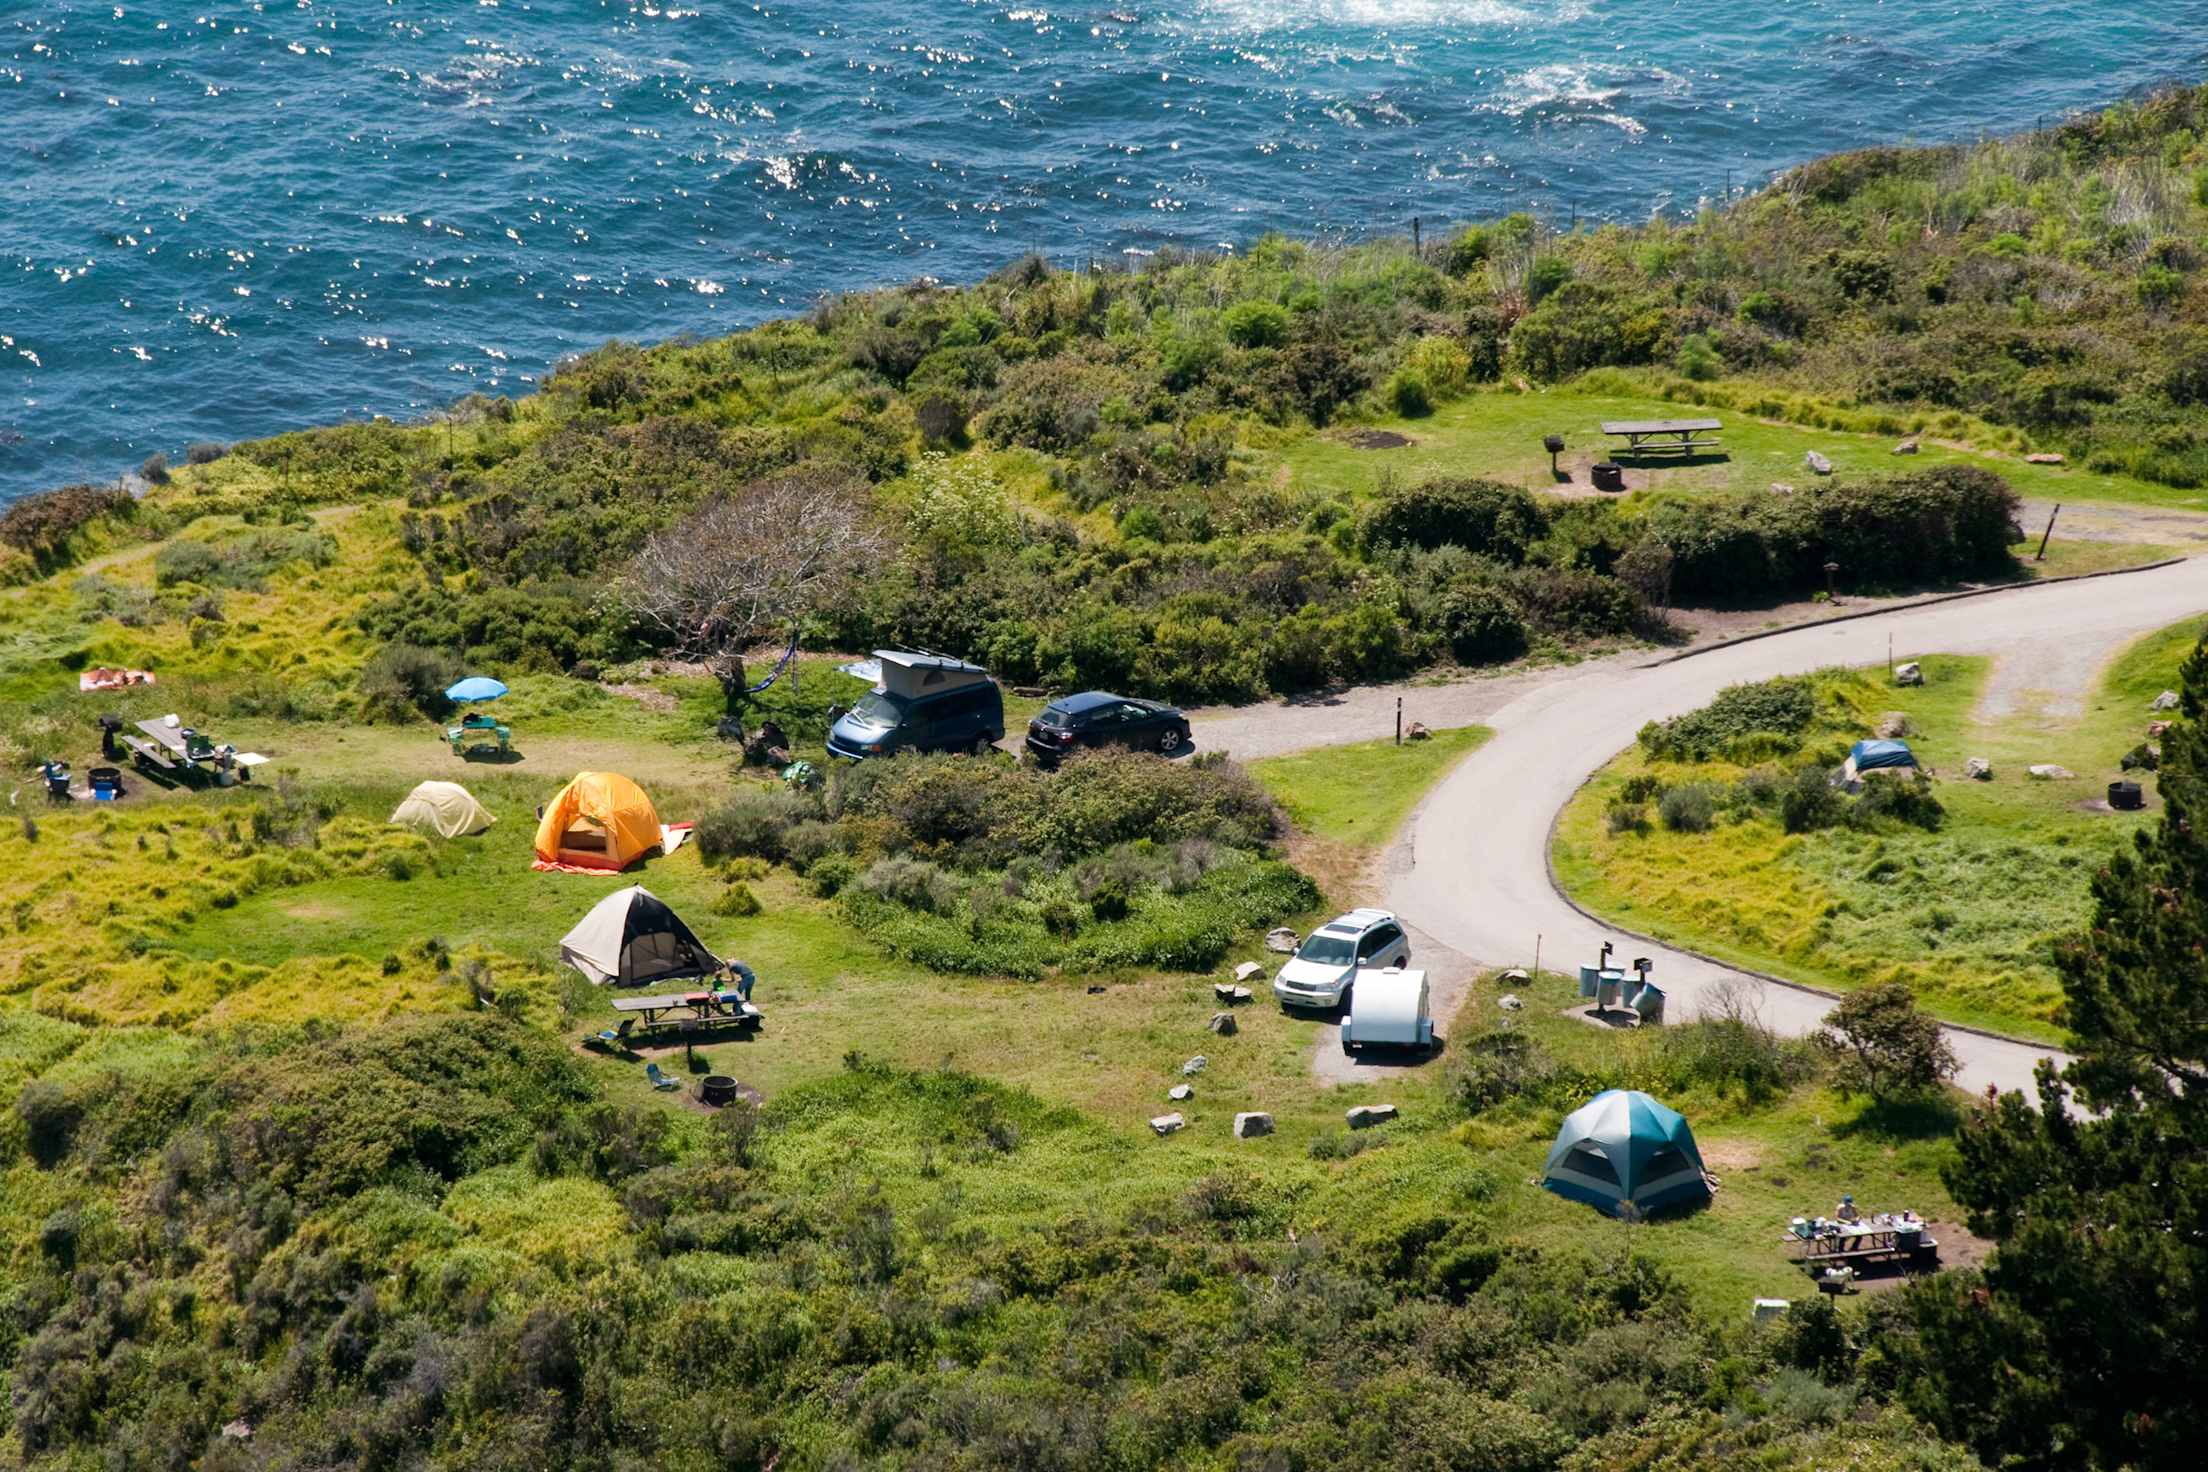
Camping in state parks offers experiences as delightful as waking up alongside purple and yellow wildflowers in the Mojave Desert, or laying your head among towering eucalyptus trees where colorful monarch butterflies roost each winter. Amenities are uniform in nature (for example, the same style picnic tables and food storage cabinets), but those provided may vary from park to park. The more developed campgrounds have coin-operated showers and flushable toilets; others make do with waterless vault toilets. Depending on price, you can get sites with electricity and water, or sites with little more than a place to pitch your tent.
U.S. Forest Service (USDA) national forests and grasslands are home to both developed campgrounds and others equipped with only the basic fundamentals, such as pit toilets and hand-pumped water spigots. Along with the Bureau of Land Management (BLM) properties, they’re also known for their dispersed camping, which is essentially camping in a cleared area without any additional features—no toilets, no water, no firepit, no picnic table. What’s lacking in amenities is made up for in cost: This type of camping is typically free of charge.
National park campgrounds
National parks are a little trickier to analyze, since some—such as Oregon’s Crater Lake and Wyoming’s Grand Teton—have a mix of government-run and privately operated campgrounds. This means campground facilities might vary considerably, even within the same park.
Smart Tip: It’s always a good idea to carry smaller bills—fives and tens—for campgrounds that are self-registration only, says David Grimes, a park ranger at Oregon’s Crater Lake National Park.
Do your homework.
There are numerous websites and apps to help you learn about both public and private campgrounds, and book your reservations. They often include details such as the number of campsites, overnight fees, and amenities offered.
Recreation.gov focuses on U.S. federal lands, including national parks and national wildlife refuges, while Reserve America also highlights state parks and private campgrounds (including KOAs).
Other sites include Hipcamp, Campendium—a user-driven app that has a section on free camping sites nationwide—and the Ultimate US Public Campgrounds app, which features info on nearly 40,000 public campsites that you can filter for county, U.S. Forest Service, or military campgrounds.
Campgrounds in popular locations and parks such as California’s Big Sur and Yellowstone National Park tend to fill up fastest, though many parks have ample camping just outside their gates. To avoid driving an hour outside your destination to pitch a tent, “always book in advance, if possible,” Grimes recommends. The bulk of both state parks and national parks open their online booking windows six to 12 months to the day ahead of time.
It’s also a good idea to call ahead for local weather conditions, including red flag warnings. These are typically issued when there’s a mix of strong winds, low humidity, and high temperatures, resulting in increased fire danger that may cause campfire restrictions and sometimes even site closures. Fire season traditionally starts in June and runs through November. More recently, however, according to the California Department of Forestry and Fire Protection (Cal Fire), the season has been beginning earlier and ending later across the West Coast. Keep up to date on any local fire restrictions (remember, restrictions can change daily), and check ahead to see if campfires and/or portable stoves are permitted where you're camping.
Be a planner.
You’ve chosen your site and are ready to start packing. Where exactly do you begin?
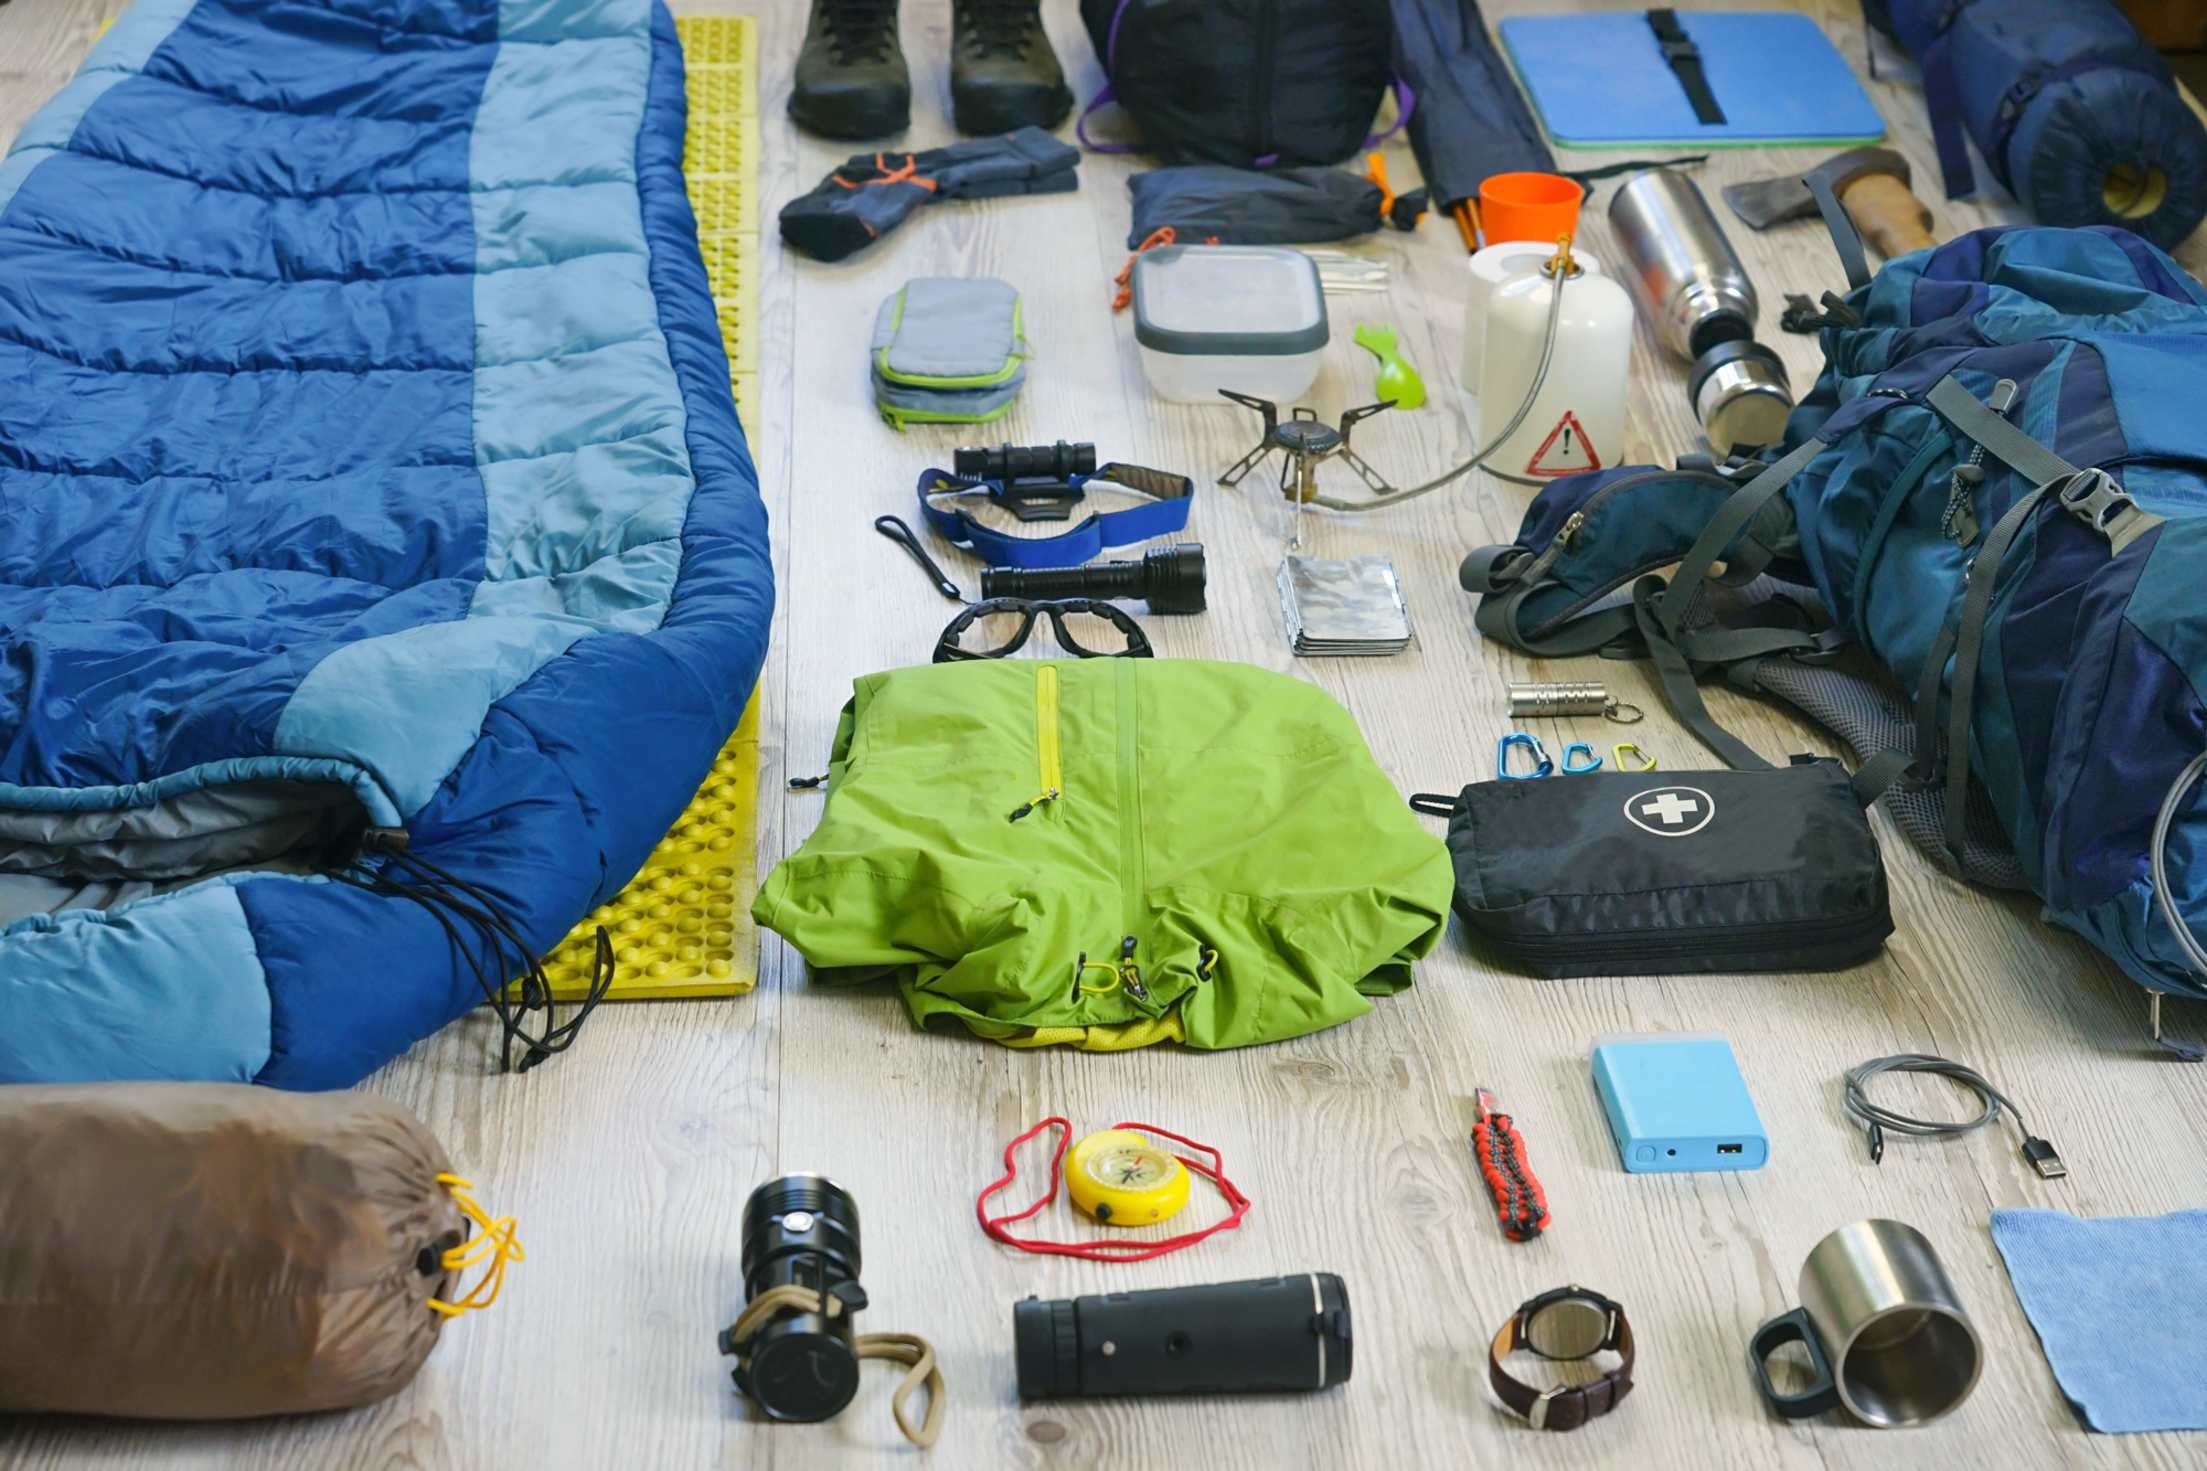
“While weight isn’t an issue with car camping, you do have to think about space,” says avid camper Christopher Steen, a Utah resident who relocated with his family from New Jersey to take advantage of the West’s outdoors. You want to pack your vehicle so everything is easy to find and accessible when you need it. “A little preorganizing can go a long way,” he says.
This means keeping camping supplies well stocked and handy between trips as well. Steen started storing all his sleeping gear in one labeled container, his headlamps and flashlights in another. “It keeps me from having to search all over my garage for a piece of equipment,” he says. Keeping things that need regular replenishing—such as batteries and matches—all in one box also makes it easier to spot and restock anything that’s running low. “Then,” says Steen, “when we’re ready to roll, we just grab the containers and go.”
Smart Tip: Before setting off on your adventure, consider where you’ll be camping, and pack accordingly. Is your campground on a beach? While a tall family-size tent might seem like a good idea initially, sea breezes can get brutal at night. A tent that’s smaller, sturdier, and low to the ground will hold up better in strong winds.
Set up wisely.
One thing that comes in handy when setting up camp is a waterproof canopy, which can provide shade from direct sunlight and shelter if there’s rain or snow. “Ours is a 12-by-12 foot pop-up,” says Steen. “I’ll put it up, pull it to the back of our vehicle, and just start unpacking from there.”
Always look around for any possible safety hazards, such as dead trees or branches, before pitching your tent. Think about the location as well. Make sure the site is flat and sturdy, without rocks or vegetation that might get damaged, and at least 200 feet from a body of water.
Set up your tents first, says Steen, “and then throw in the sleeping bags, bedrolls (or in my wife’s case, a camping cot), and headlamps, so you know that everything you need for a good night’s rest is already waiting for you.” You can always return to it after dinner or a hike to set things up more thoroughly. “Then, when you’re ready for bed, all you basically have to do is get through the zipper and lie down,” Steen says.
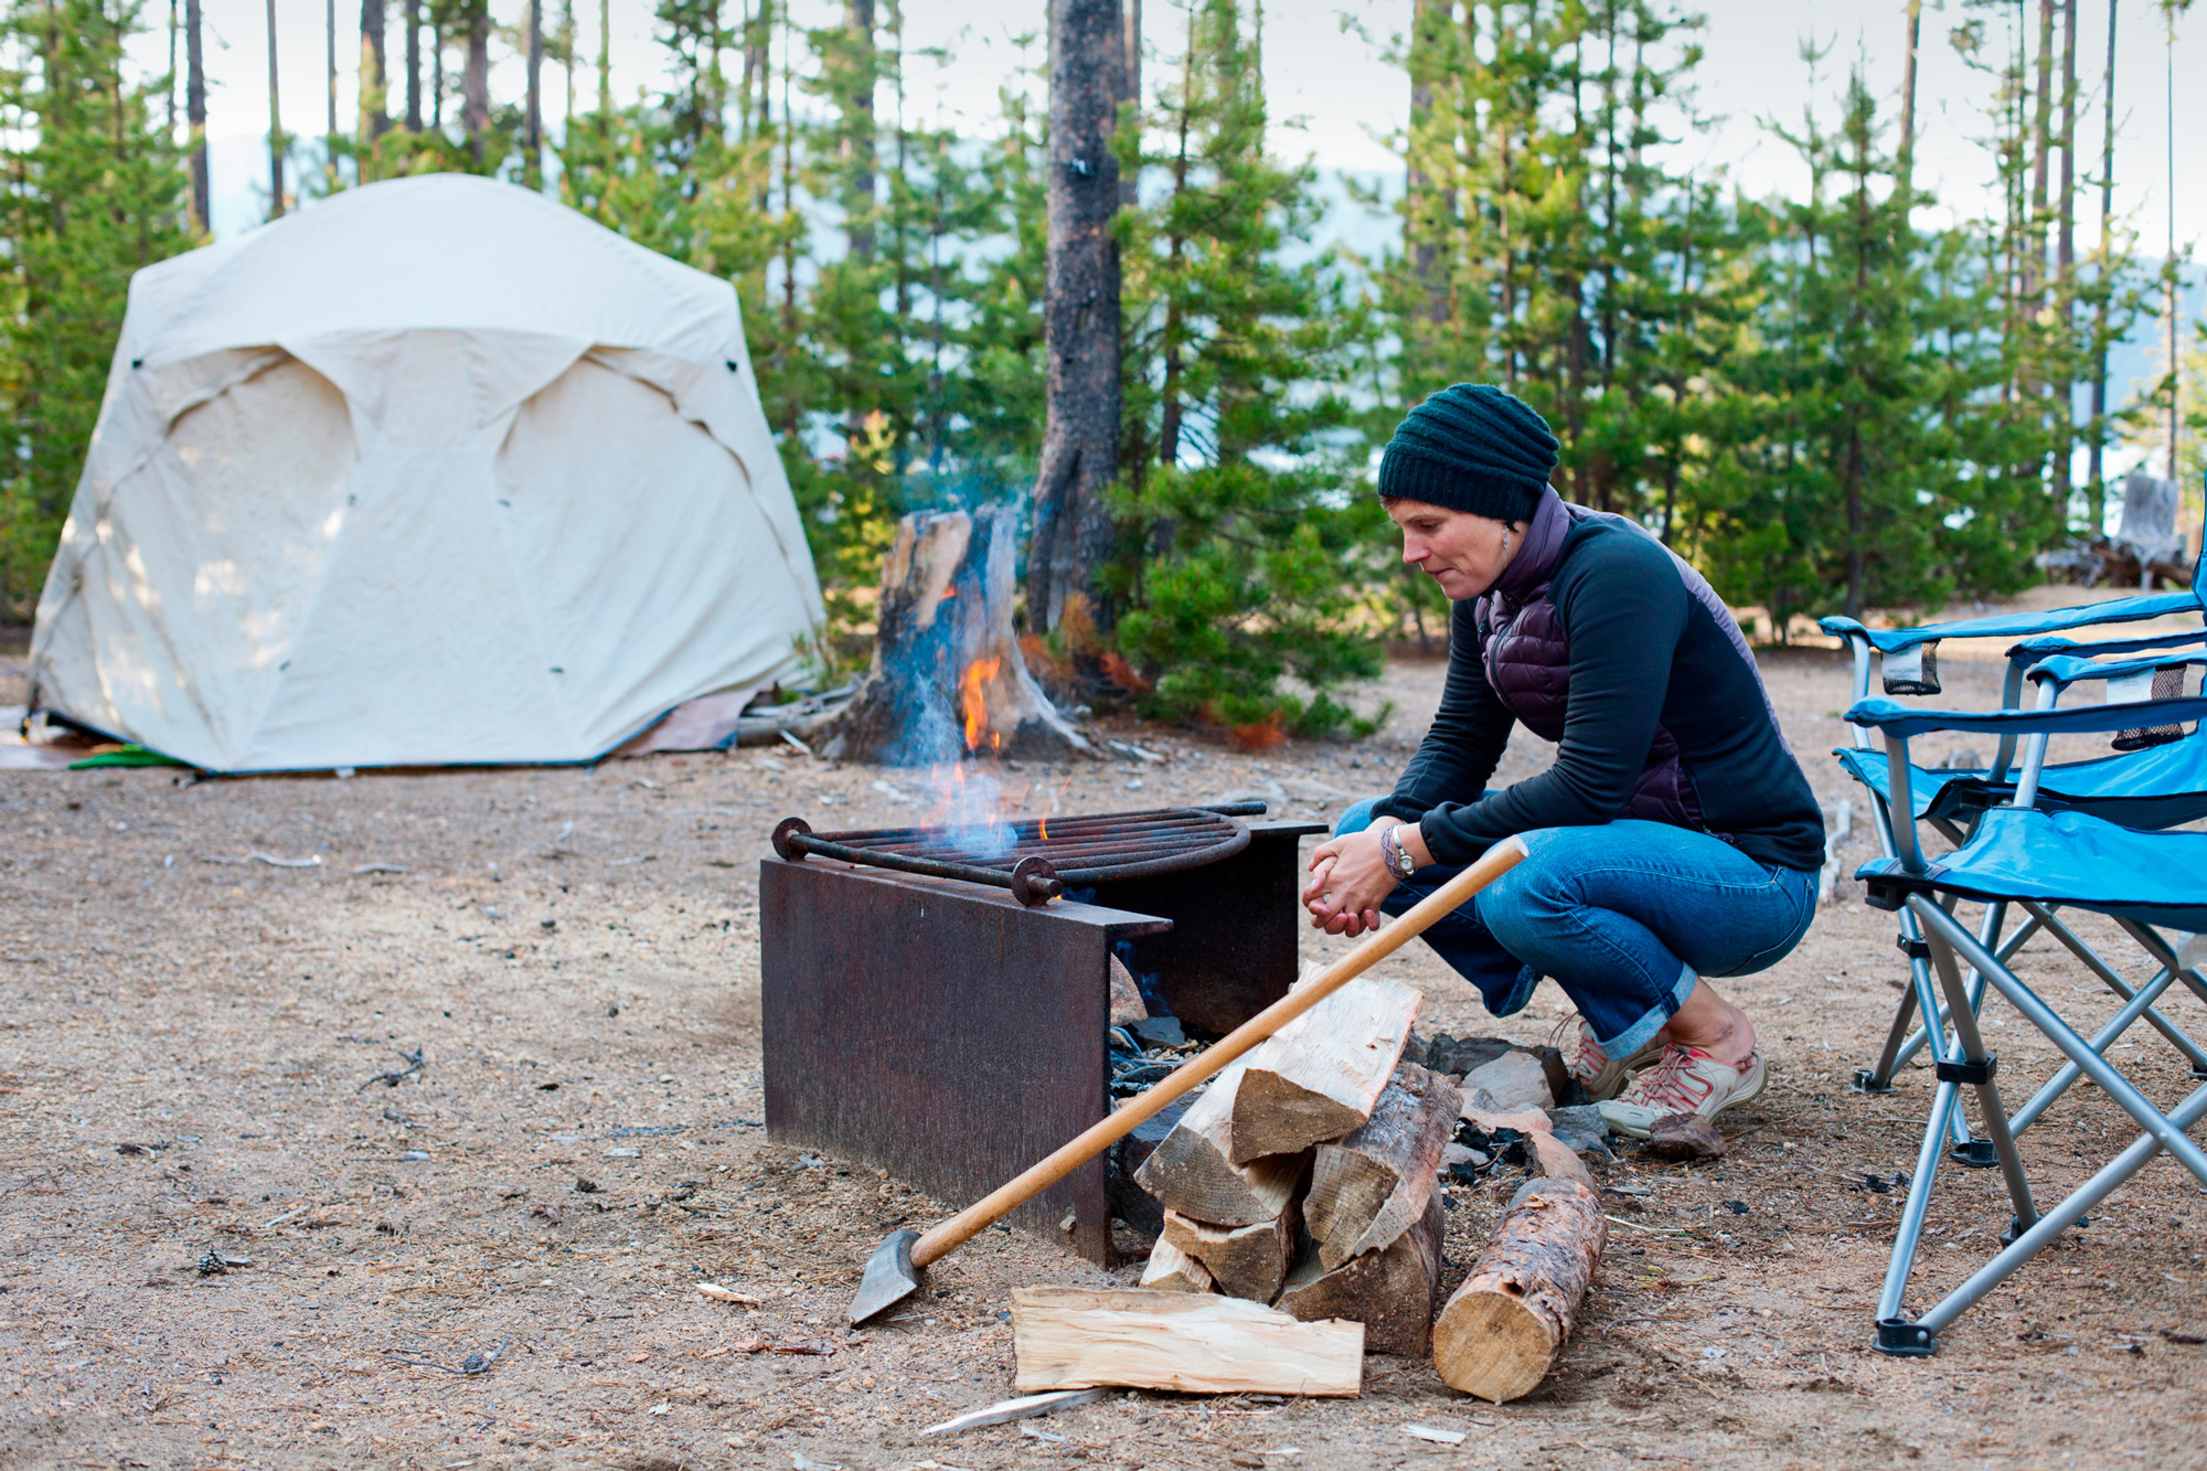
When building a fire, use only an existing fire ring or established pit, and make sure the area is free of flammable debris such as logs, dense dry grass, and branches. Getting a campfire roaring is easy, says Steen, as long as you have the right supplies. “Most of the firewood that you can pick up at gas stations and markets are bundles of larger-size logs,” Steen says, but for chopping up pieces into smaller, easily combustible kindling, he brings along an ax. “It’s come in handy so many times,” he says, “especially when you’re camping in places that specifically ask you not to collect twigs and sticks from the ground.”
Keep the fire small, and make sure there's always an adult tending to it. You should always have both plenty of water and a shovel nearby to help control the fire if it gets out of hand, as well as to extinguish it. To do so, drown the fire with the water, and then use the shovel to mix any remaining ashes, embers, and pieces of wood, soaking it all until the fire is out completely. Afterwards, make sure that all wood, coals, and ashes still present, as well as the outer ring of the fire pit, are cool to the touch. Finally, pour more water onto the site as an additional precaution.
Smart Tip: Always keep your car keys and headlamps in exactly the same spot inside the tent so if you need to go to the bathroom or grab something from your vehicle in the middle of the night, you have an accessible light source.
Elevate your camp cooking.
“The outdoors is a far more atmospheric dining area than any restaurant can provide,” says Ray Mears, author of Wilderness Chef: The Ultimate Guide to Cooking Outdoors. Especially, he says, if you have the proper tools and ingredients.
Preparing Your Camp Kitchen
When it comes to cooking supplies, says Mears, “Keep it simple, and bring only what you need.”
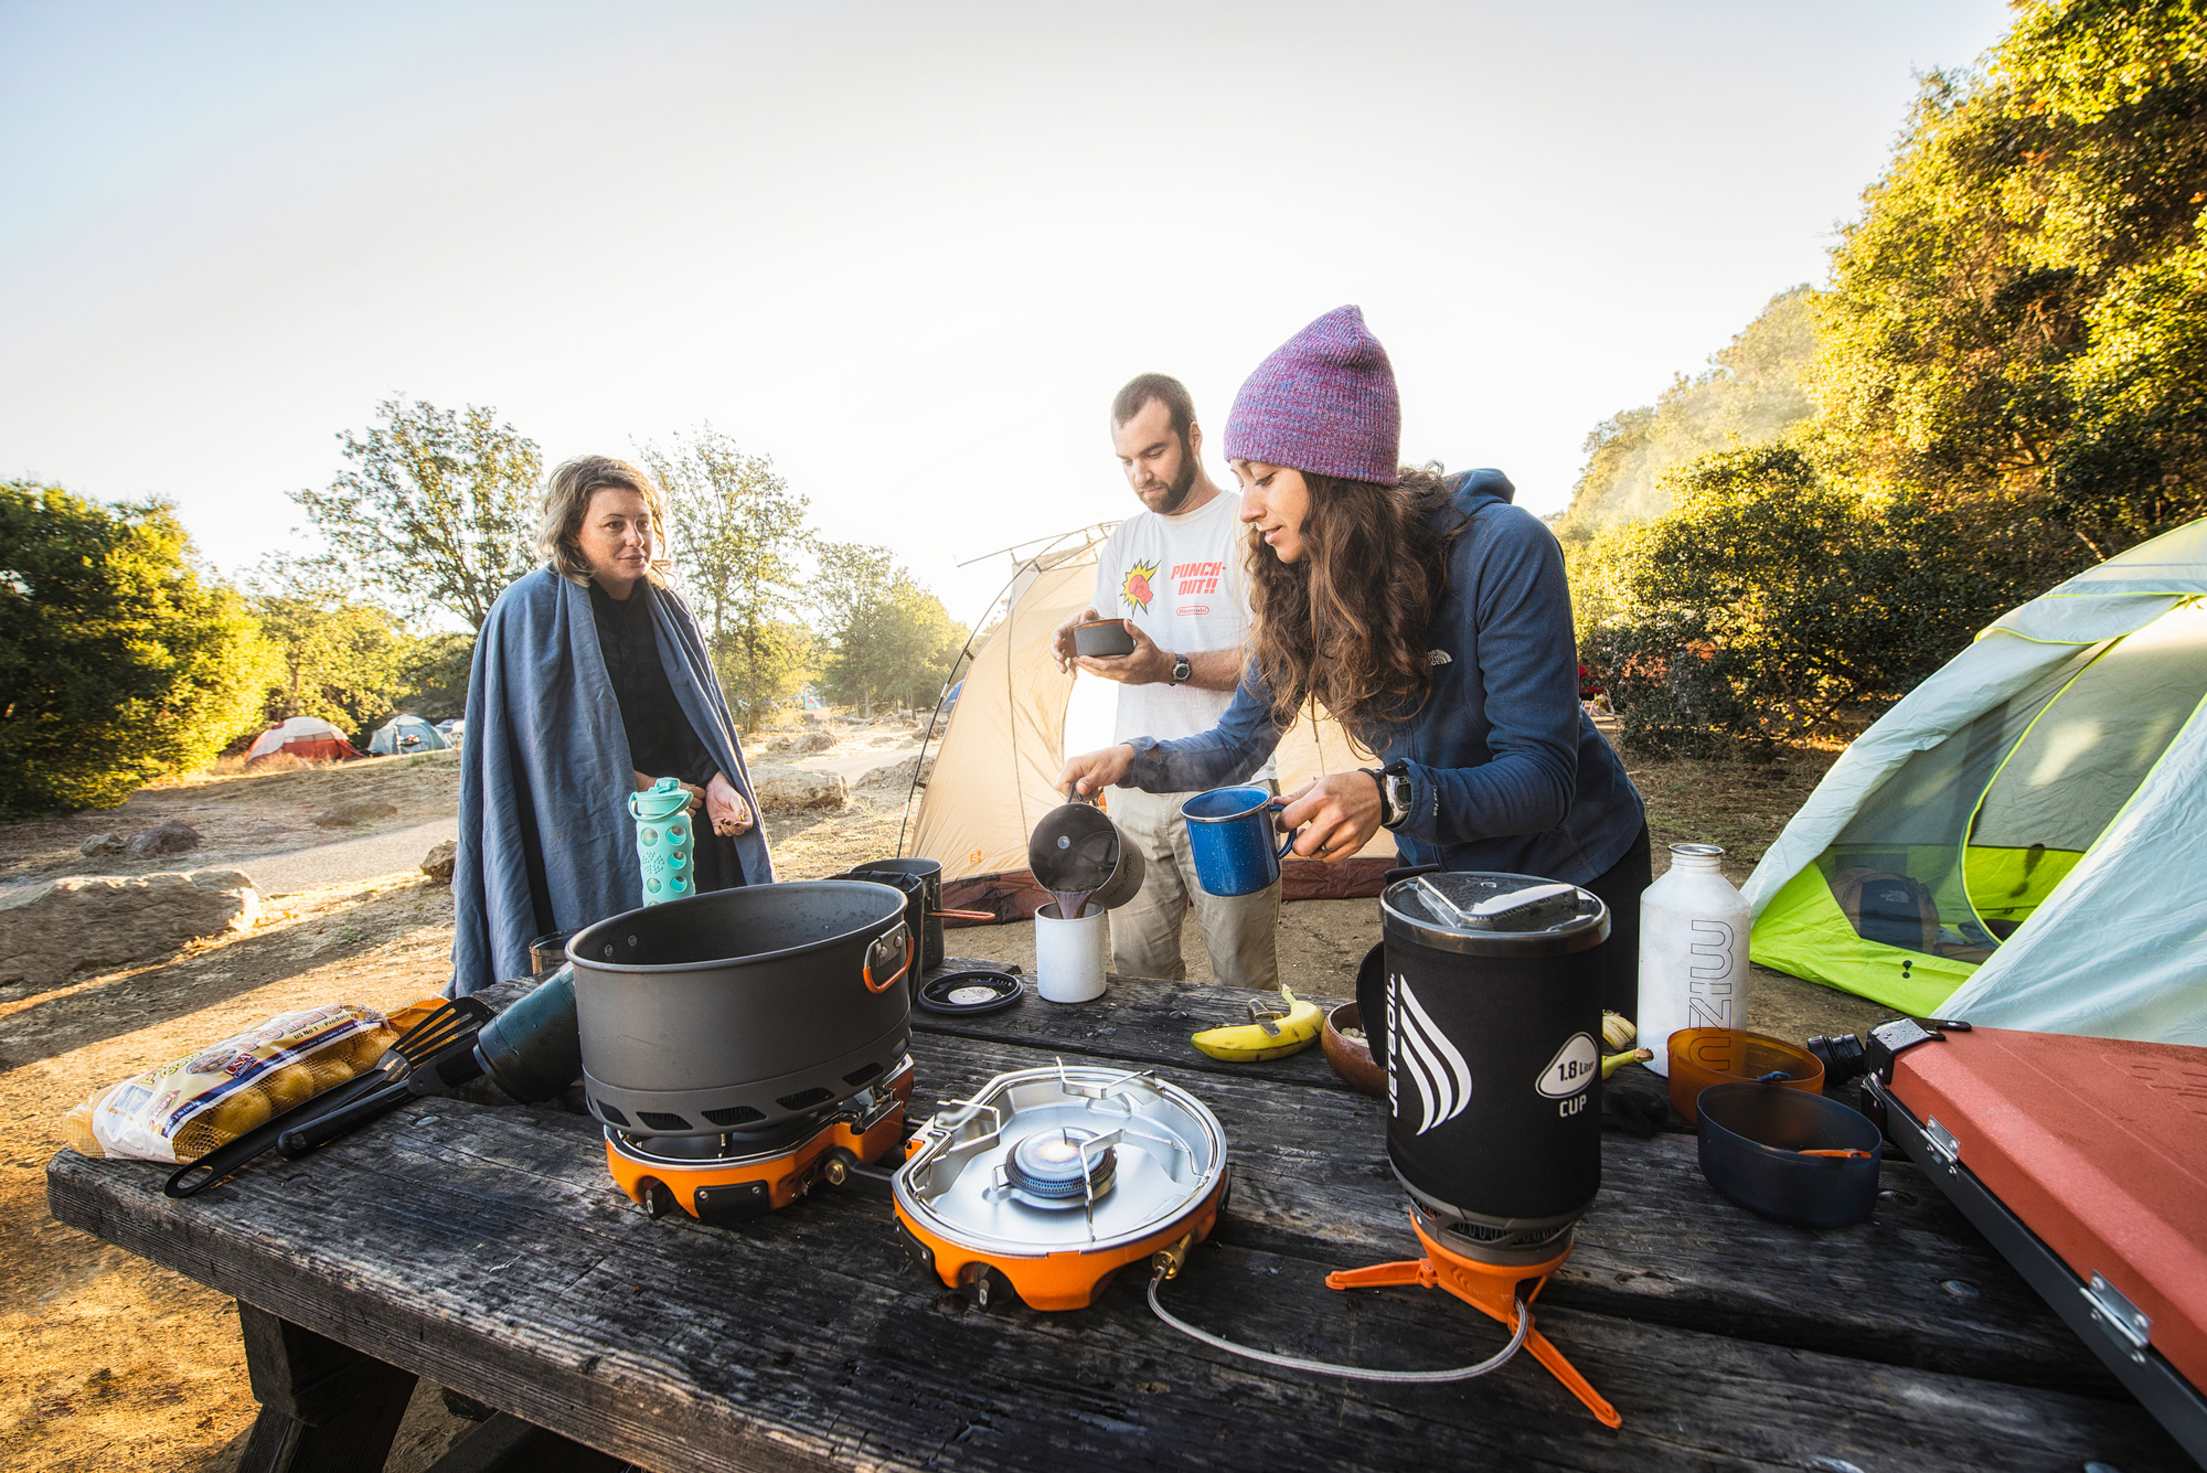
A proper cooking set includes prep bowls, a frying pan, a cutting board, kitchen tools and utensils (including a mixing spoon, spatula, selection of lightweight chef’s knives, and a peeler), a portable fire extinguisher, and Mears’s most trusty piece of equipment: an iron pot or Dutch oven. “Whether you’re cooking over an open fire or utilizing a communal campground kitchen, an iron pot is essential,” he says. “It holds heat extremely well, so you can use less heat when cooking. It’s also versatile. You can cook stews, bread, even pies.” Another option is a camp grill, which sits over the fire and allows you to cook food on top. A Mears specialty: chicken, red pepper, and mushroom skewers tossed in a yakitori glaze.
Store these supplies together in one box, and keep a separate one (Mears calls it the “larder box”) to stock small quantities of necessities such as high-quality olive oil, salt and pepper, hot sauce, and coffee and/or tea. A third box can hold pasta, beans, and other foods that don’t have to be refrigerated.
Cold items such as meats, vegetables, cheeses, and butter should be packed away in a portable cooler. A mix of regular ice and longer-lasting dry ice is best for keeping foods cold.
Frying, boiling, grilling, and roasting—it can all be done over an open fire. A gas-powered camping stove works well, too. Just remember to always have propane handy.
Smart Tip: Chill the cooler by filling it with ice and leaving it out at room temperature the night before, says Mears.
What to Eat
Keep breakfasts and lunches simple, says Mears—some cereal and juiced mandarins in the morning, charcuterie-style cold meats and cheeses in the afternoon. That way, you save your energy for the main meal in the evening. For this, Mears recommends one-pot dishes, such as fresh soups and curries, meals that you can easily enhance or change up by adding veggies, aromatic spices, meats, or fish.
For a meal that includes little campfire prep and few dishes, try a foil packet. You can prepare these at home by slicing up chicken or meat, along with vegetables like carrots, onions, and potatoes, and marinating in a resealable plastic bag with herbs, spices, and vinegar. At camp, transfer the contents into a foil packet and start grilling.
Smart Tip: Wherever you’re camping, pick up a few local ingredients at a nearby market to enjoy as part of your meal—chiles in the Southwest or artichokes along California’s Central Coast. “Anything that celebrates the landscape you’re traveling through in a culinary sense,” says Mears.
Cleaning Up
Use dish soap and a dedicated bowl, strain out any food remnants, and dump any leftover water at least 200 feet from any water sources and your campsite or any others around you, or in a designated campground sink.
Leave no trace.
The most important rule of camping is to leave no trace. Carry out trash and food scraps, or dispose of them in designated bins. Store food in your vehicle or a dedicated bear box when not in use to protect wildlife and keep animals from disturbing camp. Don’t forget to drown your campfire with water, making sure it’s cool to the touch, before leaving. The wilderness will thank you.
Members save up to 30 percent off the Road Warrior Deluxe Automotive Emergency Kit, which includes a 54-piece first aid kit, a 14-in-1 pocket tool, and solar blankets, among many necessities.